Pre-wedding shoot tips for couples
Behind any seemingly perfect wedding portrait is tons of sweat and hard work. On the photographer’s part, there’s catching good lighting, crouching into uncomfortable positions for the best angles, and post-processing. The couple, however, also has to put in the legwork – with a whole load of preparation and planning regarding things like outfits and logistics.
Having recently gone through my own pre-wedding photoshoot, here are some useful tips I have for all Singaporean couples that’ll help make your photos really pop and give you a smoother experience overall.
For more wedding-related tips, check out these articles:
- How to save money on your wedding
- How to get cheaper wedding dresses
- Hitcheed – free wedding planner app with reviews
– Outfits –
1. Pick your gown colour based on the location

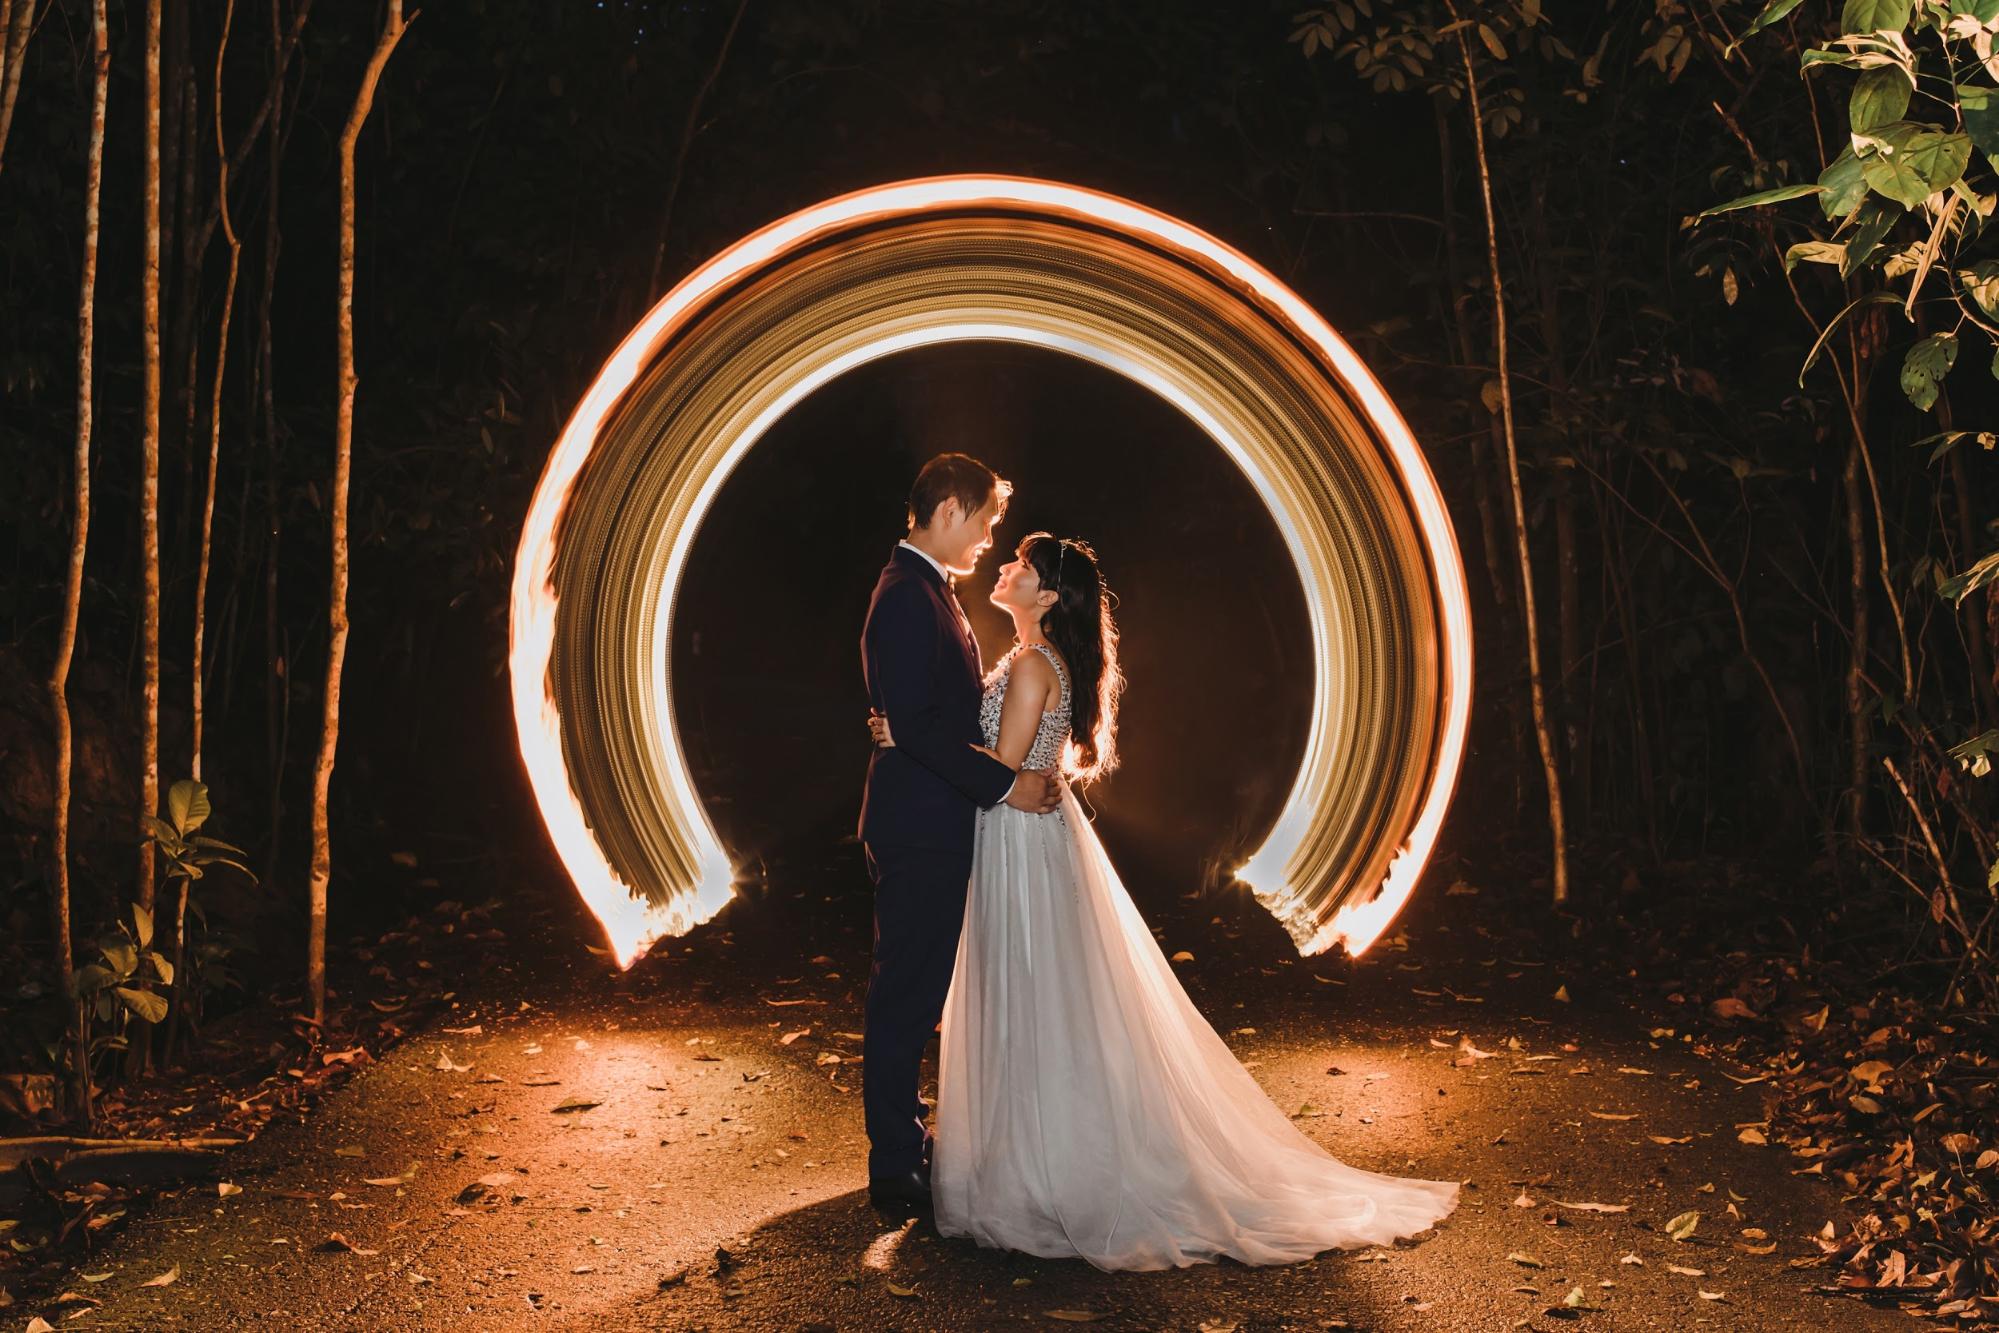 I wore a pale grey sequin-bodice dress for my night shoot so I wouldn’t get swallowed into the darkness
Image credit: Knotties Frame
It’s best to settle your gown only after you’ve decided on the location. For nature spots, you’ll want to get something a little brighter so you don’t blend in with the dark greenery. Classic white, pastels, or a contrasting red would work nicely.

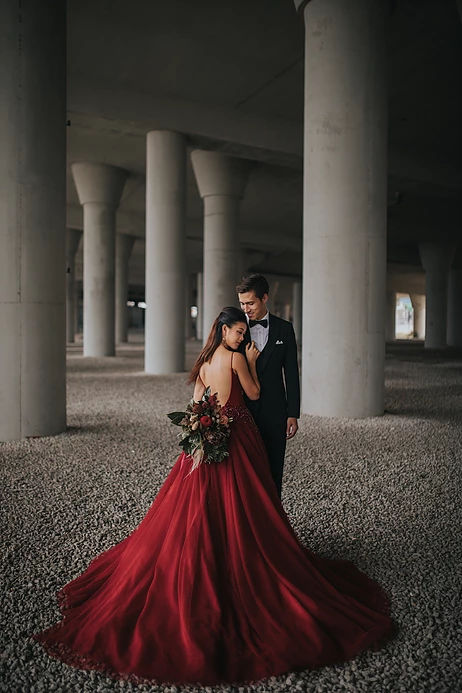
This striking red gown stands out well against the grey gravel and pillars
Image credit: Bridelope Productions
If you’re shooting against a primarily white background such as CHIJMES or the National Museum, you can afford to choose bolder colours. But if you prefer a dreamy vibe, go for pastels so it won’t be glaring white-on-white – or accessorise your white gown with darker accessories like a fascinator, gloves, or belt.

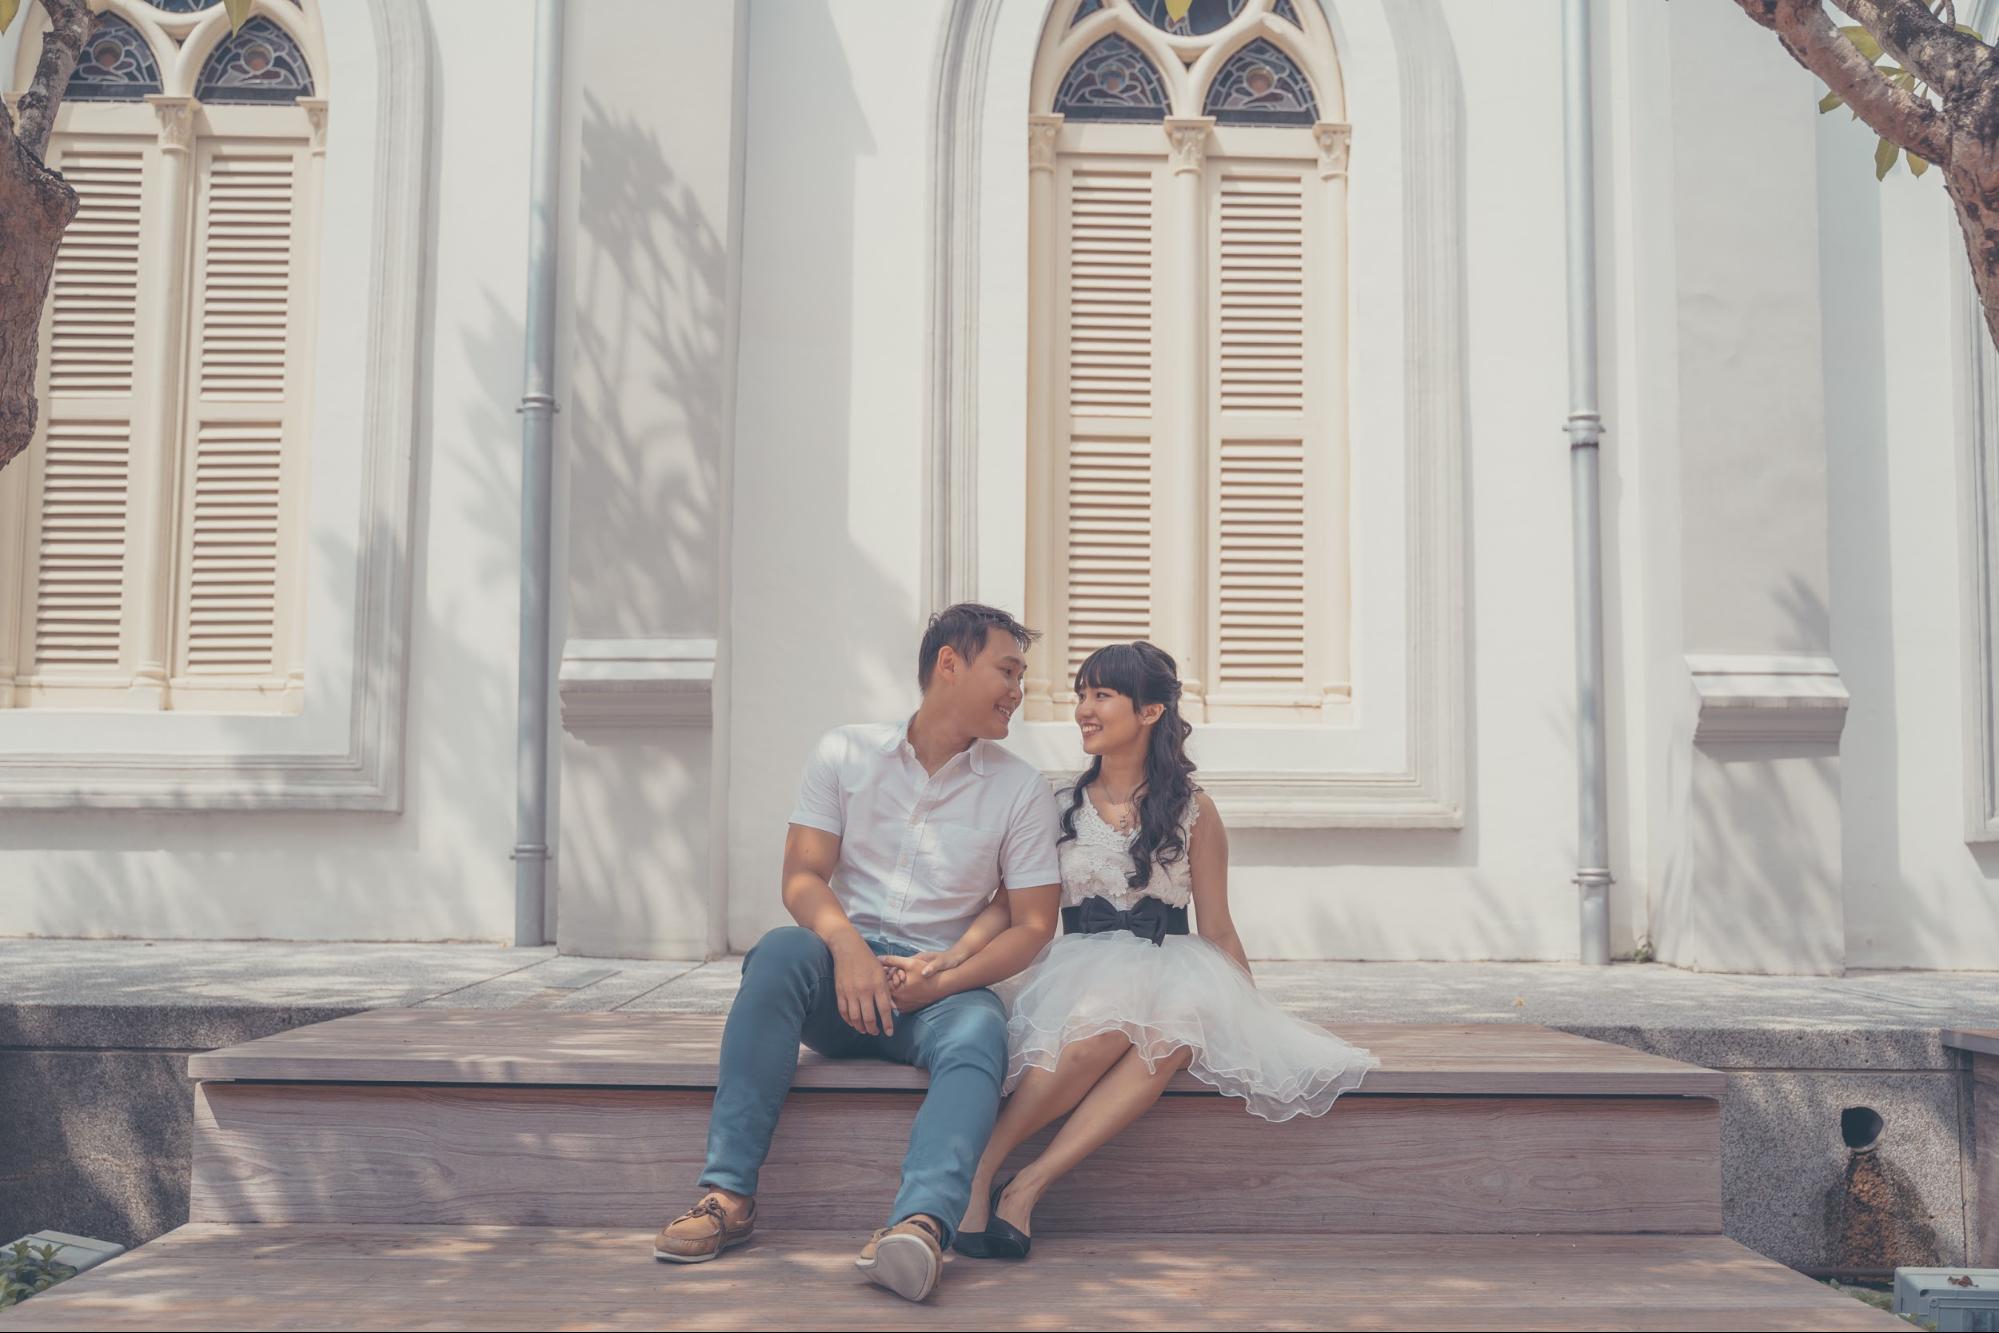 I’d have blended in too much with the white walls had I not worn a black belt and black heels
Image credit: Timothy T Photography
Those who’ve opted for a night shoot should stick to white or light-coloured dresses so your body won’t “disappear” into the dark backdrop. Feel free to go crazy with the sequins and other shimmery embellishments to further stand out!
As a general rule of thumb, your nails should match your gown – foolproof choices are either a white bridal manicure or something that’s of the same colour palette as the dress. Flowers should contrast with your gown without stealing too much attention.

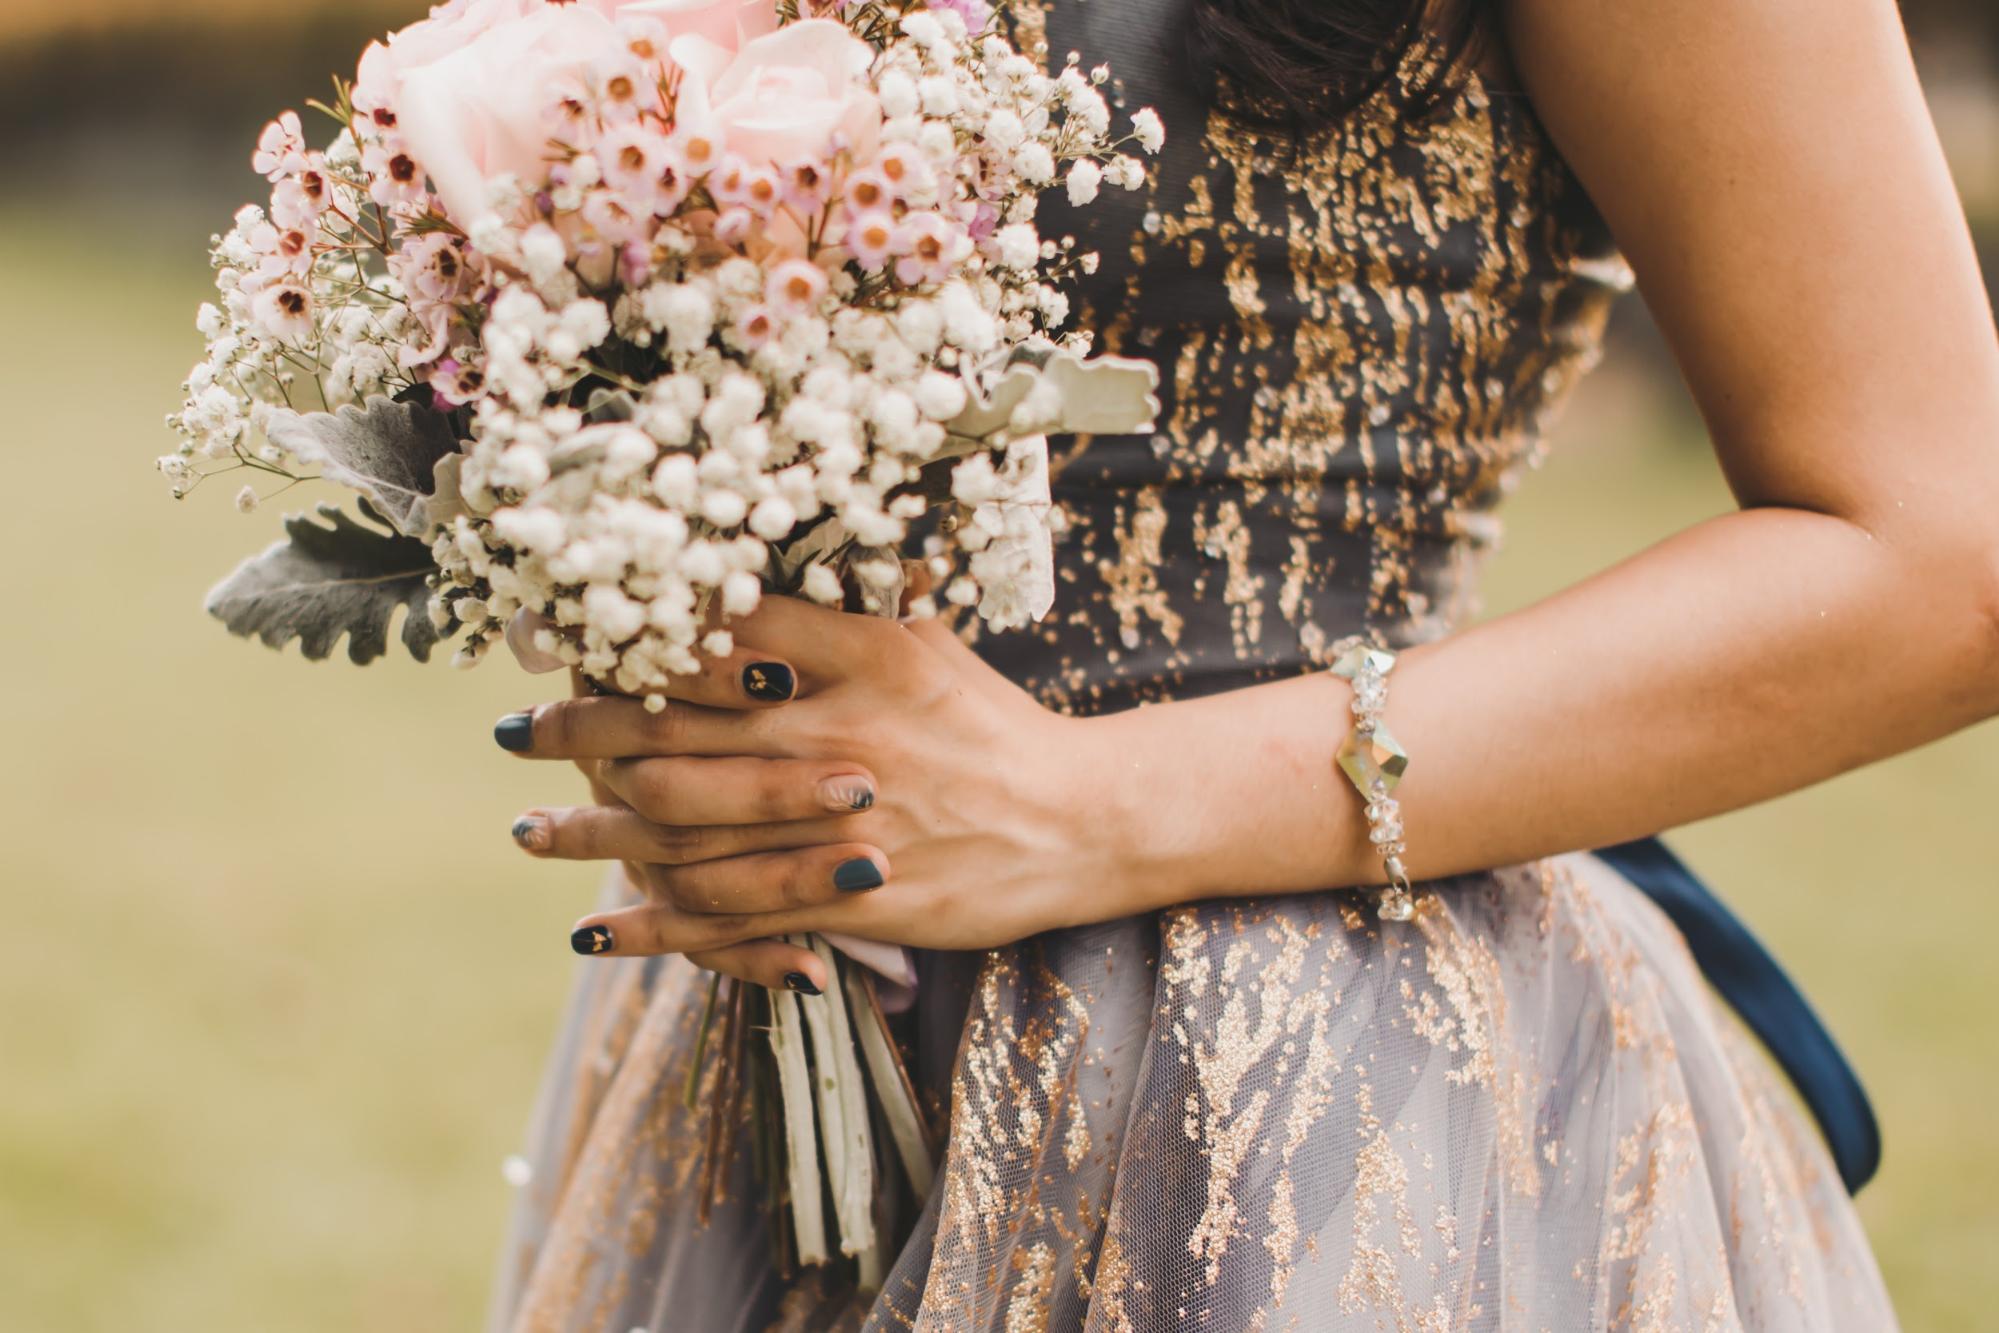 Blue nails with gold flakes to match my dress, and soft pink roses with pale filler flowers for subtle contrast.
Image credit: Knotties Frame
2. Get a makeup trial done and take test shots in various lighting
Most makeup artists (MUAs) offer a free trial session so your look can be adjusted to perfection before the actual occasion. Even if yours comes with an additional fee, it’s best not to cut corners because photos are forever.
Likewise, if you’re doing your own makeup like I did, you’ll want to test it out at home first just to be safe.

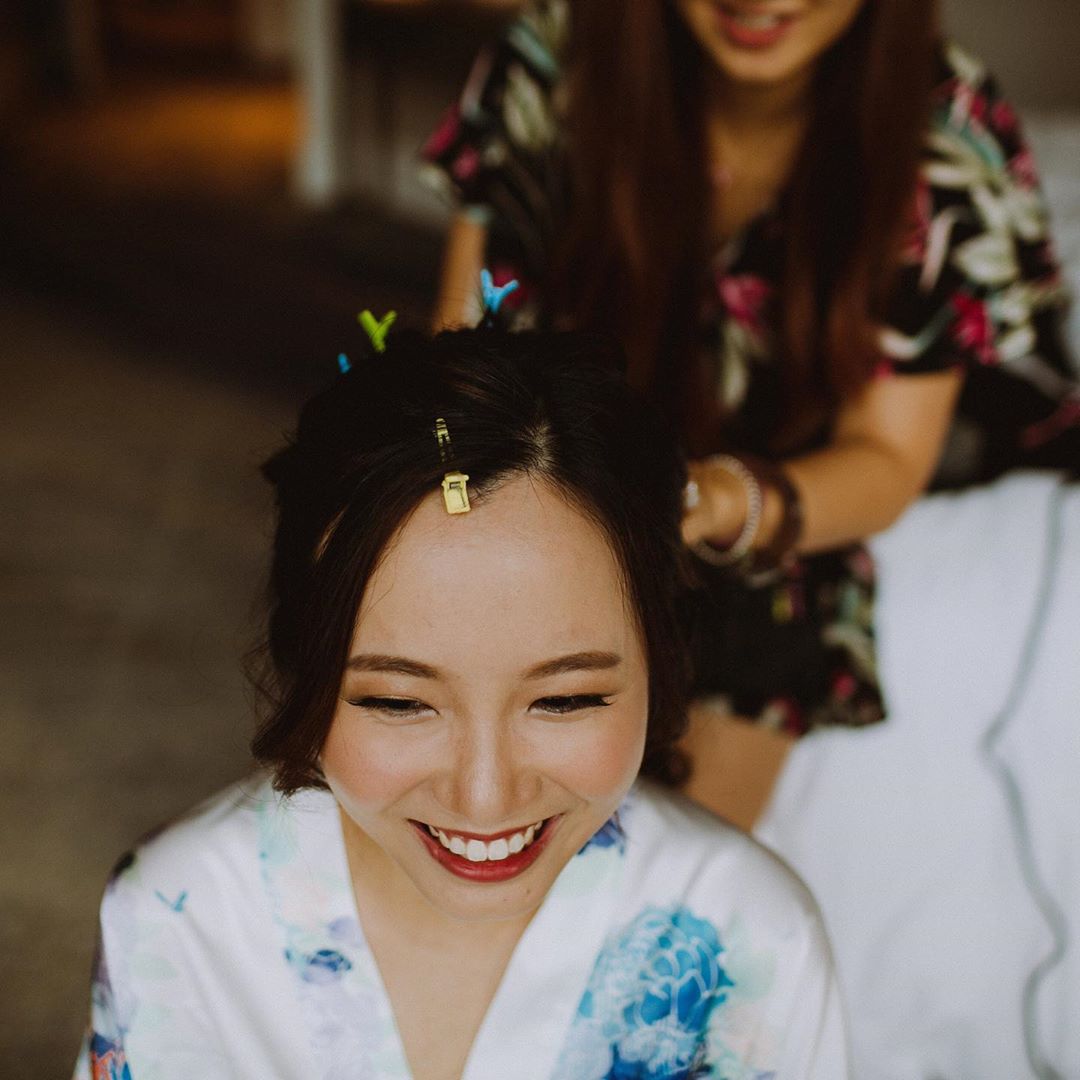
Image credit: @tangyongmakeup
Apart from seeing if the colours suit your dress, it’ll be good to do test shots in various types of lighting using your own camera or smartphone – especially if you’re getting night shots with flash. Double-check that the foundation used on you isn’t too pale or hantu-like, especially if you have a tan complexion like myself.
You’d be surprised – some MUAs in Singapore still don’t properly cater to ladies with darker skin. Bring your own foundation on the day of the shoot if it’s too late to make a switch.
Tip: Show your MUA a picture of your gown first so she can plan the best colours to bring out your look.
3. Settle the groom’s suit only after the gown has been chosen
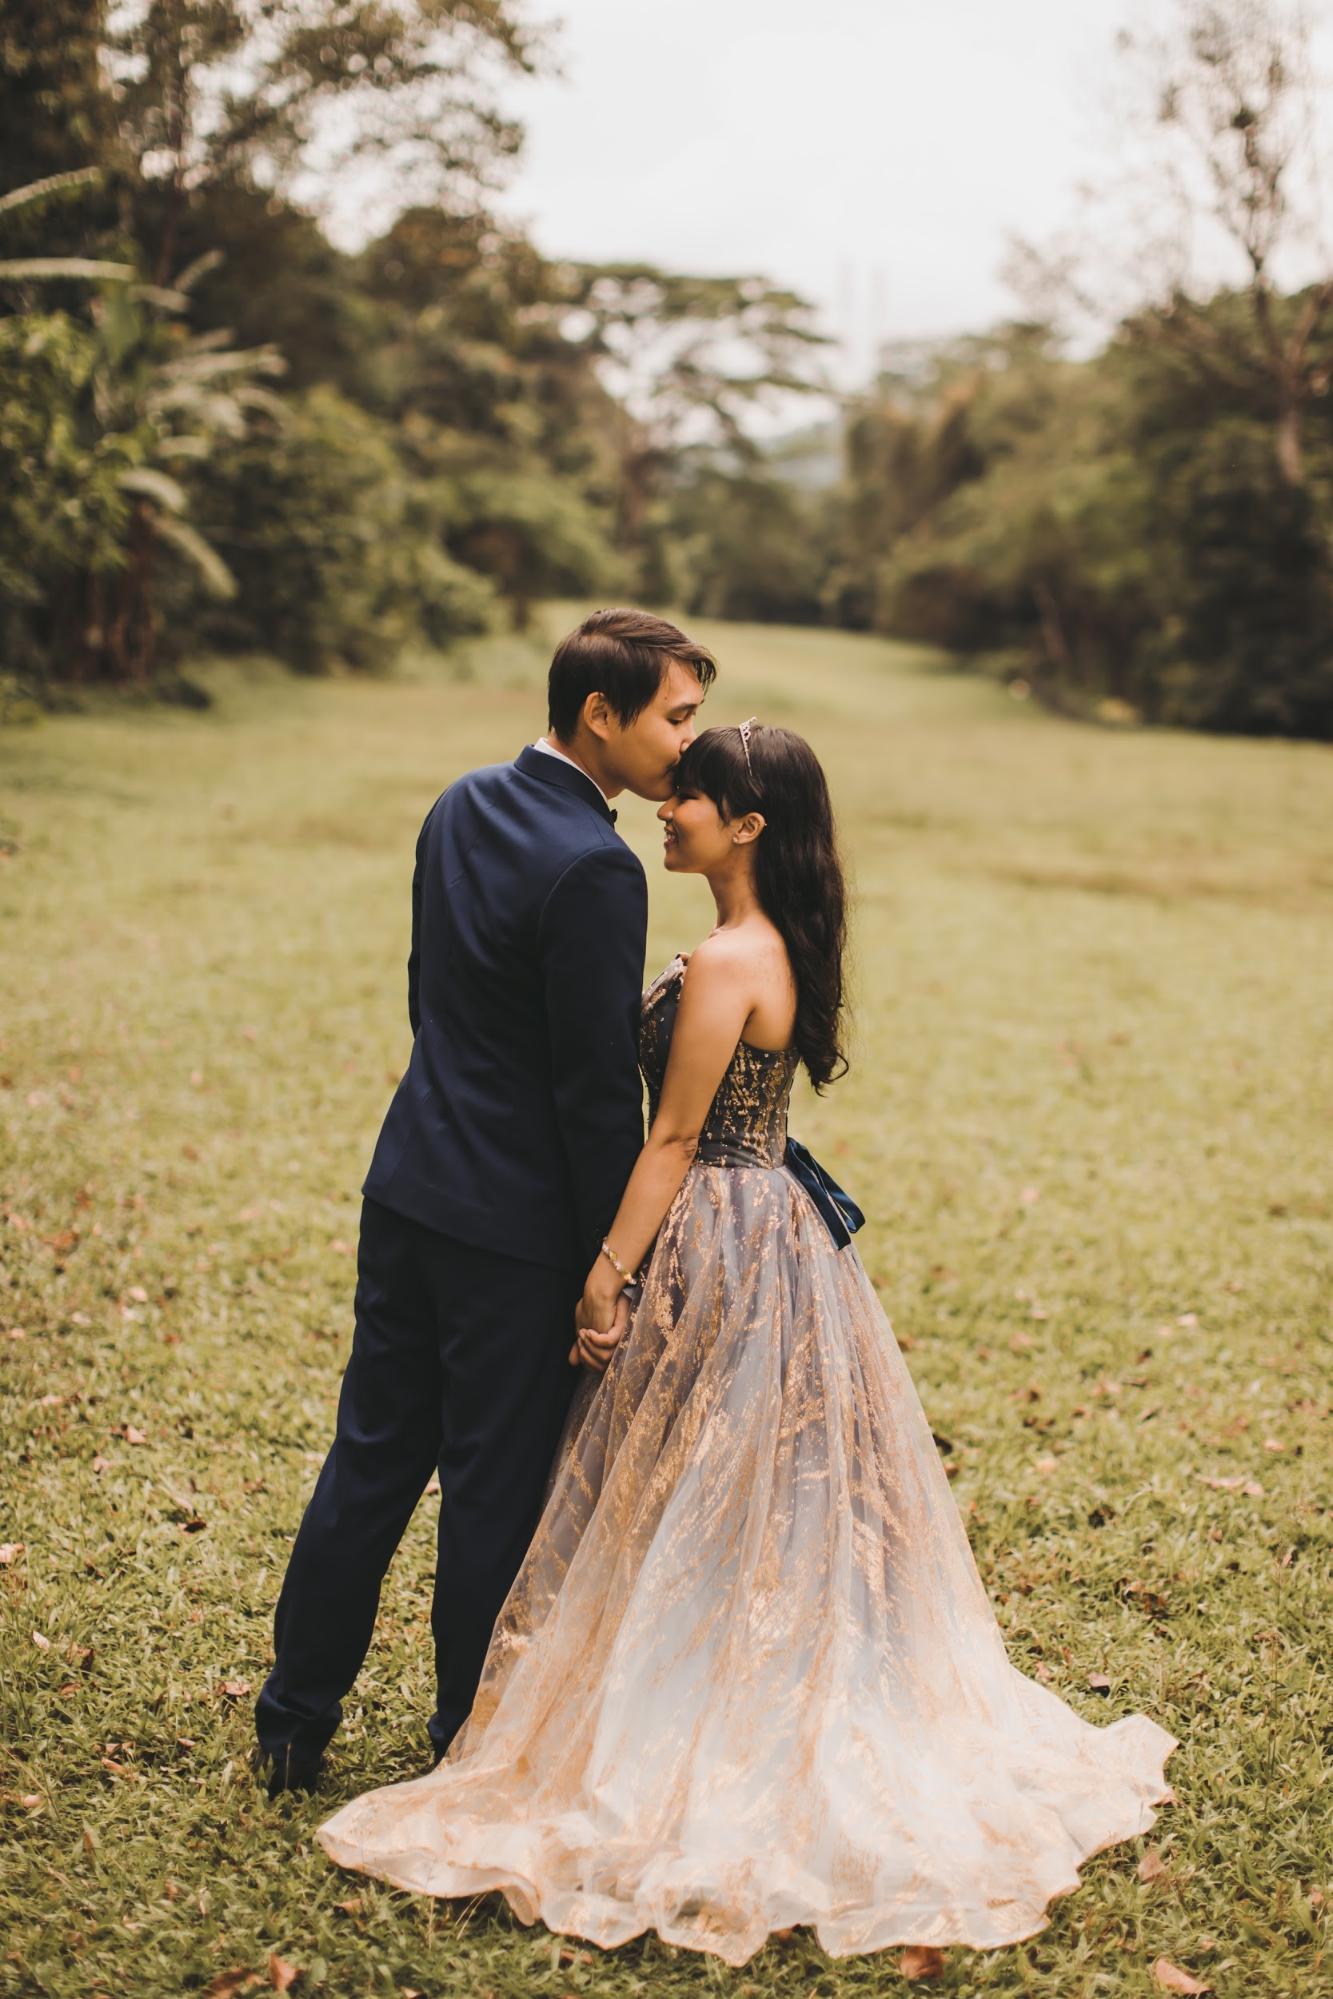 My boyfriend got a dark blue suit with a black bowtie to complement my pale blue gradient gown
Image credit: Knotties Frame
Sorry guys, the bridezilla is the princess here, and she’s usually the star of the shots. Going with the golden “happy wife = happy life” philosophy, most guys only pick their suit colour after the dress is settled so they can match accordingly. For example, if she’s wearing a navy blue dress, avoid wearing a dark blue suit – same goes for white on both sides.
If your bride is fickle but you die die wish to get your suit settled early, it’s best to stick to safe colours like black or dark grey which go with pretty much anything.
– Logistics –
4. It’s best to drive or rent a car
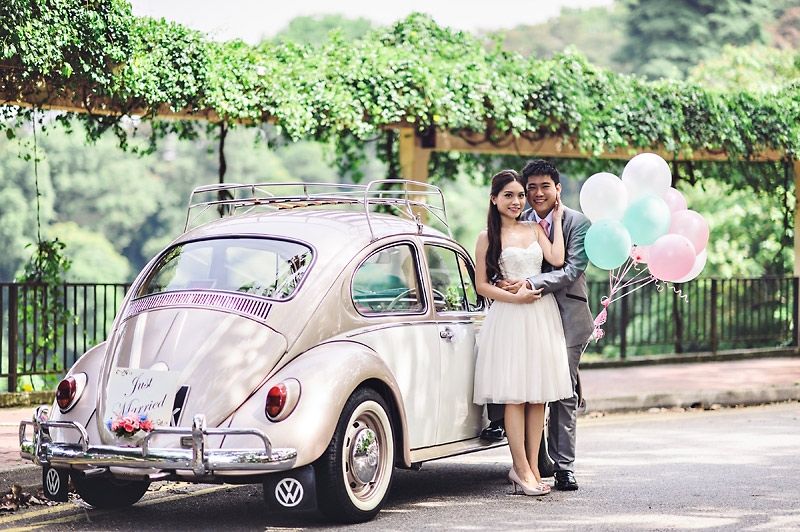
 Consider renting a pastel vintage car if you have the budget – it’ll double up as a cute prop
Image credit: Anton Chia
Lucky you if you own a car! But if you don’t, it’s best to rent one as that will cut you a lot of hassle. You’ll be able to chuck all your outfits and props inside, and easily carry out last-minute store runs if needed.
Besides, if your photoshoot is at an ulu location like Tuas, you might have problems finding cabs or Grab drivers in the area. Better not leave that up to chance.
For rental, it’s important to take note of pickup points and opening/closing hours – choose something near your home or shoot location so you don’t overrun the timing and end up paying for an additional day. You can find a list of affordable car rental companies in our article here.
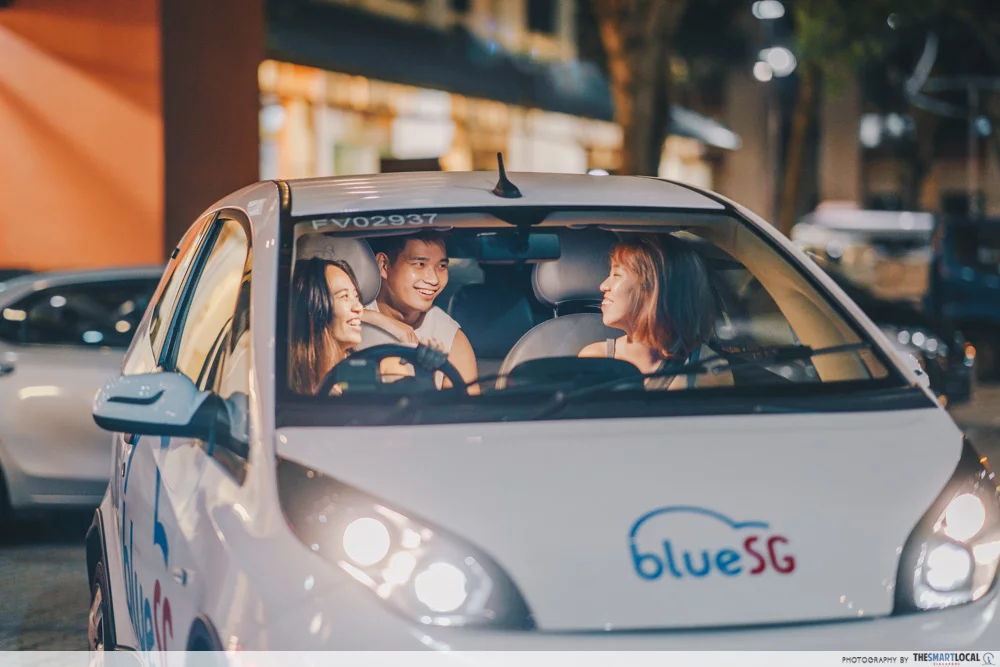
Alternatively, use a car-sharing service like BlueSG, which you can read more about here.
Tip: If you have close friends who drive, try renting from them instead. Chances are they’ll give you a lower rate…or even loan their ride to you for free. If the latter, do help top-up their petrol afterwards as a “thank you” gesture.
Can’t drive? That’s what your best man is for 😉 Alternatively, you can always hire a driver for a day.
5. Trade heels for comfy footwear for running shots and movement between locations
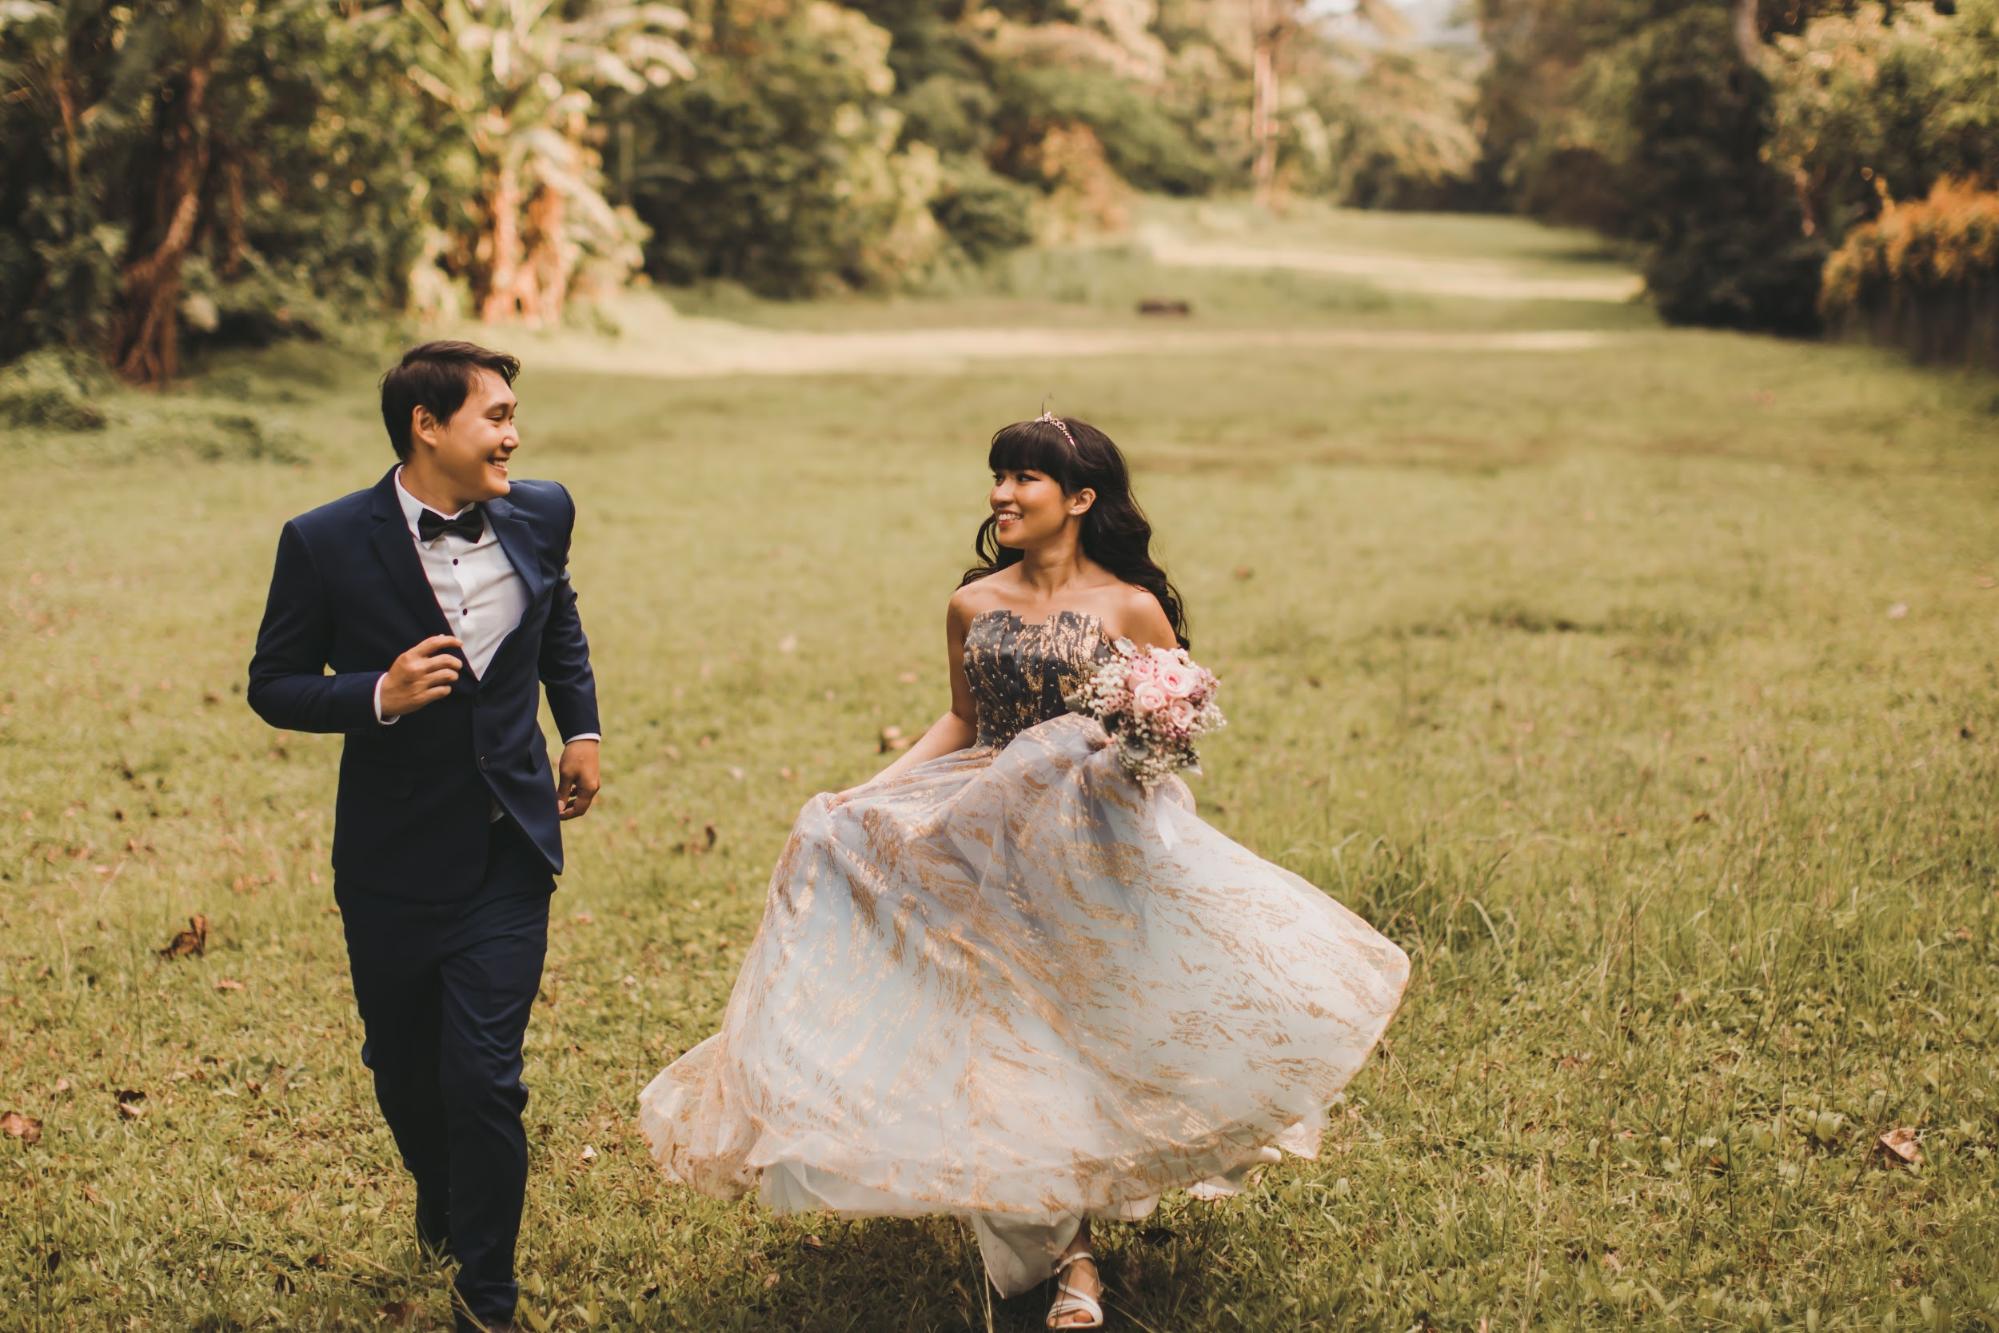
 Image credit: Knotties Frame
What you see: Two people blissfully in love, breezing through a lush field with nary a care in the world. :’)
What you don’t see: Me trying not to die while stumbling up and down a hill in strappy stilettos, on semi-squishy, post-rain soil. And, oh gosh, my terribly sweaty feet.

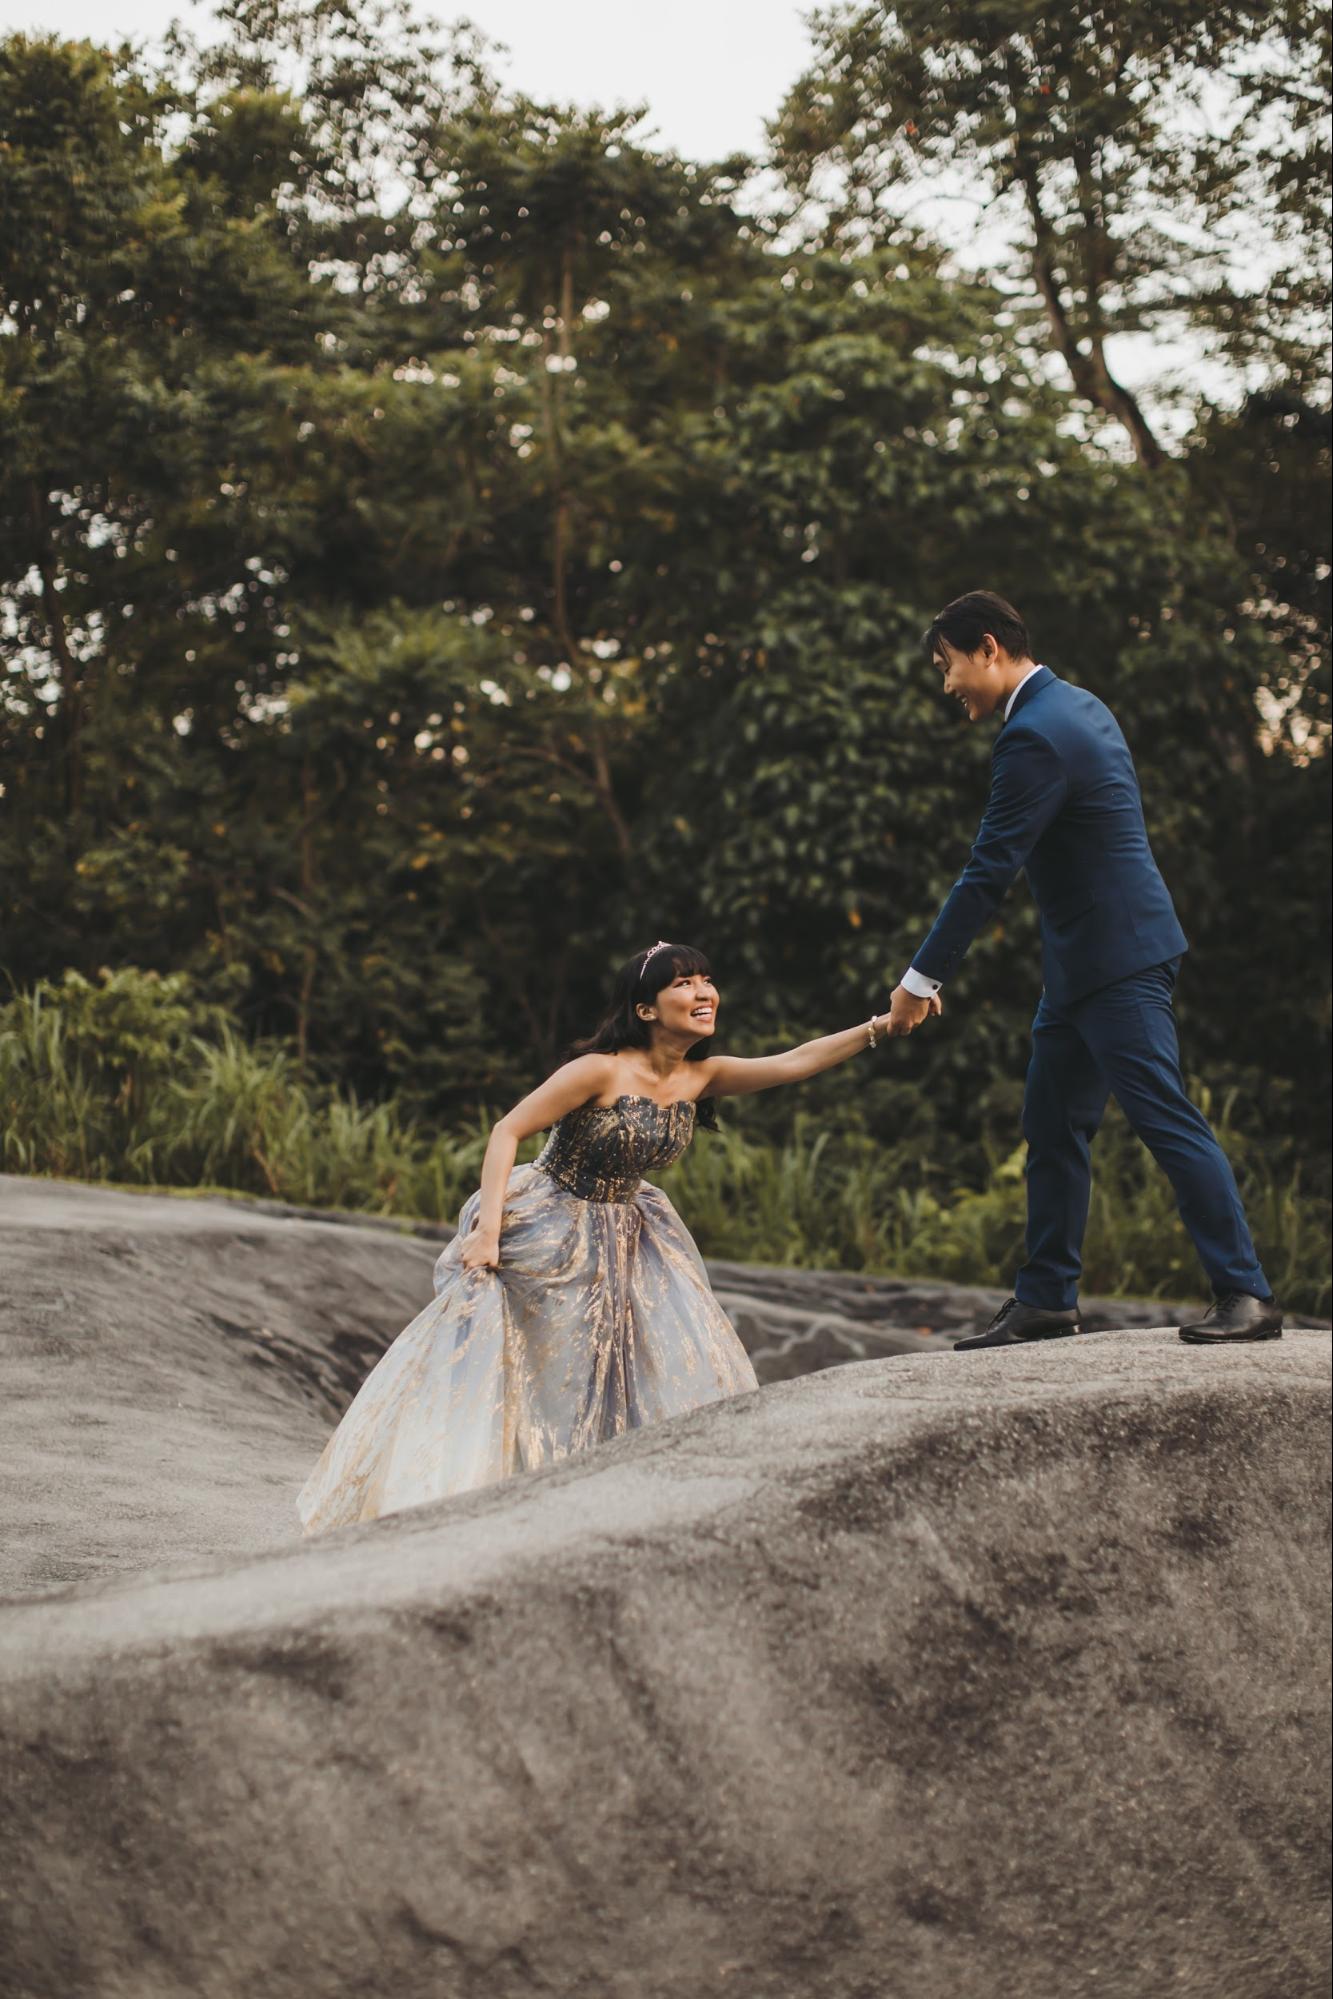 This wasn’t posed. I was really just trying to keep balance while scaling this undulating pump track for mountain bikes.
Image credit: Knotties Frame
I forgot to bring slippers despite instructions from my photographer so I just had to roll with it. It’ll certainly make things much easier if you have comfy footwear for running shots and convenient movement between locations. This will come in especially helpful if you’re going to be in precarious positions or perched on high platforms like Fort Canning Park’s spiral staircase.
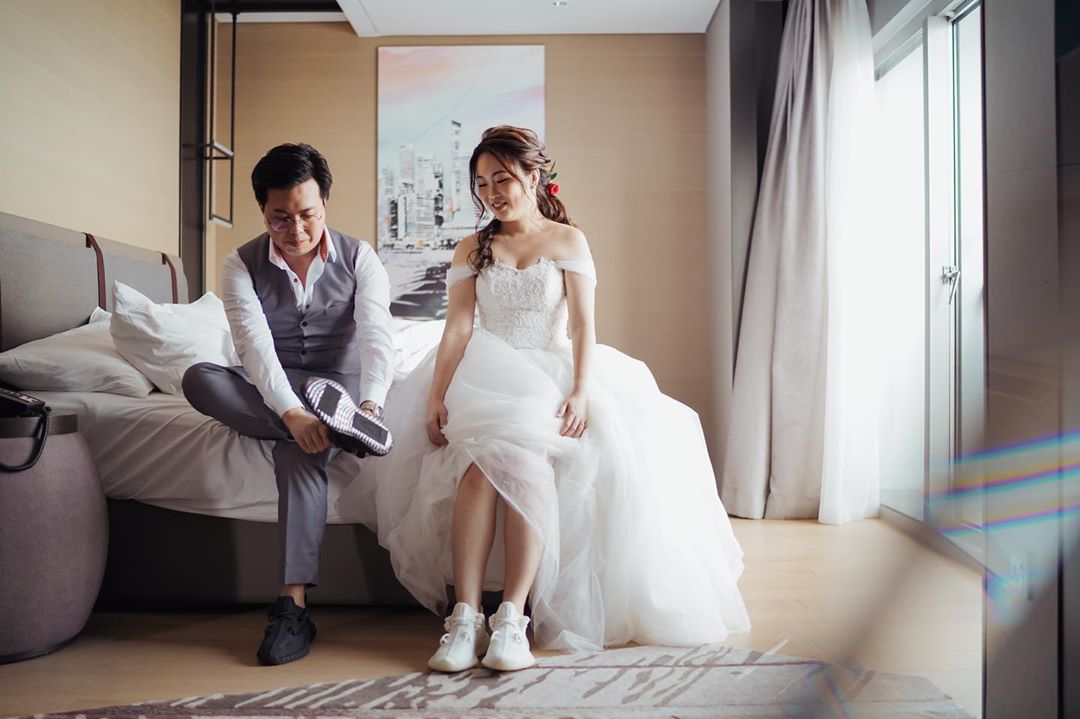
 Image credit: @jeffery.koh
If you don’t need that added lift, you could scrap the heels altogether and do the entire shoot in trusty Converse Chuck Taylors or hidden wedge sneakers – a growing trend these days.
6. Have an emergency kit on hand with wet wipes and insect repellent
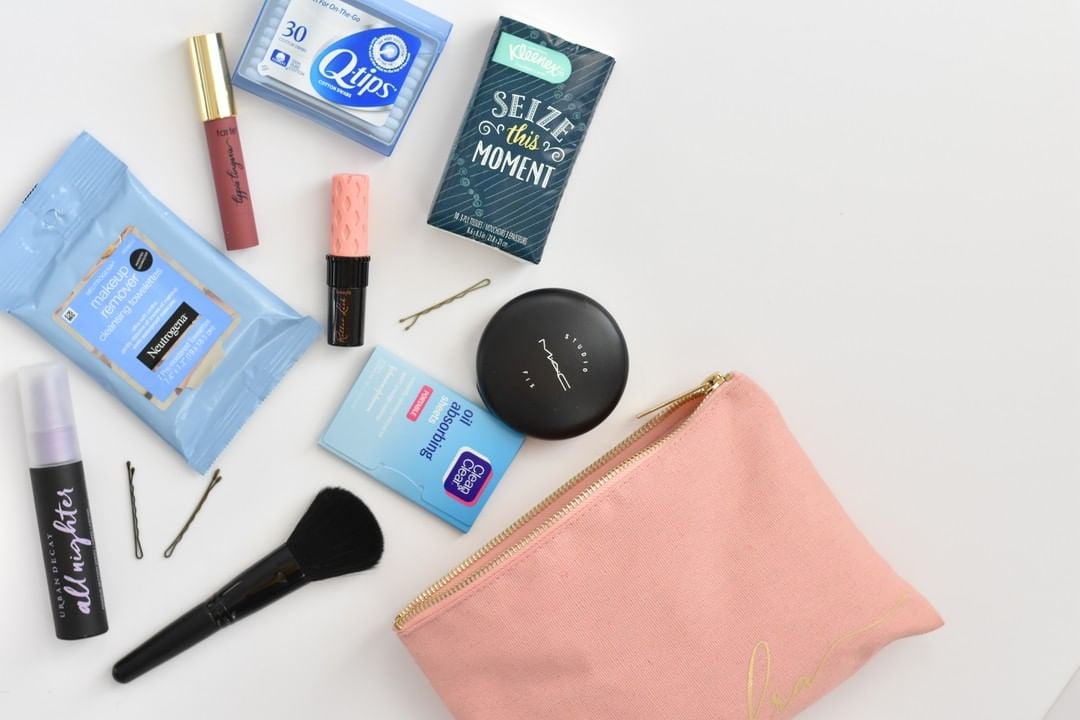
 Image credit: @moliveriartistry
You want to be prepared for any mishaps that can hinder the process. Have an emergency kit on hand with the following, especially if it’s an outdoor shoot:
- Tissue and wet wipes in case anything gets soiled
- Insect repellent
- Portable fan if you’re prone to sweating
- Safety pins in case anything gives way
- Water
- Facial blotter, hair spray, bobby pins and makeup for touch-ups if you don’t have a MUA
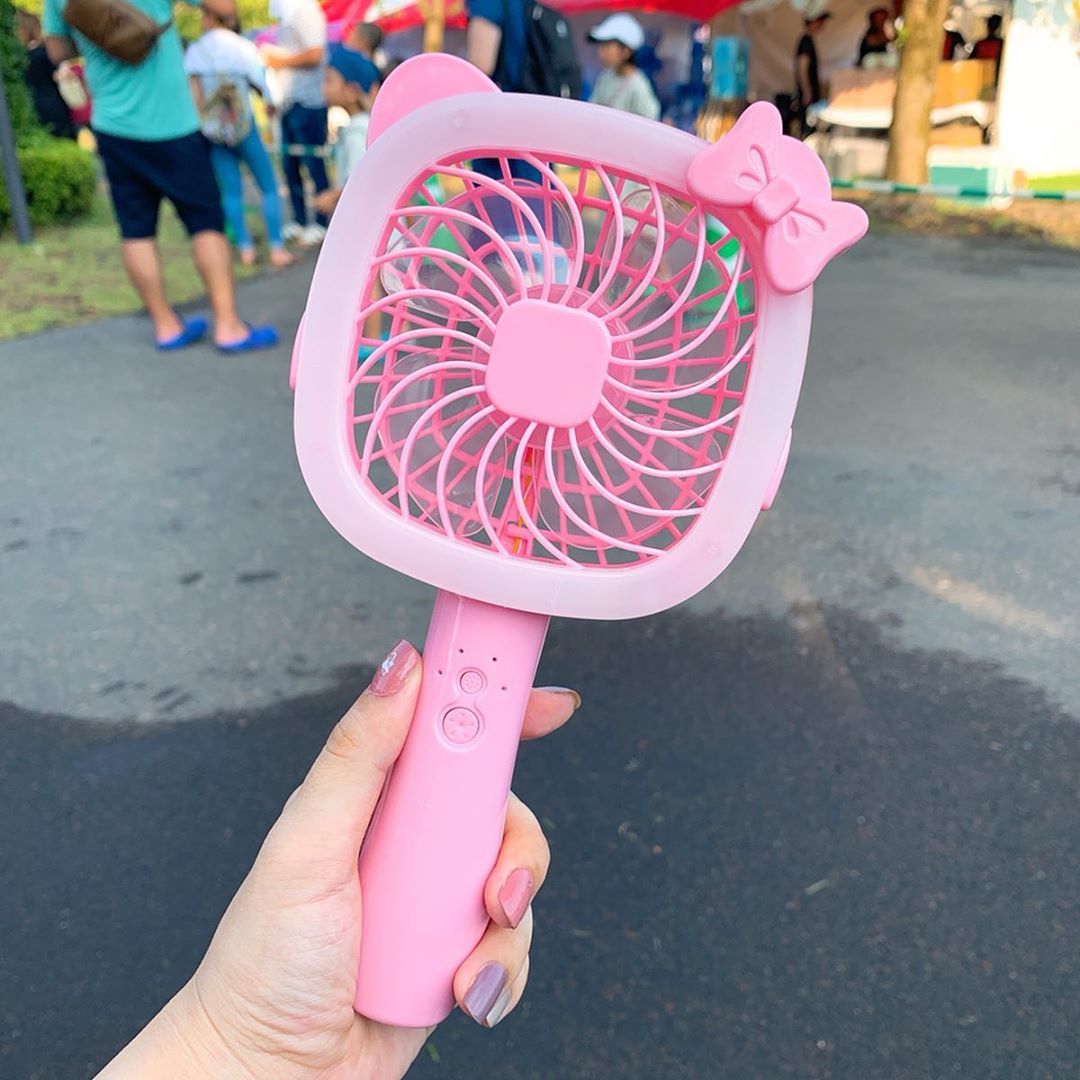
 Image credit: @cosme_q1o
7. Bring a transparent umbrella which can double up as a prop in case of rain
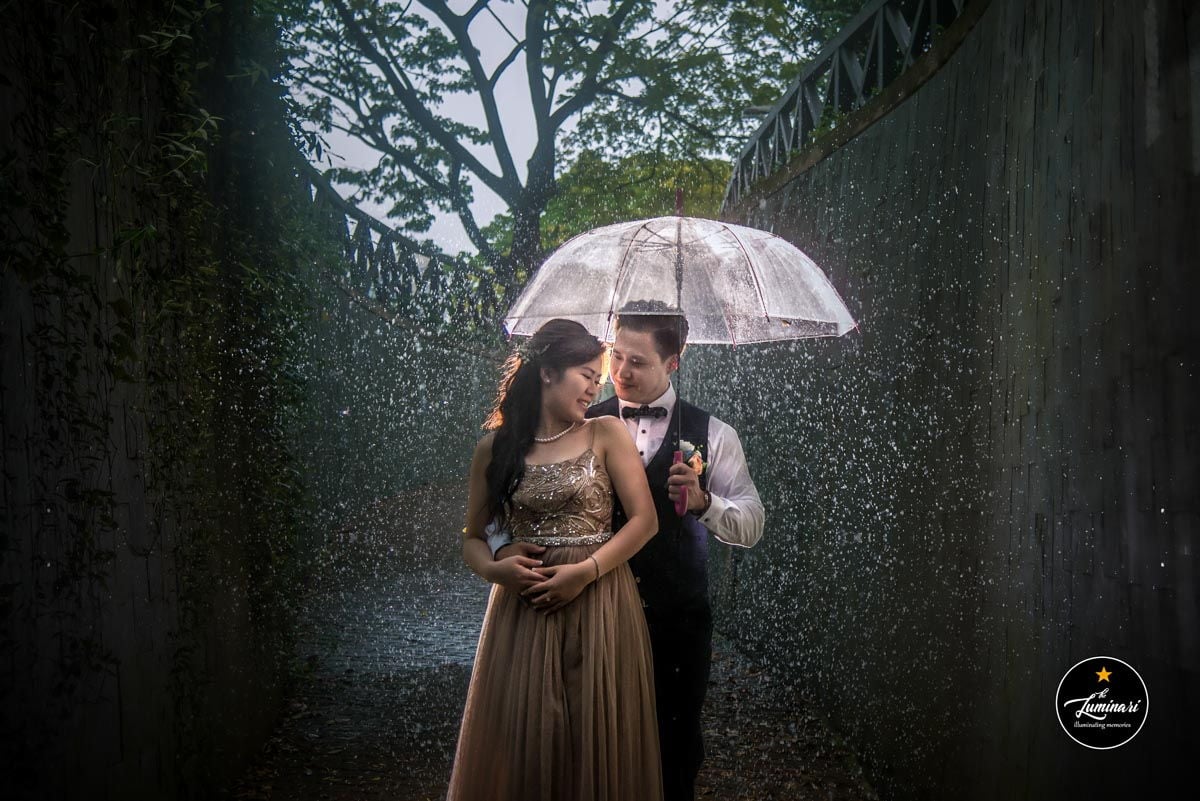
 Image credit: The Luminari
Nobody likes having their parade rained on, but it’s not like we can do cloud seeding just to halt Mother Nature for our photoshoots. A transparent umbrella will come in real handy in the event of an unlikely shower – both as shelter and a prop for Taiwanese drama-worthy shots.
Why transparent? It’s non-jarring, and well, just imagine one of those obiang “free gift” umbrellas with huge logos maring your shots. ‘Nuff said.
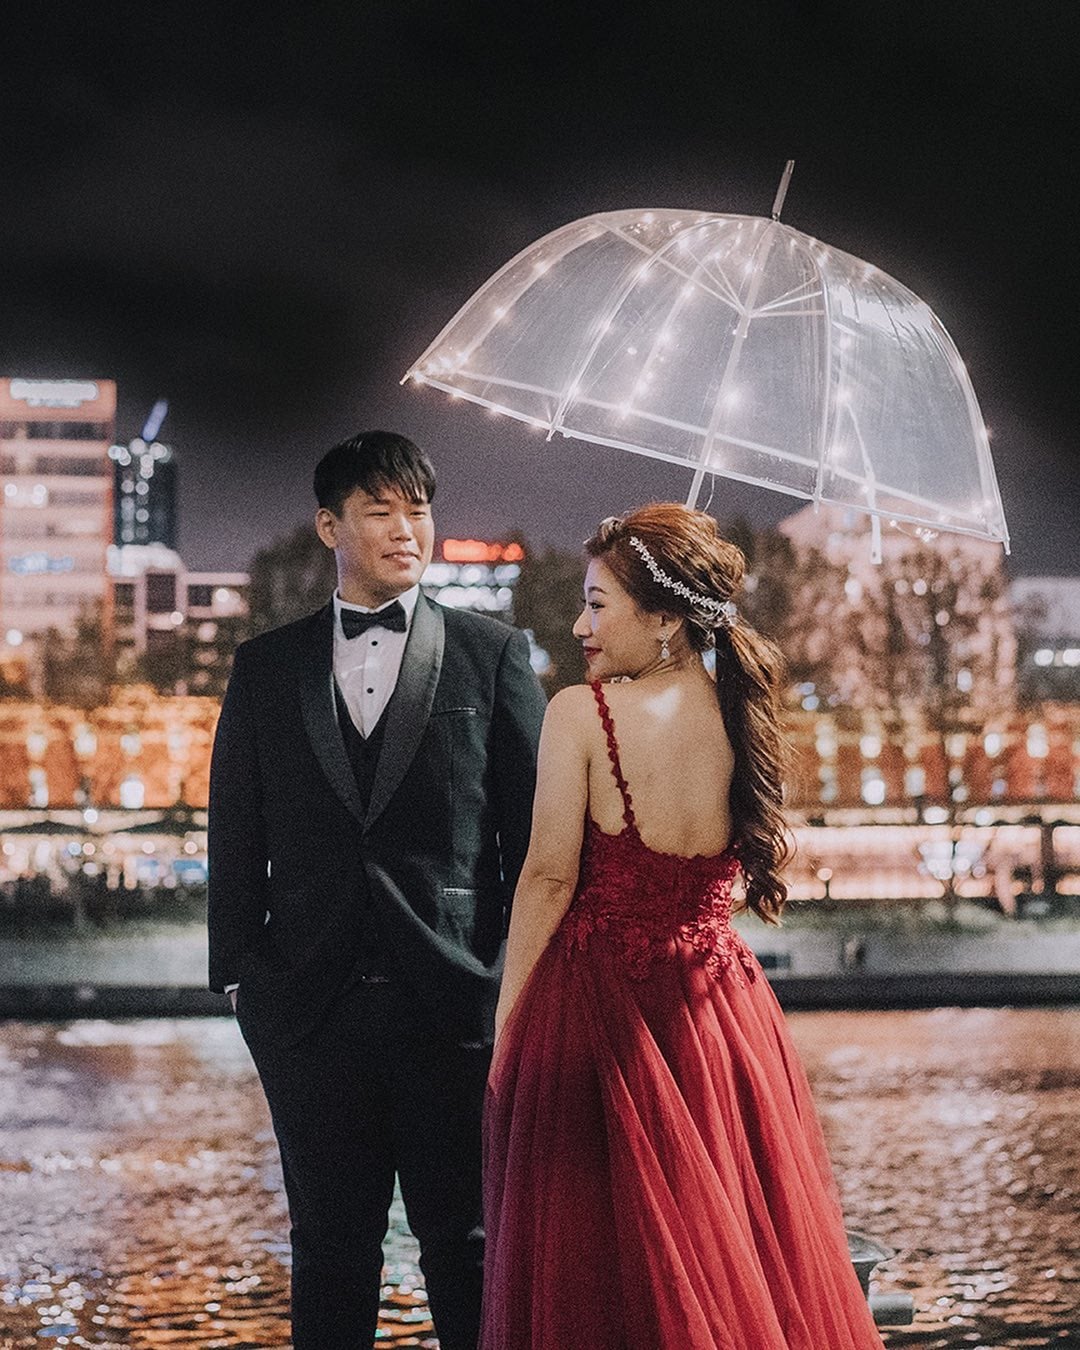
 Image credit: @couleursproductions
Tip: If it doesn’t rain, string fairy lights around the umbrella for a romantic touch. But please don’t do that in wet weather as that’ll put you at risk of electrocution.
– Photography –
8. Let your photog know your good angles and preferred mood
Some of us are single angle queens with a “good side” and “bad side” when it comes to photos. My photographer asked whether I had any preferred angles before starting, but if yours doesn’t, make sure you tell them.
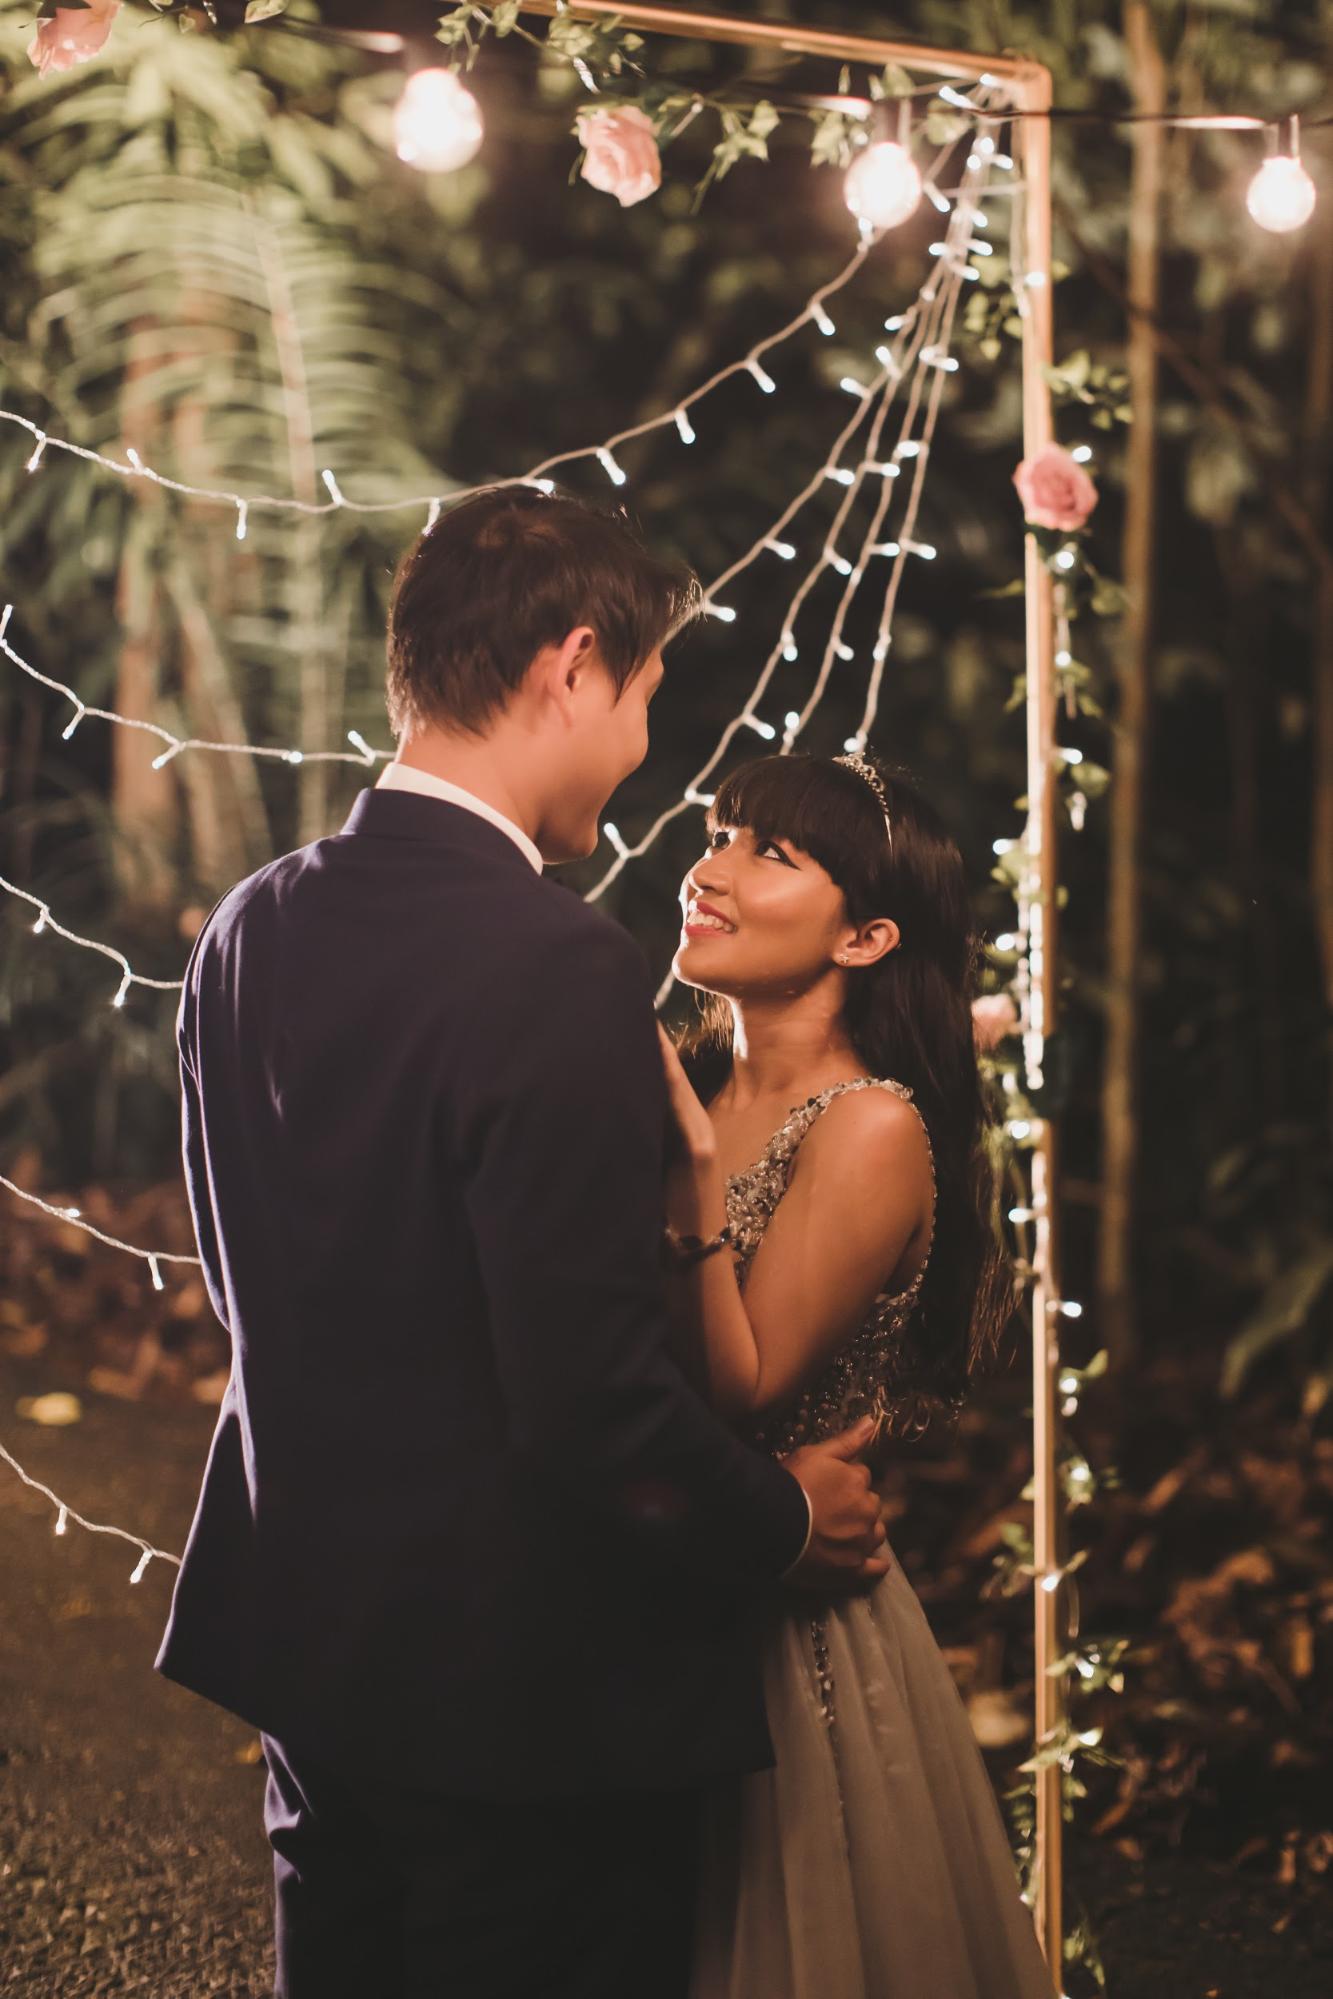 My left side is my “good side”, so my photog made an effort to angle most of my shots accordingly.
Image credit: Knotties Frame
Do also make clear what sort of mood you want for your photos. Some photographers might have their own idea of what they envision for your shoot, and many try to incorporate the dynamics of the couple’s relationship into it – but if you’re not on board, don’t be afraid to voice that out.
Based on the goofy nature of my relationship, my photog initially suggested something wacky and fun, with more candid shots and props like party glasses and hats. However, I politely rejected and requested for something elegant and dreamy instead – and the results were everything I hoped for. Communication is key!
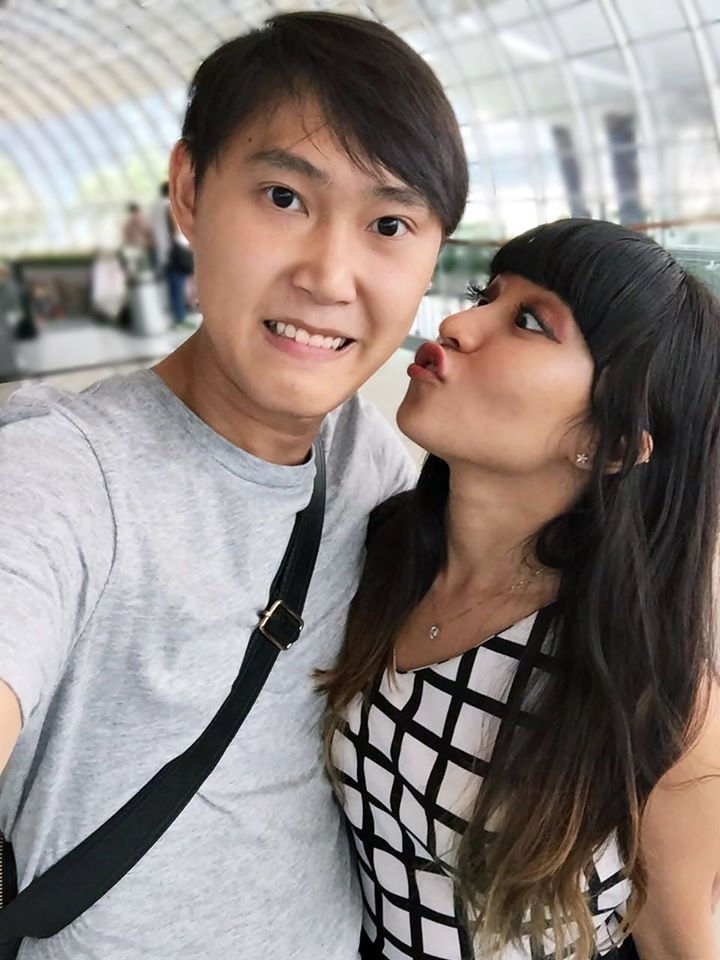
 Our true selves, but not how we want to be immortalised in our wedding photos!
Image credit: @caramellechaos
At the end of the day, your photographer won’t know your preferences unless you speak up, so help them to help you achieve your desired look. You are the client after all, and it’s their job to accede to your requests.
That said, you’ve hired a professional, so don’t assume that you know better than them on everything. Trust them, be open-minded to suggestions, and allow them to direct you during the shoot.
9. Make sure there’s a pre-decided wet weather plan
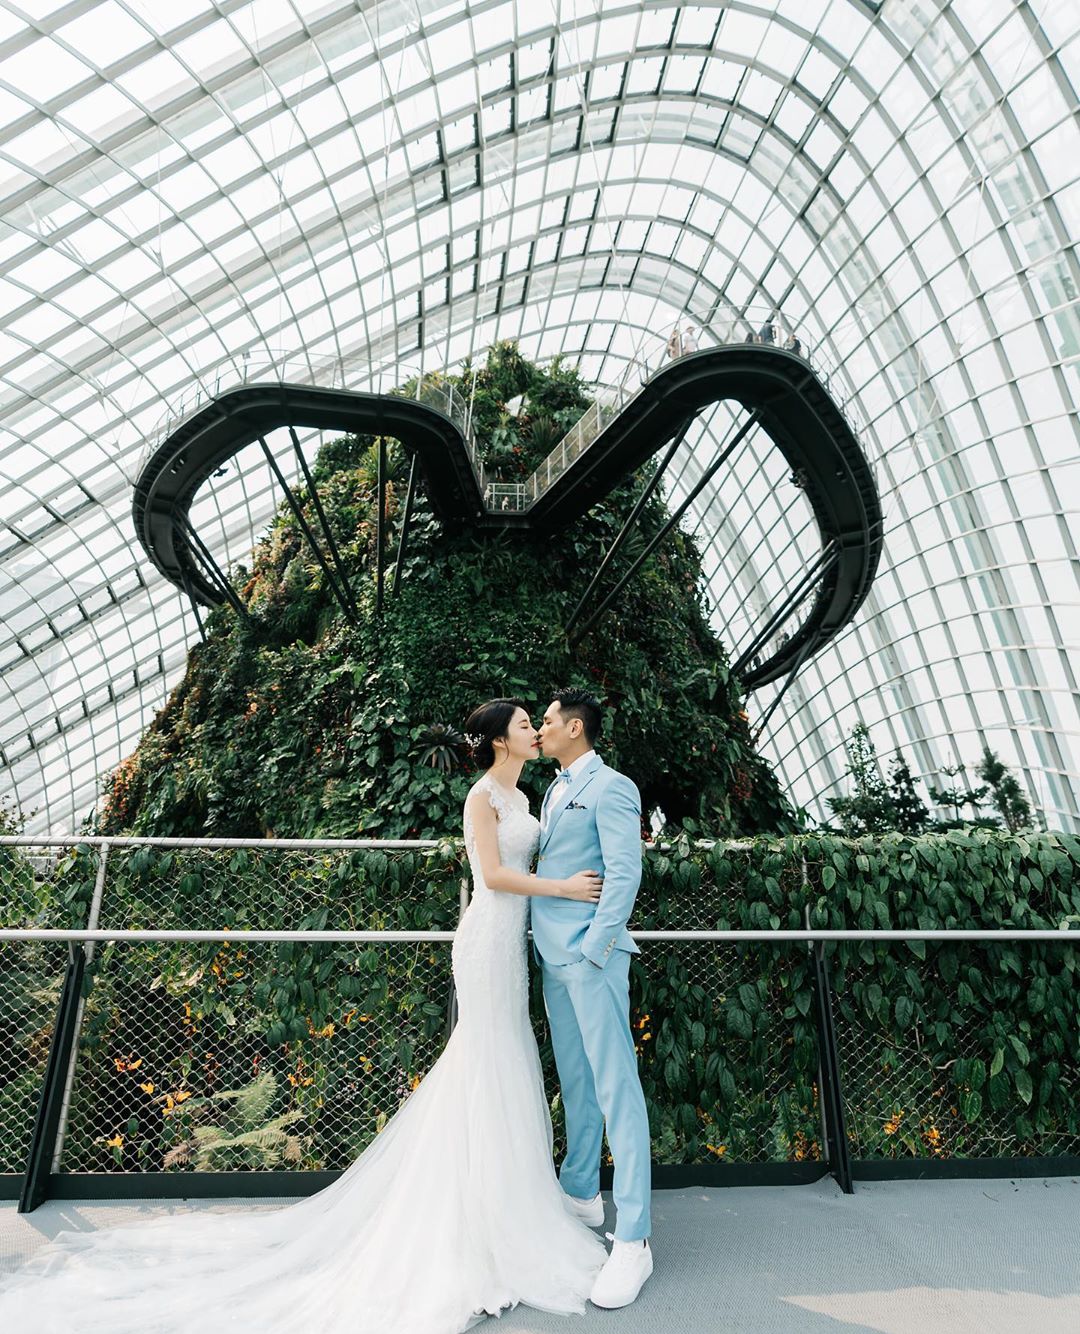
Cloud Forest at Gardens by the Bay
Image credit: @onethreeonefour
There are usually 2 options when it comes to sudden inclement weather: Postponing the shoot or moving to an indoor location. Make sure this has been discussed with your photographer beforehand, right down to the potential backup locations. You don’t want a situation in which you’re all standing around deciding what to do while wasting precious time.
Most convenient would be places near your shoot venue. If you’re shooting in a park, you might want to do some prior research on the various shelter points within which may be photogenic enough.
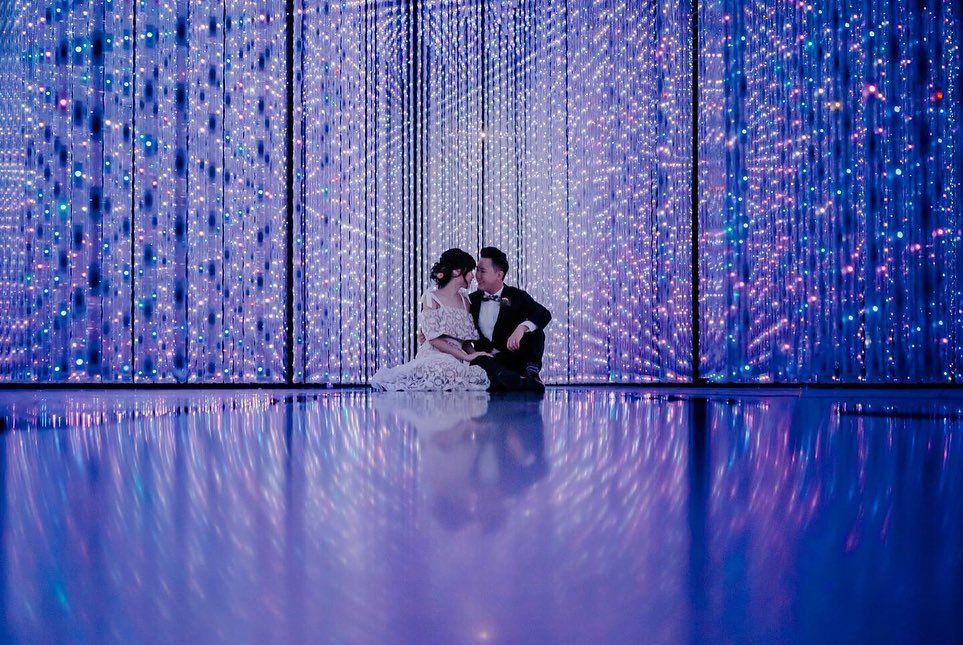
Future World exhibition at ArtScience Museum
Image credit: @nataliewongphotography
Otherwise, you can turn to various buildings and attractions in the heart of our concrete jungle, such as: the ticketed portions of Gardens by the Bay, Marina Bay Sands, museums, Changi Airport, and various covered bridges and walkways.
10. Practise posing with your partner so you’ll feel comfortable during the real thing

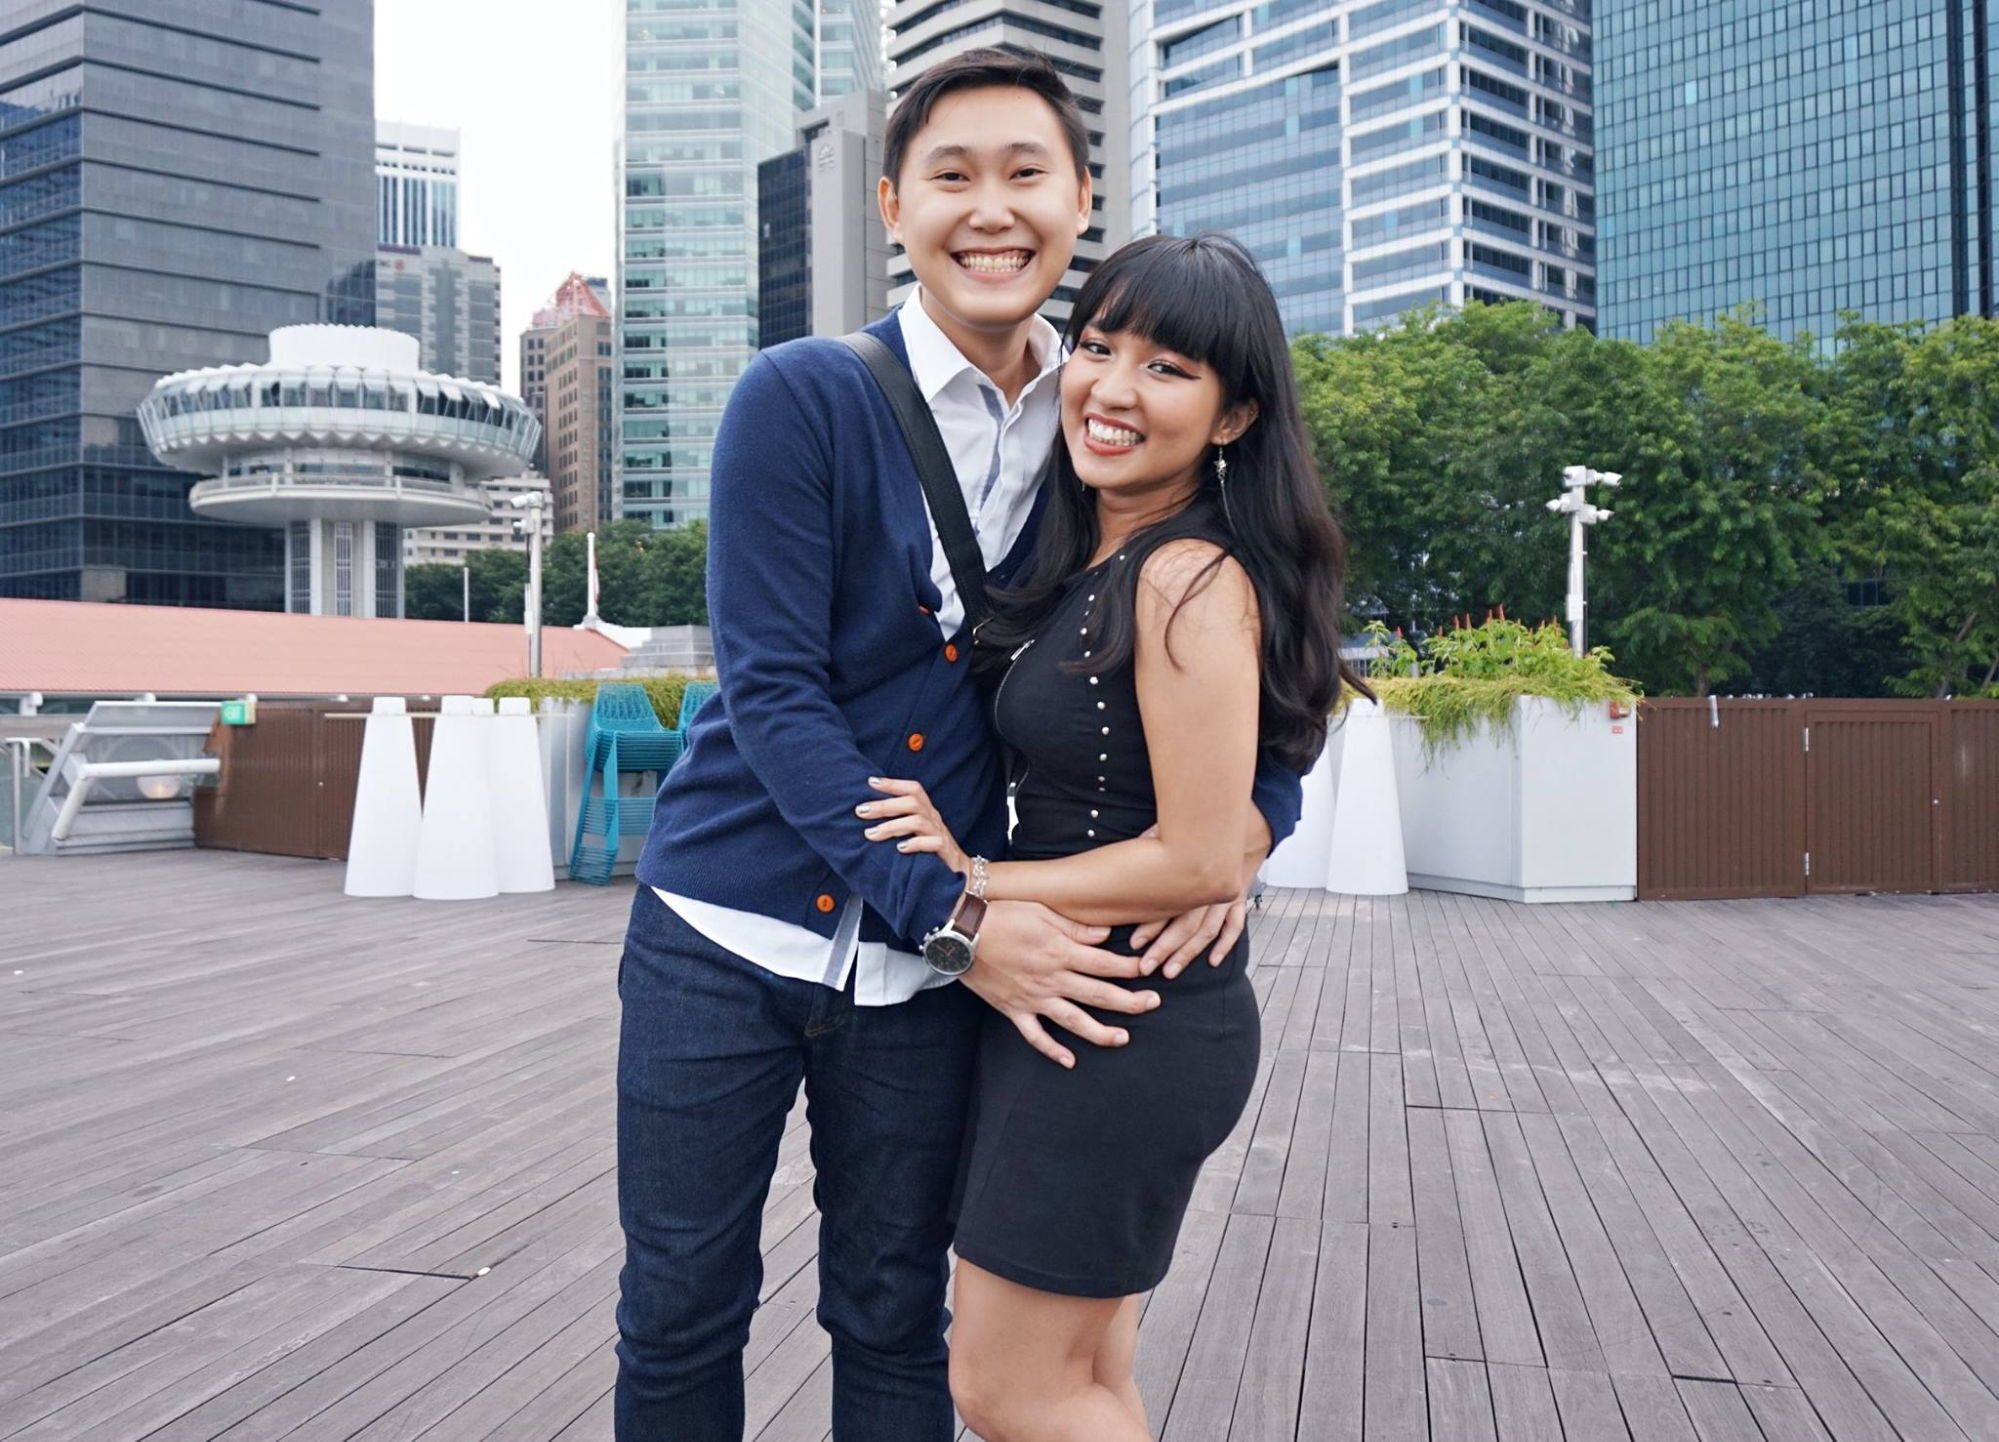 We took this with my camera balanced on a chair as a makeshift tripod and couldn’t help breaking out in laughter mid-way
Image credit: @caramellechaos
You may have tons of couple selfies dominating your phone gallery, but getting formal posed shots taken by someone else is a different story. Try practising poses with your partner using a tripod so you’ll feel more comfortable, and experiment with a variety of poses – not just those where you’re looking straight at the camera.
Check your stance, posture, and even little details like placement of hands when reviewing the photos. You might also want to try angling your faces for kissing shots so you don’t suffer from “squished nose syndrome”.
Nailing your poses and being more confident in front of the camera will help maximise your shoot timing – so you won’t spend the first 20 minutes delivering nothing but stiffness – and will also minimise unglams of you guys with awkward unnatural smiles.
11. Have a written agreement regarding delivery date of photos
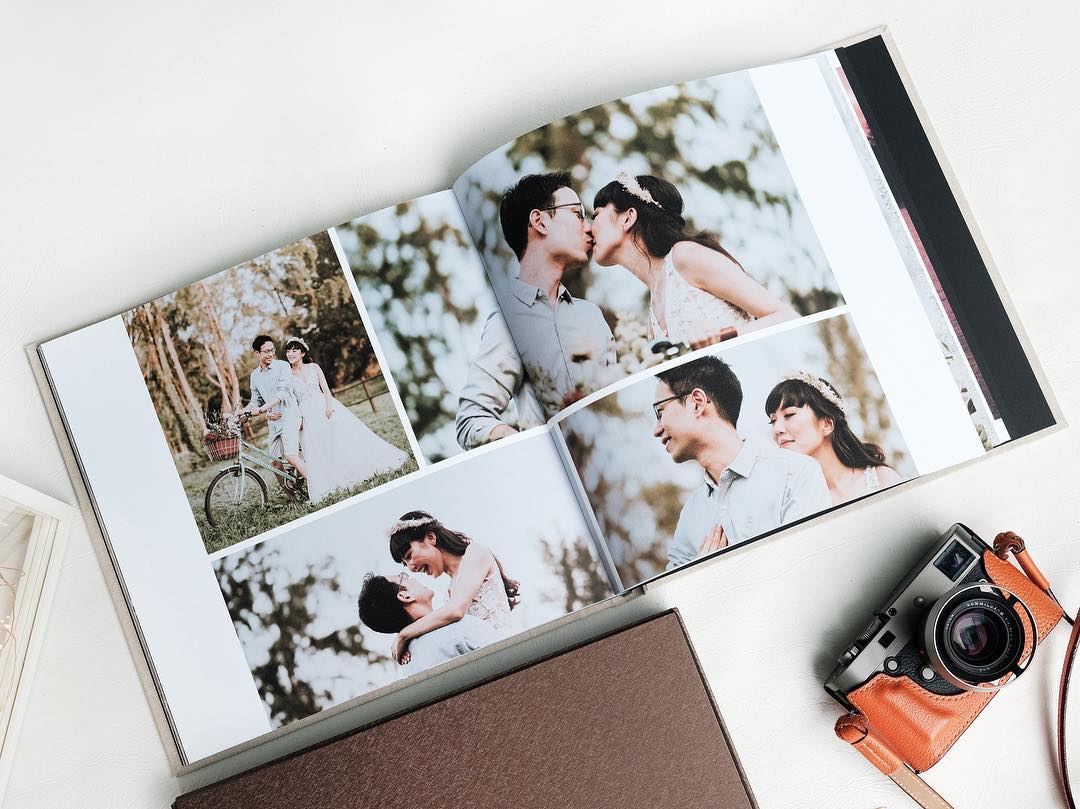
 Image credit: @artisanprintscom
You definitely want your pictures to arrive in time so they can be used for your wedding slideshow or reception table.
I’ve seen many disgruntled brides complain on forums about their photographers dragging the delivery of the final product out for months – some real dodgy stuff right there.
To begin with, this shouldn’t even be a problem if you’ve booked a reputable bridal studio. But either way, it’s always good to have a black and white agreement on a deadline for the photos to be sent – whether by email, text, or on paper – and if they fail to deliver, it might be possible to take legal action.
Mine was clearly stated as 4-8 weeks from the shoot date, and I received them in 6 without any fuss. Yay!
– Props –
12. When in doubt, more is more
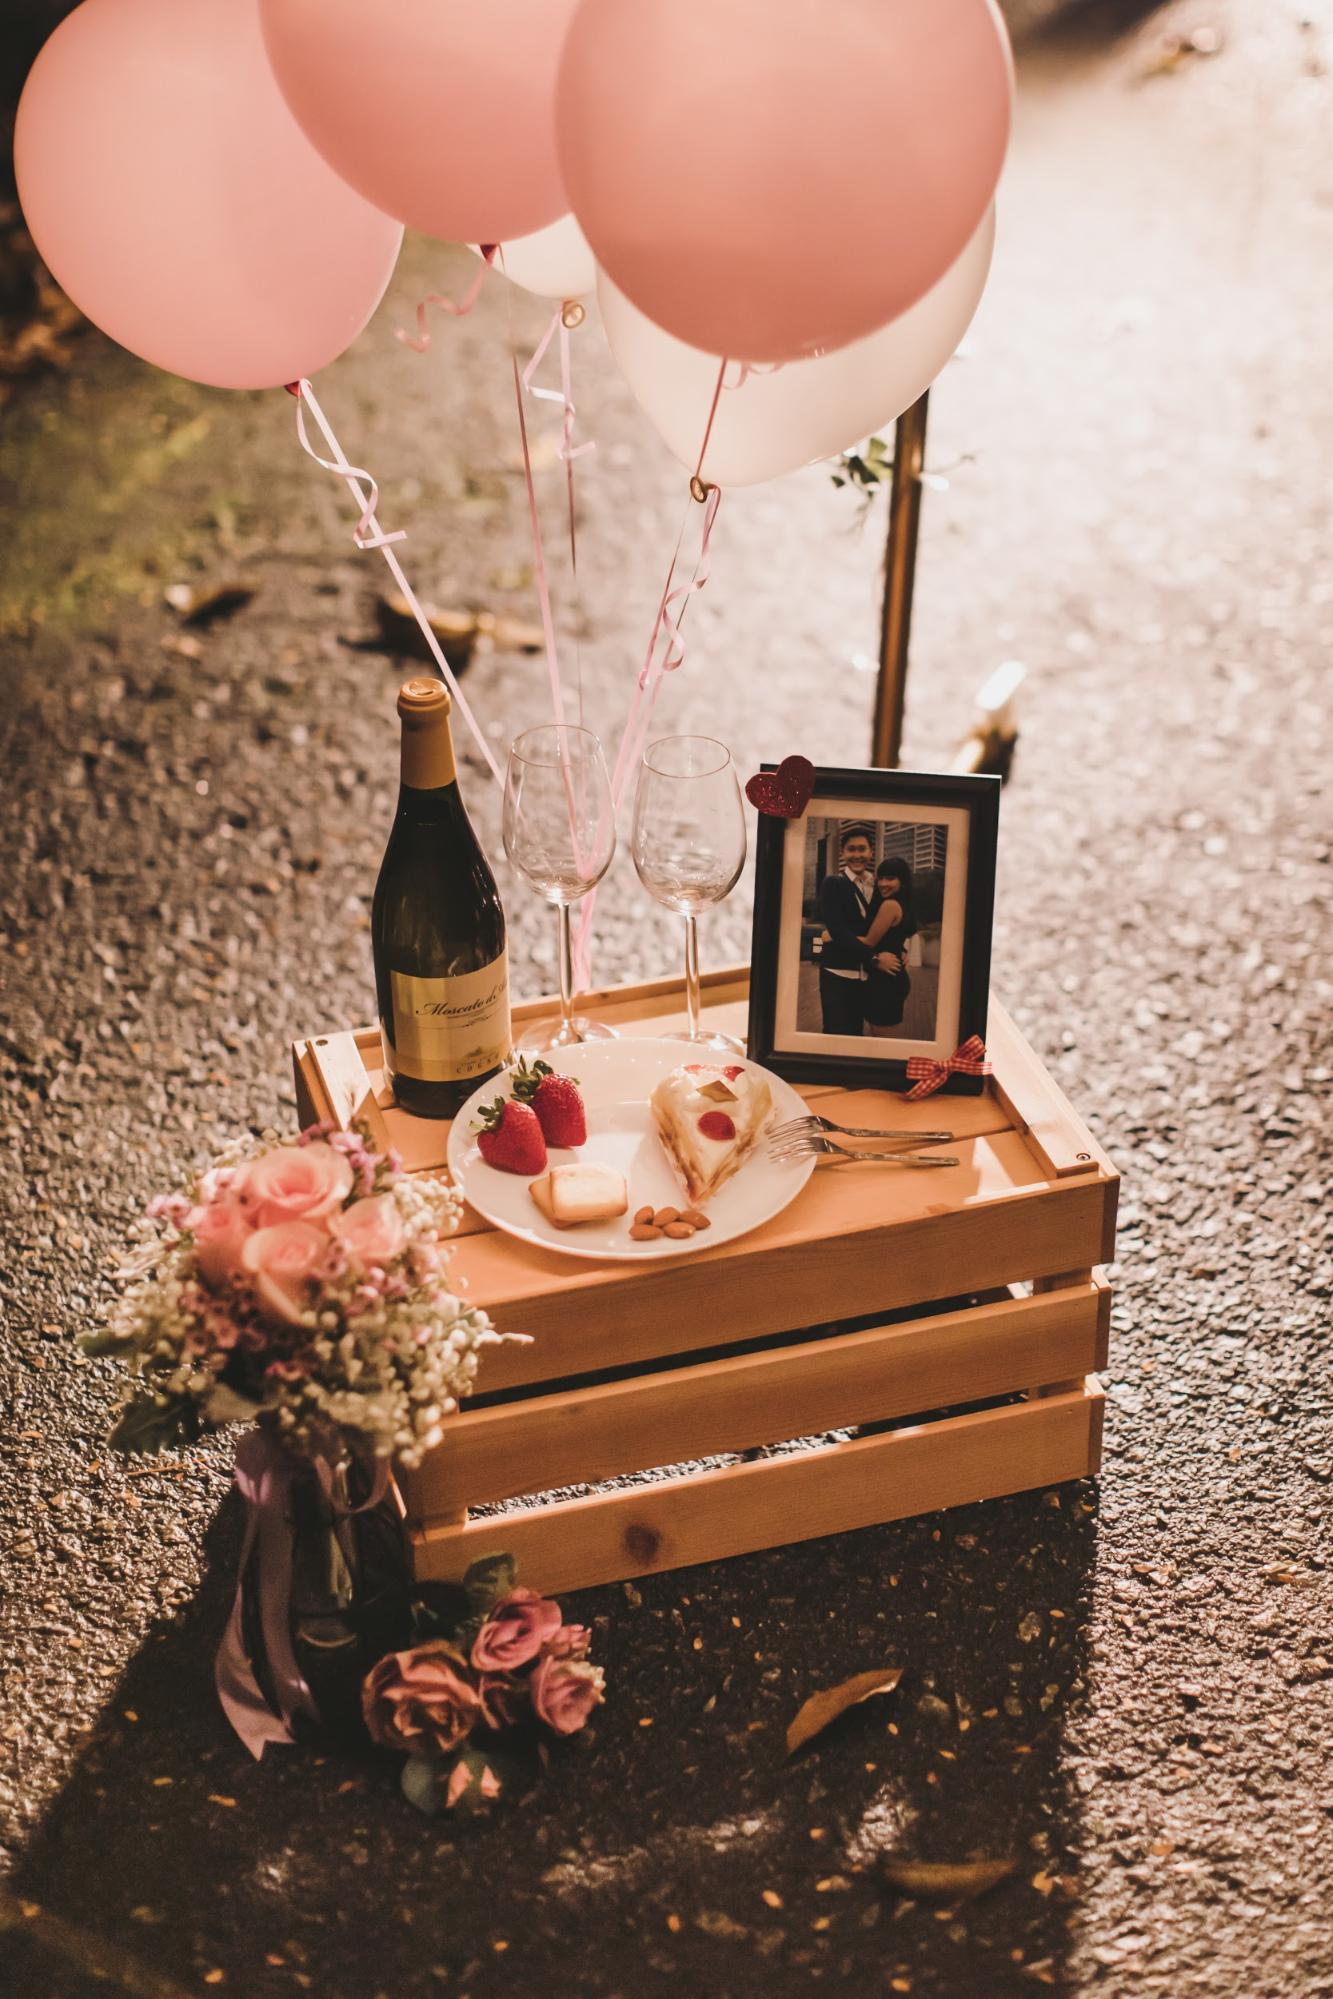 Image credit: Knotties Frame
Props are optional, but can provide some variation and added colour to your shots, especially if you’re doing a styled photoshoot.
Some prop ideas to consider:
- Champagne
- Small snacks like fruits, cake, and cookies
- Fairy lights
- Balloons
- Bubbles
- Sparklers
- Items symbolic to your relationship (couple photo printouts, handmade gifts, ticket stubs, stuffed toys etc)
- A small musical instrument
- Fresh or artificial flowers
- Engagement ring or wedding bands, if any
Being the sort of person who likes to go over the top, I was eager to bring a variety of props but in the midst of rushing to buy everything, I began second-guessing myself and wondered if it was all too excessive.
However, as Murphy’s law would have it: Anything that can go wrong will go wrong.
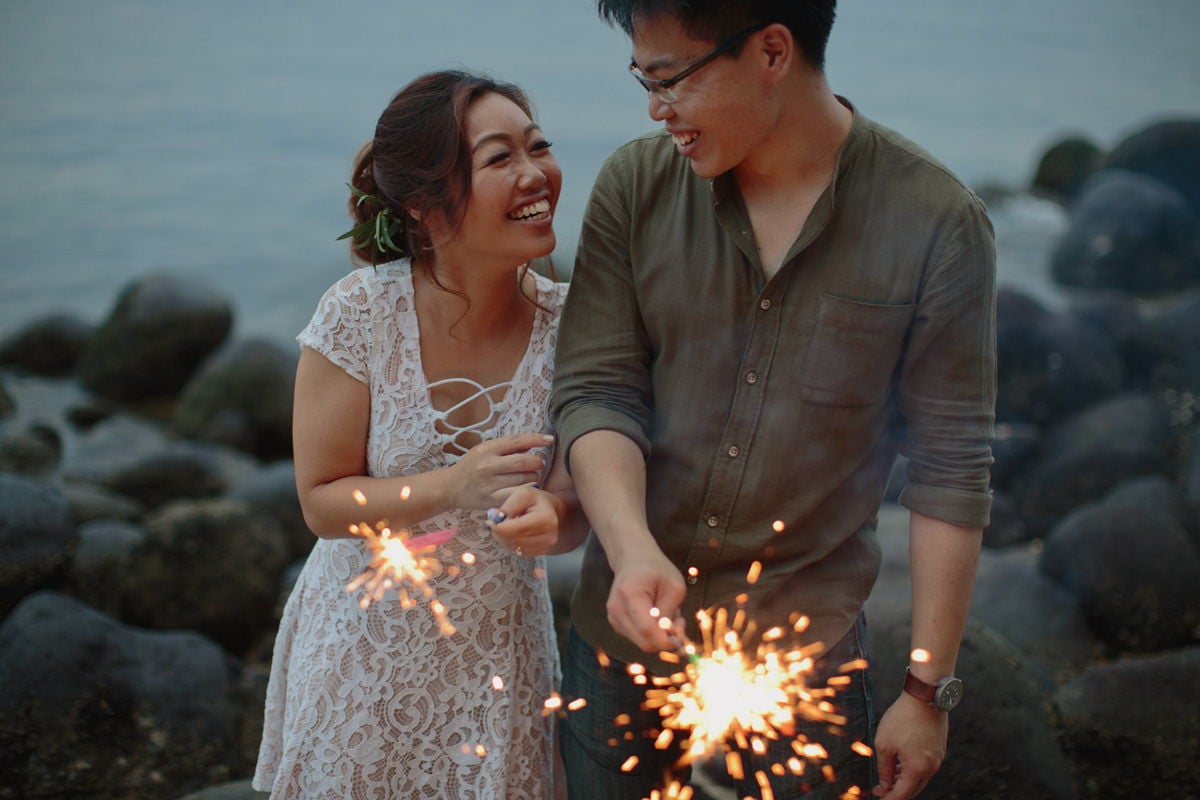
 Sparklers help brighten up photos taken at dusk
Image credit: UnderTheStars Photography
I forgot to pack the sparklers, the wine couldn’t be uncorked because we didn’t think to bring an opener, and somehow the bubbles were unblowable despite being brand new. Please test your bubbles upon purchase.
Good thing we had plenty other props to tide us through. If there’s anything to be learnt from my experience: When in doubt, MORE IS MORE.
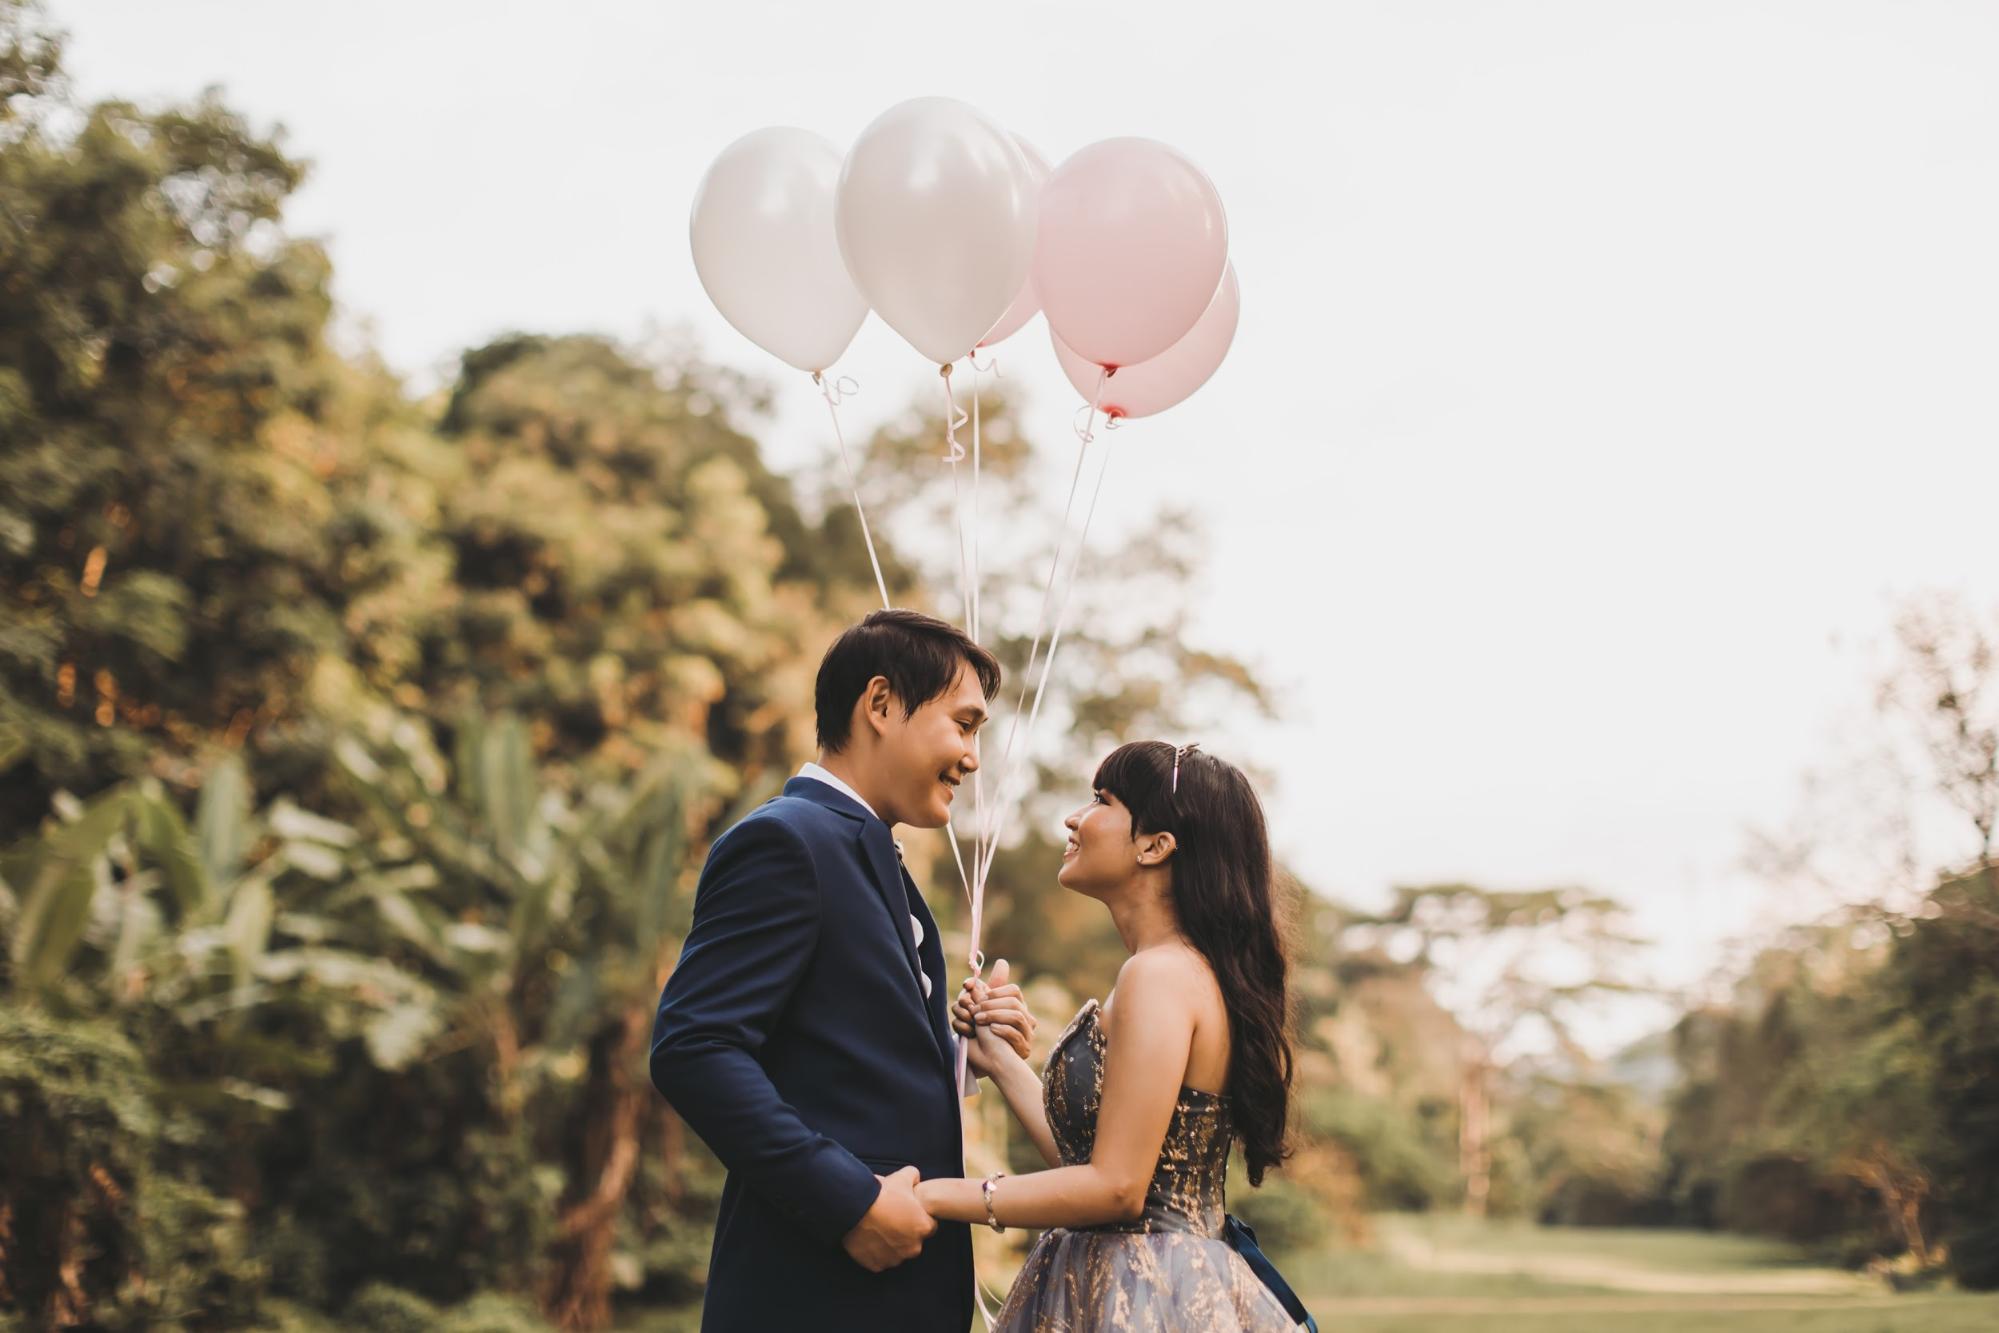
 Image credit: Knotties Frame
Tip: The number of balloons really makes a difference, so don’t scrimp. I’ve seen photos featuring just 2-3 regular-sized helium balloons and found them a little lacking. 5-7 would be substantial enough, but it won’t hurt to get even more. But if you’re going for the large round type or colourful foil ones, then a little goes a long way.
If you’d rather not put in the effort, outsource the decor to a picnic setup company – or even a glamping company, if you’re up for a post-shoot outdoor staycation. Check out our articles on picnic setup services, picnic spots, and glamping companies for some ideas.

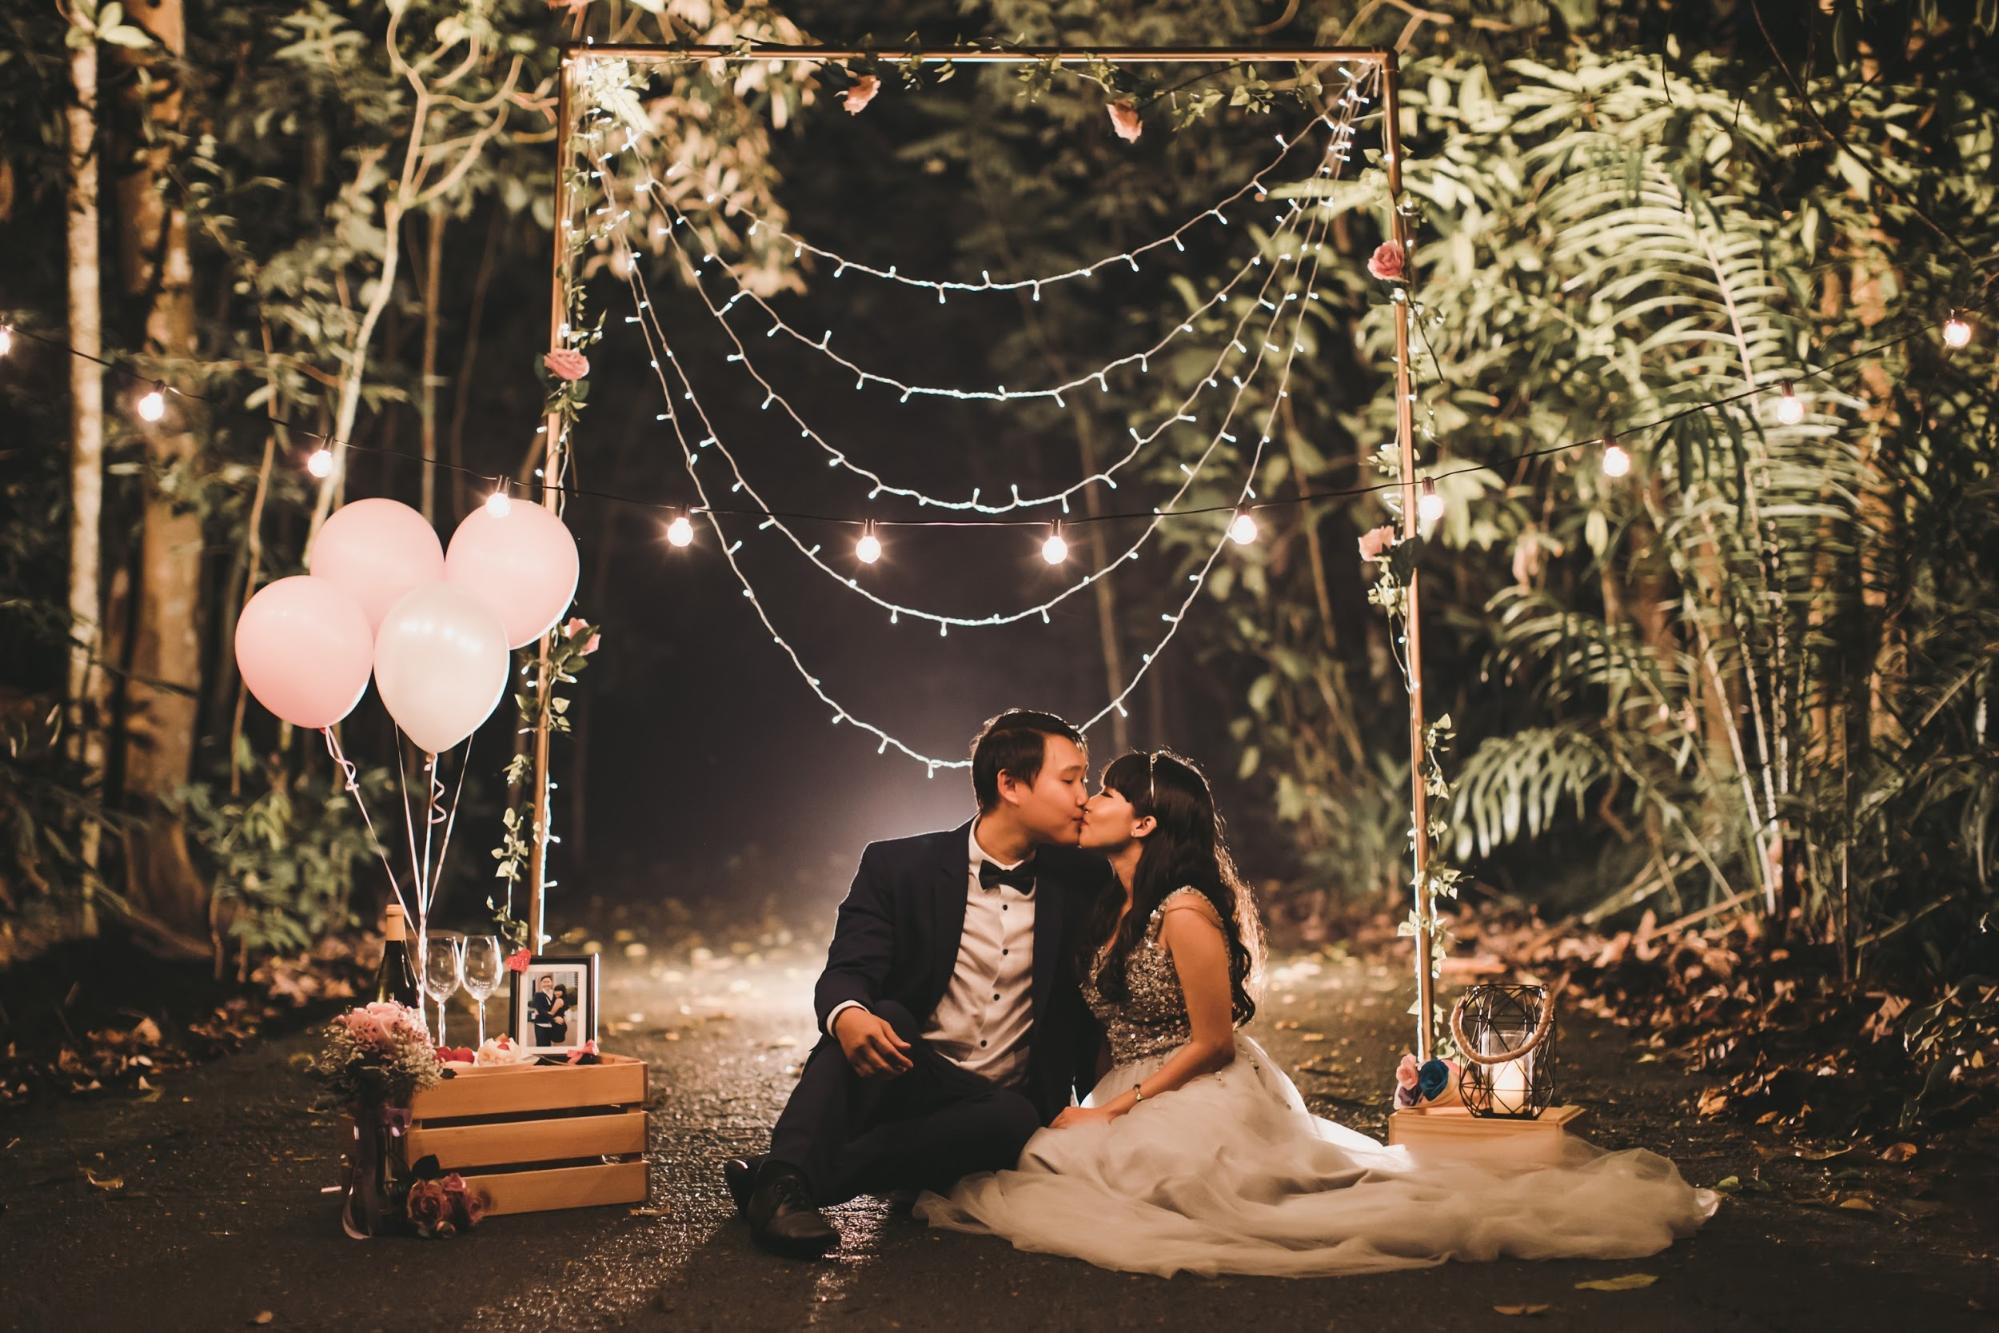 This styled setup was part of my photography package with Knotties Frame. The metal frame, crates, and lighting were provided and props were our own.
Image credit: Knotties Frame
13. Plaza Singapura is a great place to shop for props
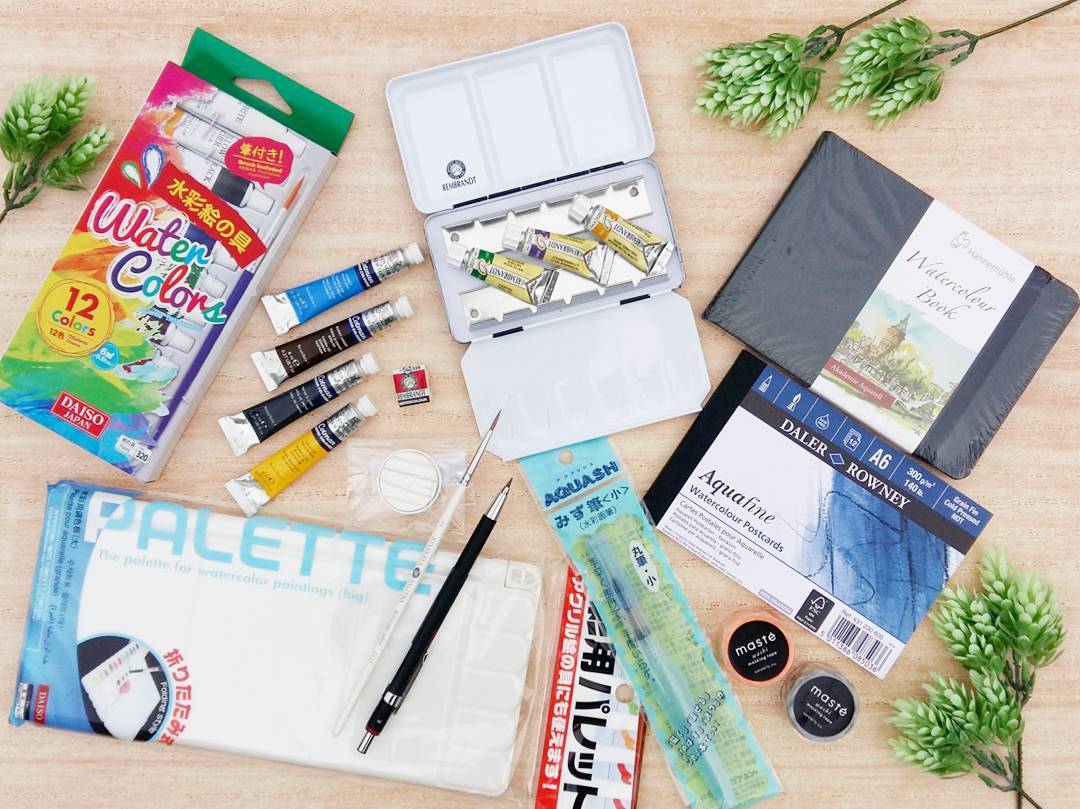
 Image credit: @bunnyatdawn
Head straight to Plaza Singapura to do your prop shopping and you’ll probably be able to check off most, if not all items from your checklist. With Art Friend, Daiso, and Spotlight all in one mall, it’ll be extremely easy for you to compare prices and flit from one store to another if something isn’t available.
I nearly bought my mini wooden pegs from Spotlight for around $6, but found the same thing being sold at a greater quantity at Daiso for just $2. The latter also has a selection of artificial flowers and vines, which I bought to incorporate in the backdrop of my night setup.
Tip: Use the same props for your wedding reception table or even as part of your home decor to save money.
Pre-wedding photoshoots in Singapore
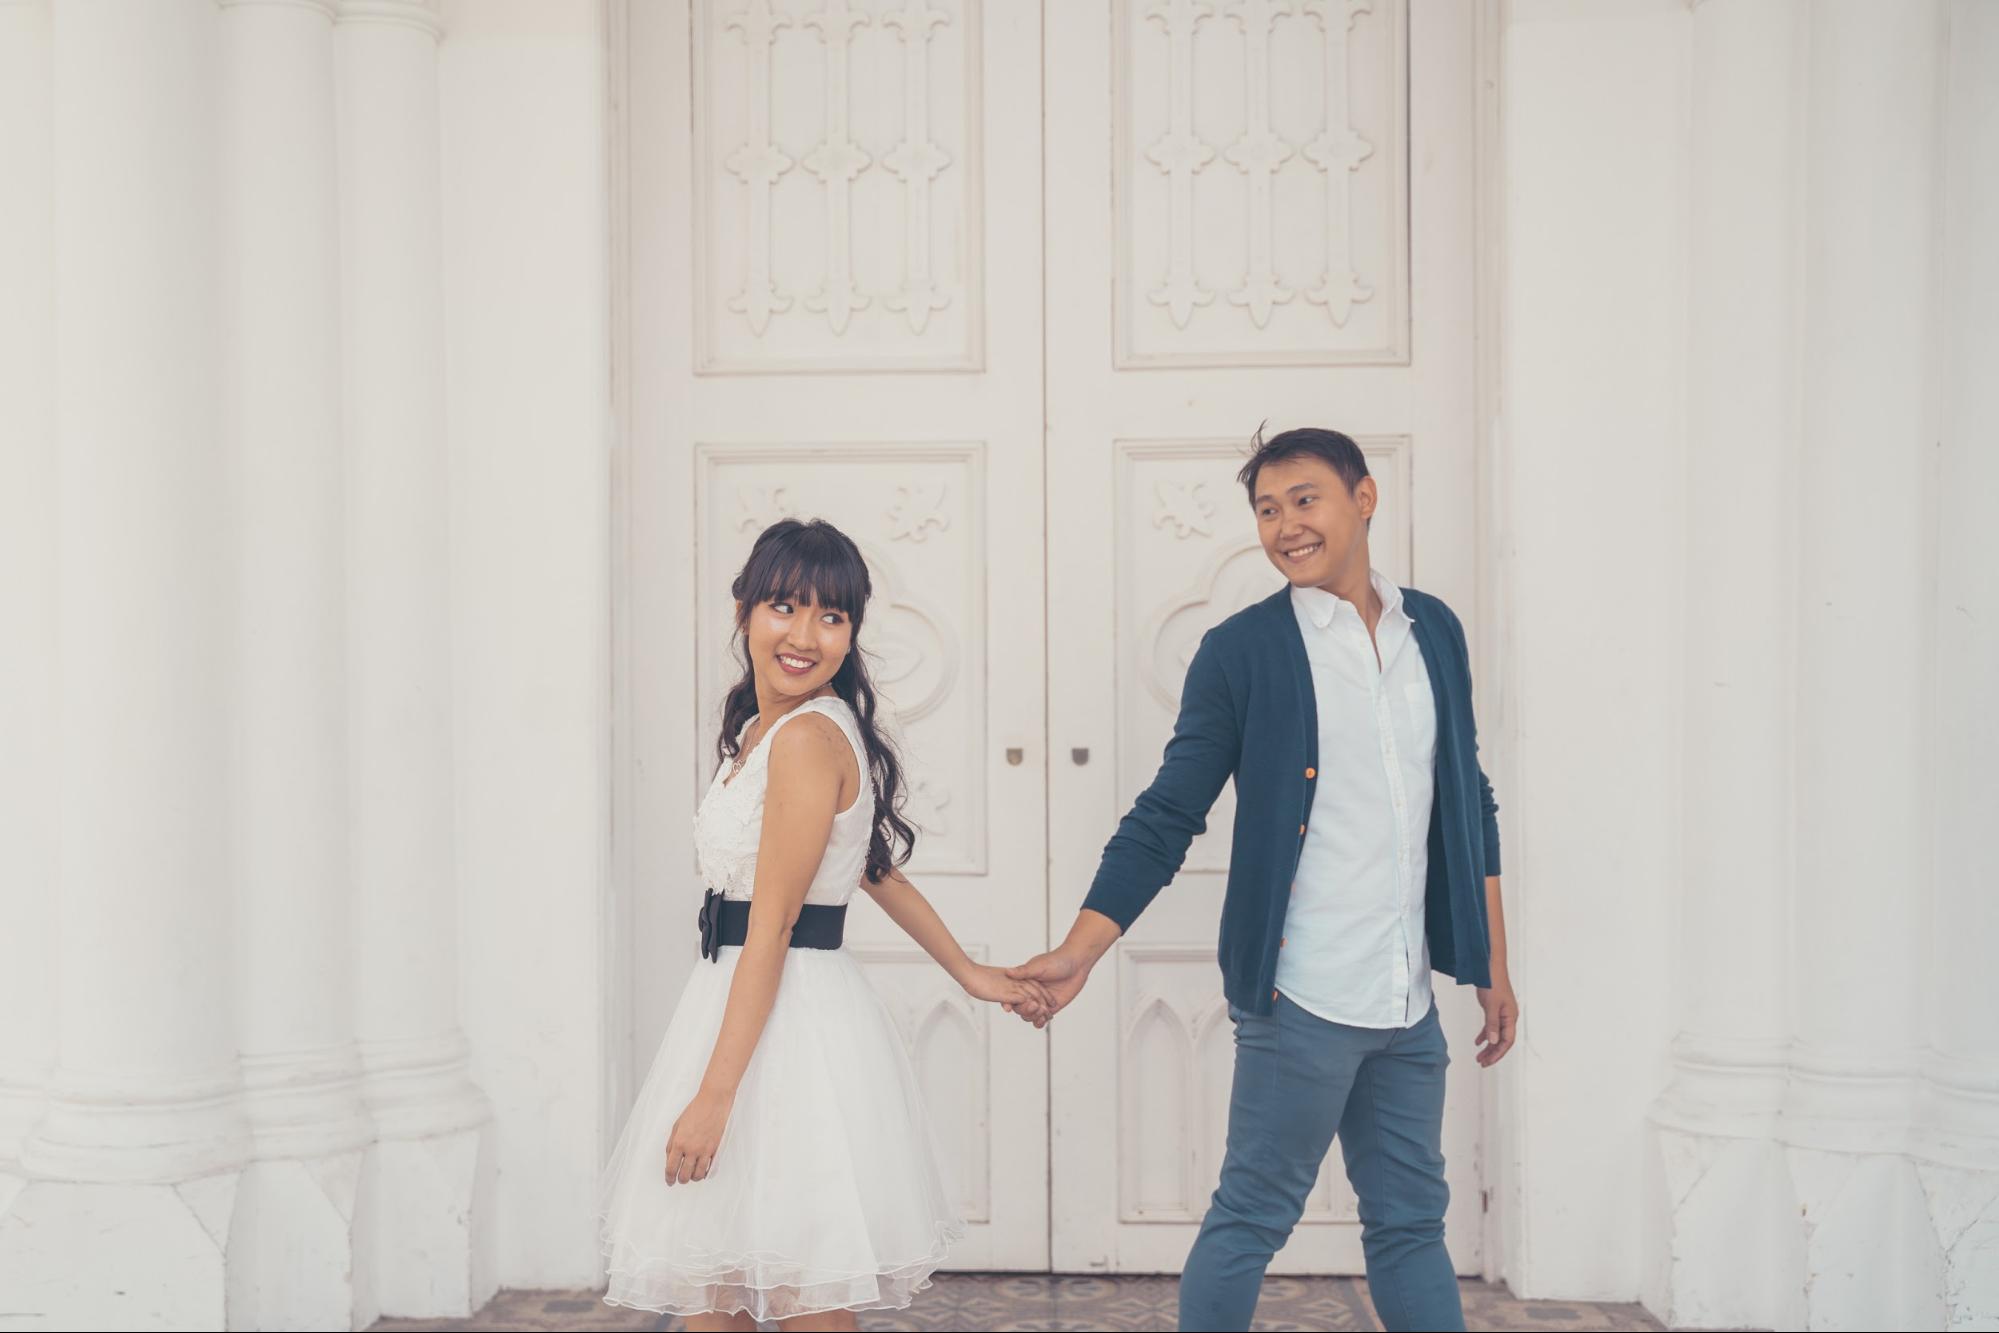
 Image credit: Timothy T Photography
The hard truth: No matter how much you plan for your photoshoot, not everything is going to be 100% perfect. Be it a sudden change in weather or a snag in your dress, there are just some things that are out of our hands. But it helps to be well-prepared, for that will ensure the whole process to be as steady as possible in spite of any unforeseen circumstances.
In a way, this is like a “trial run” before your wedding preparations start. And if you thought this is crazy, here’s some big news for you: Settling your big day is going to be 10 times crazier. Don’t forget to enjoy the process with your partner amidst all the madness, and always make a point to keep calm and talk things out properly if any disagreements arise. You’re both in this together, so work as a team!
Check out more wedding-related content here:
- Why you should consider a non-hotel wedding
- Wedding photobooth rental
- Hotels with hen’s night party packages
- Malay wedding customs – how much angbao to give and what to wear
- Cheap Bali destination wedding venues
Cover image adapted from : Knotties Frame
