Phone photography tips – how to shoot in low light
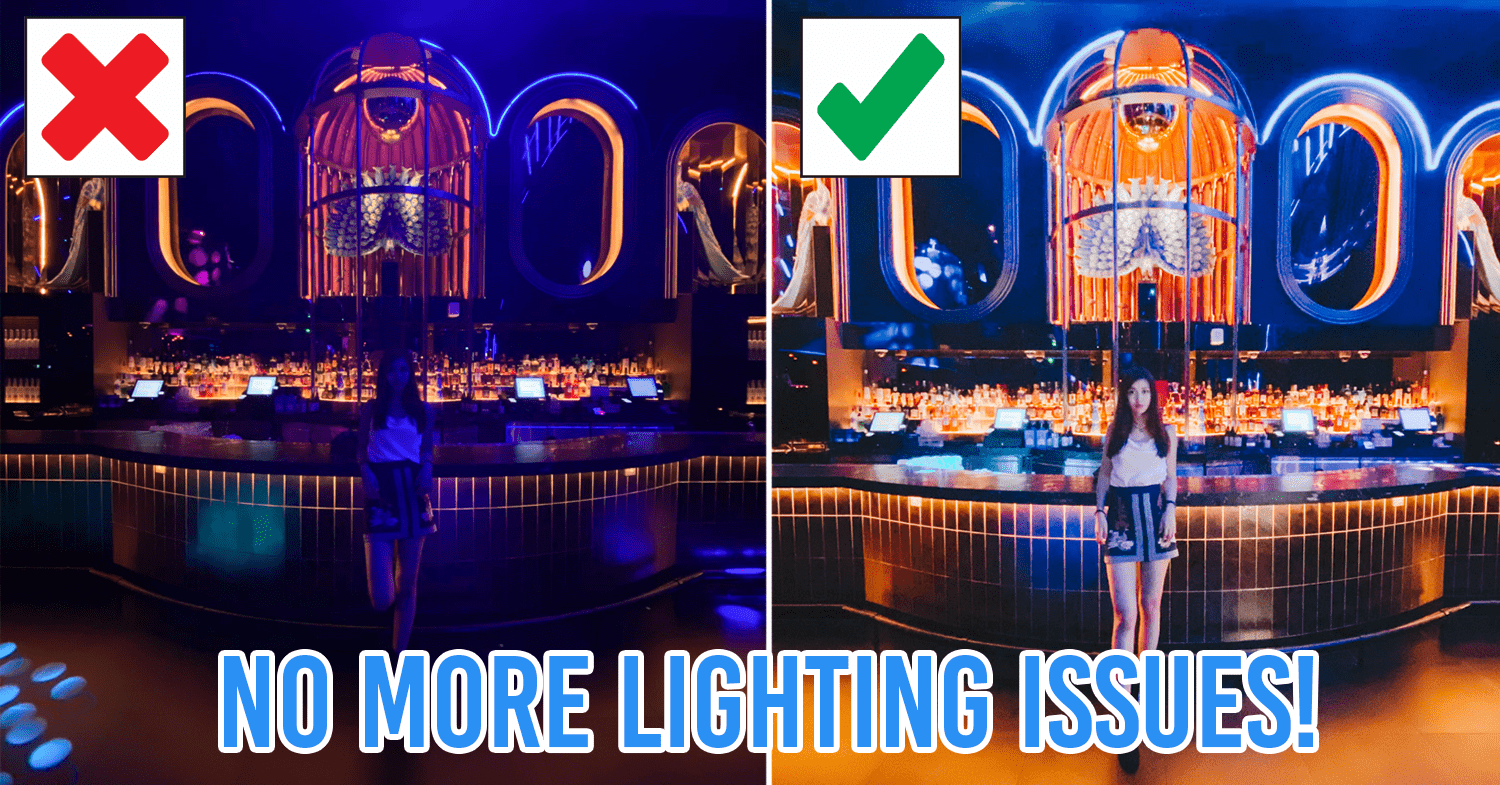
“Live for the nights we won’t remember, with the friends we’ll never forget” is a quote many party people are familiar with. But when you actually want to preserve your greatest nights out and create everlasting memories, immortalising those moments in the form of photographs is the way to go.
The problem is, unless you seek the help of professional photographers, clubbing photos often turn out to be ratchet, blurry shots due to the dim and crowded environment. Without any expensive equipment or formal training, here are 5 easy low-light phone photography tips to ensure stellar snaps of your night out.
Read till the end to see how we nailed these shots around MARQUEE Nightclub’s picture-perfect interior.
1. Use burst mode to make use of club lighting like strobes
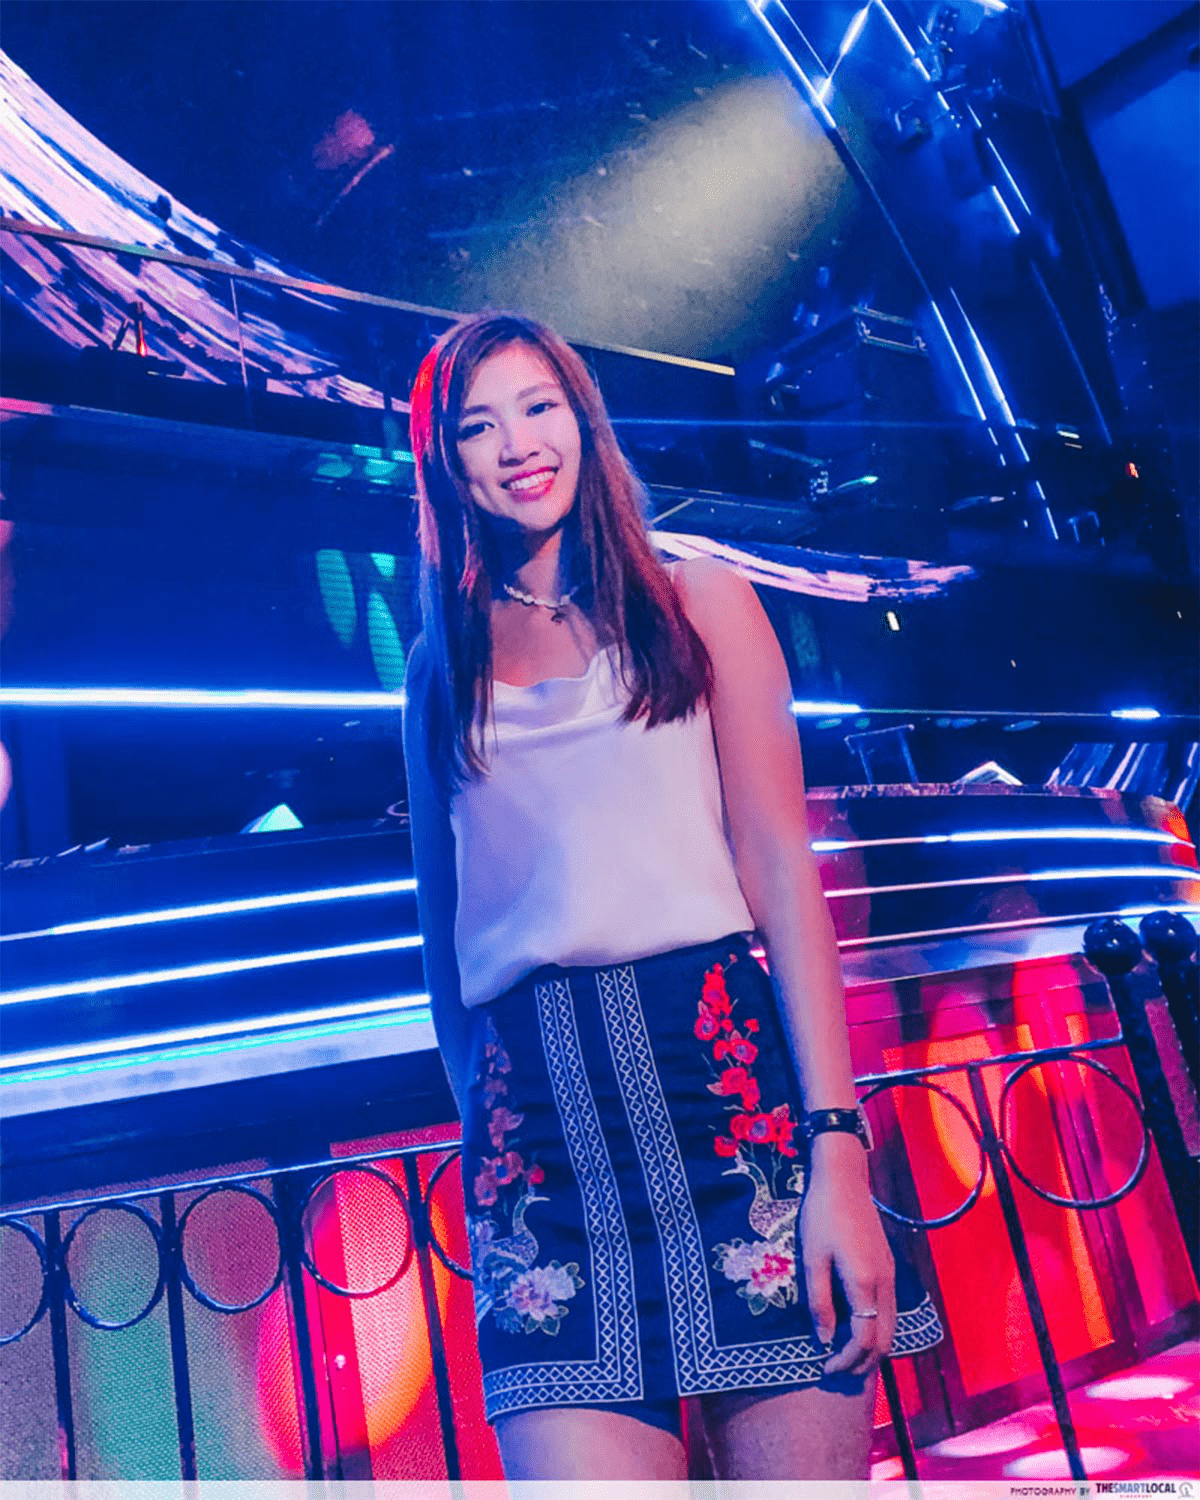
One advantage of taking pics in the club is the presence of colourful lighting effects. Instead of standing around waiting to time each strobe flash, press and hold your phone camera shutter to activate burst mode.
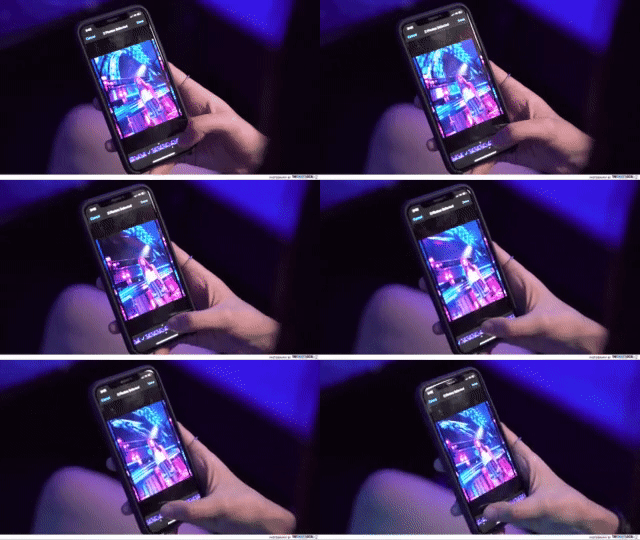
There’s bound to be one perfect shot where your angle is flattering and the lighting is complementary
This rapid-fire sequence of shots allows the subject to make subtle adjustments to the pose and facial expression as well, which look a lot more candid and natural than fixed, robotic shifts in movement.
2. Ask your friends for additional torch lighting without flash
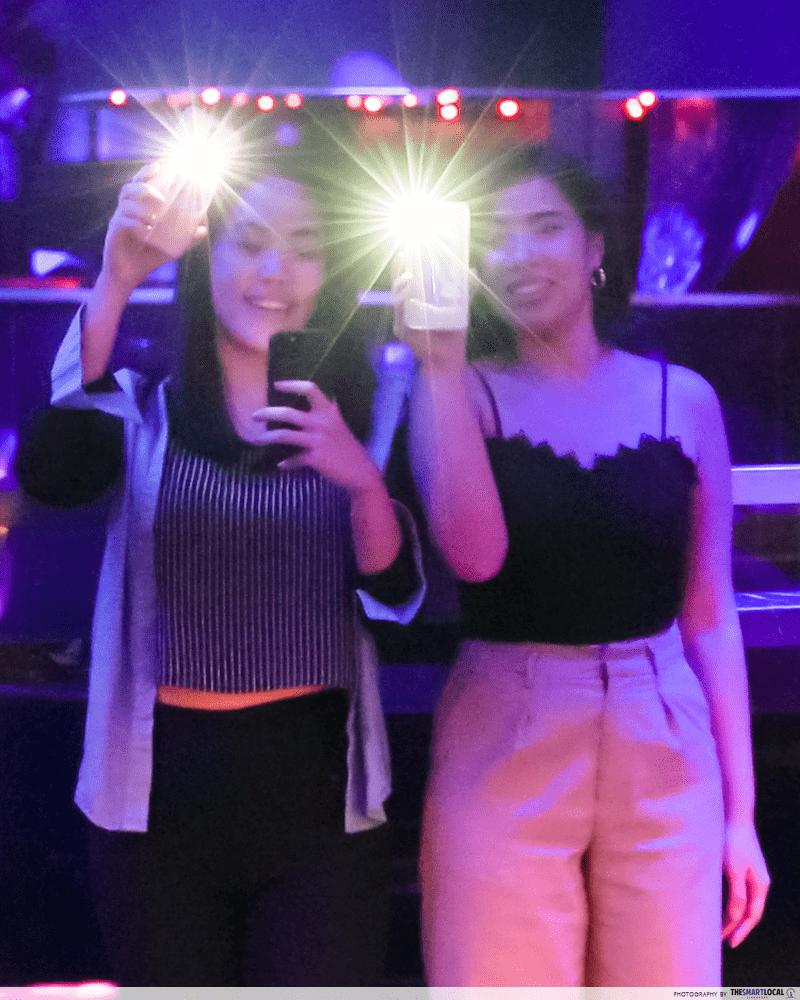
Anyone who’s ever tried to snap a phone camera shot on flash mode is well aware of the harsh, overexposed results.
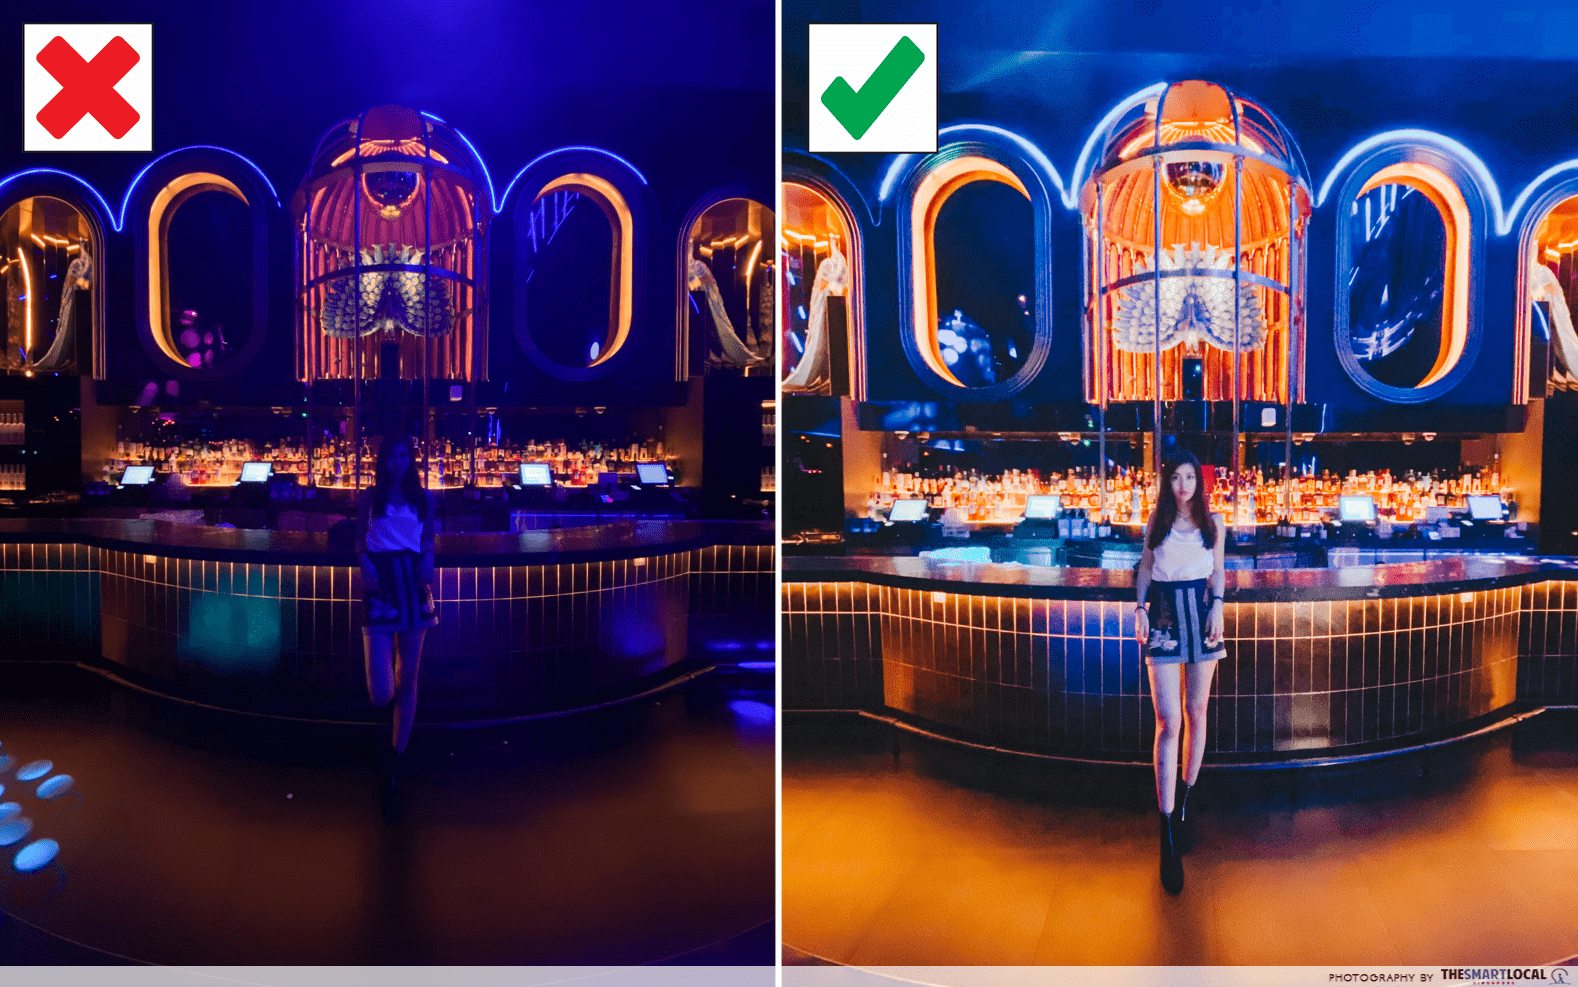
Between pitch-black shots which even editing can’t save and blown-out details that make the subject resemble a ghost, look to your friends and the trusty flashlight feature on their phones for some foolproof, instant brightening.
3. Make use of light sources like neon signs or LED screens

Natural sunlight makes for gloriously well-lit photos, but artificial lighting can illuminate your photos in unparalleled manners too. Especially when it comes to larger-than-life LED displays or luminescent neon glows, you can naturally achieve colour and lighting effects akin to post-processing filters people take ages to manipulate.
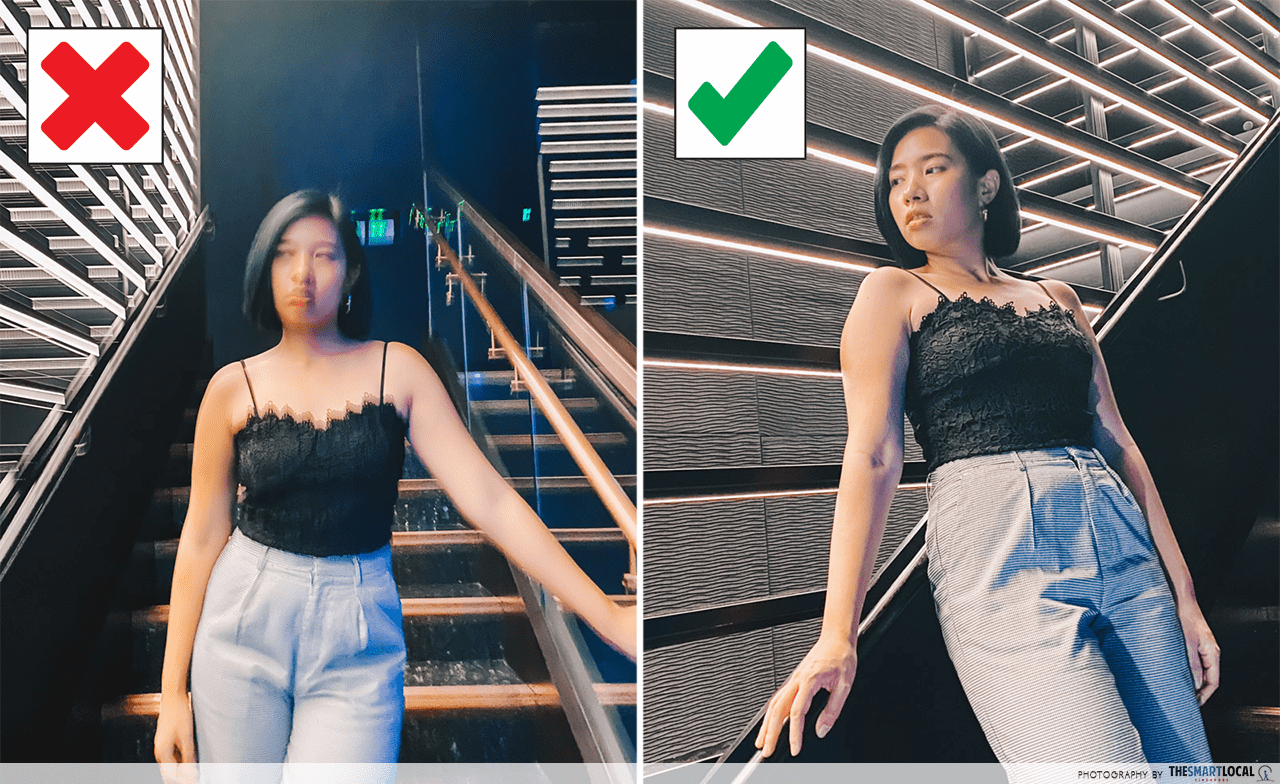
Good lighting can be found anywhere, even at a staircase leading from one floor of Marquee to another! Move towards it and away from wide areas shrouded in darkness to gain a crisp and stable shot.
4. Avoid blurry shots by resting your phone on a makeshift tripod
Dim lighting + shaky hands = a recipe for disaster. Especially if you’re tipsy and surrounded by rowdy partygoers, you may not be able to snap the steadiest selfie together with the squad.
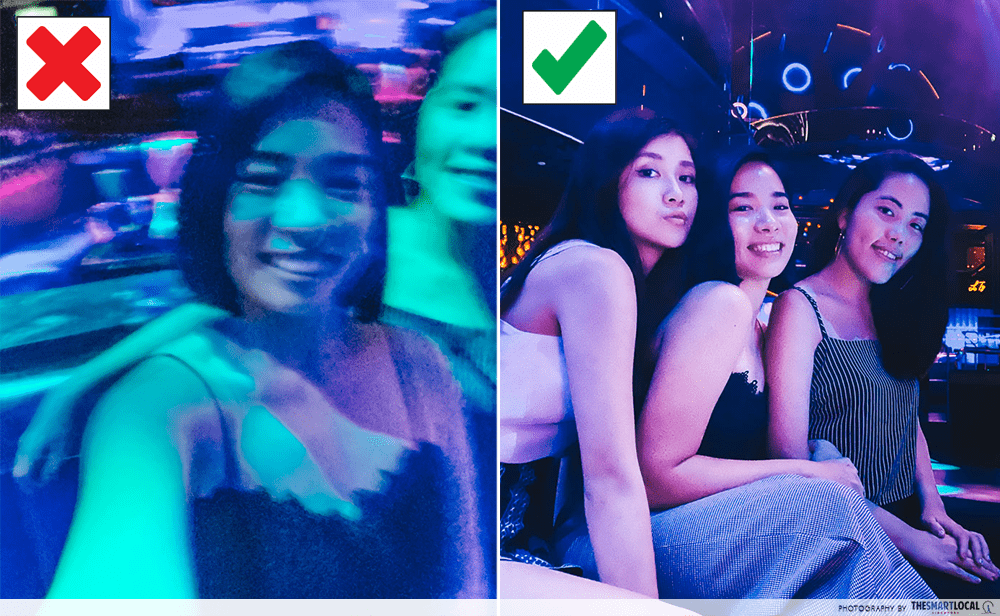
Another curse of the self-camera is cutting off precious space because too much of your arm is in the shot. By resting your phone on a nearby surface, you’re providing a flat and steady camera stand while making room for a much wider angle as well.
5. Transform dark photos in under 5 minutes with free apps like Snapseed and VSCO
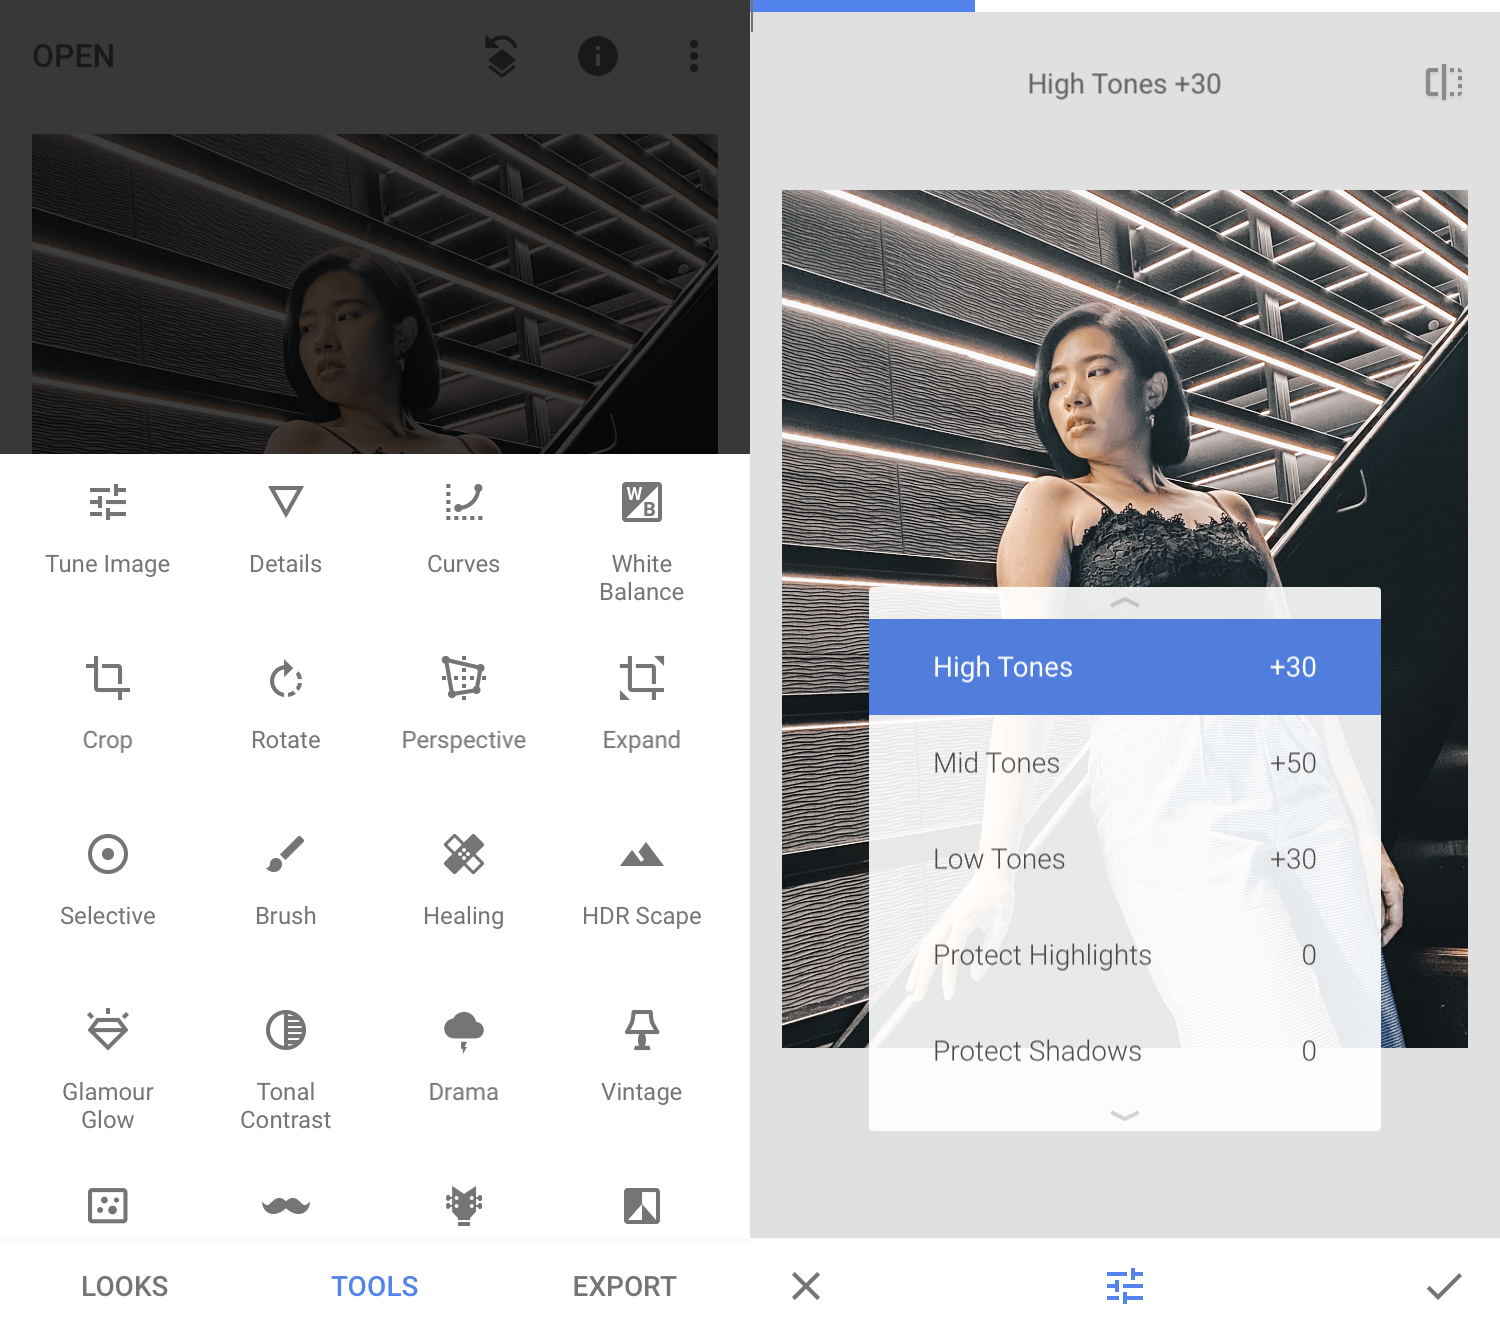
Snapseed’s multiple adjustment functions
A common misconception is that only industry-grade photo-editing software which cost a bomb are able to transform photos from meh to jaw-dropping. In the age of the smartphone, you can level-up even the most basic phone camera shots simply through FREE phone apps. And all it takes is a few adjustments you can complete before the end of a song.
Key edits you can play around with to instantly improve your photo:
- Brightness/exposure
- Contrast
- Highlights, shadows and midtones
- Temperature
- Tint
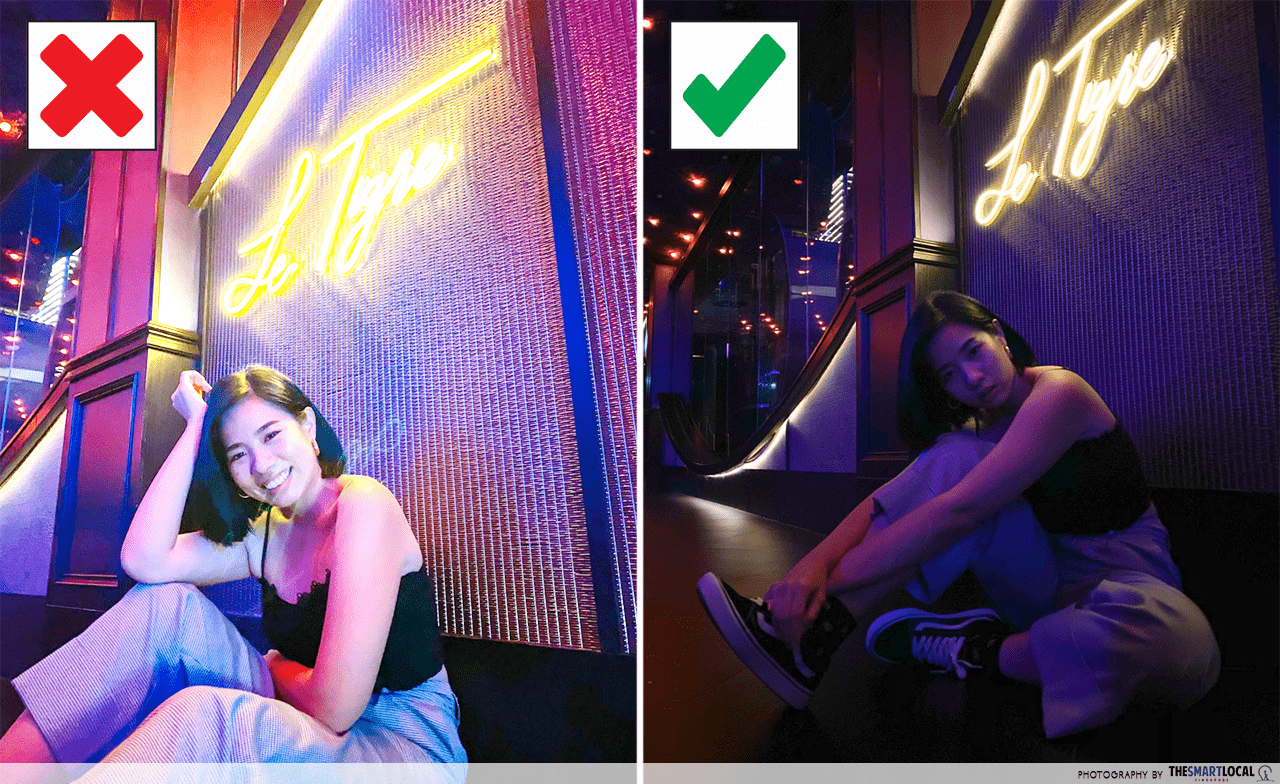
Overexposed vs even the finest of details retained
As a rule of thumb, always aim for underexposure so your photo can act as a blank canvas which can still undergo brightening. Most people tend to overcompensate in low-light conditions and toggle their phone camera’s brightness setting to the high heavens, leading to washed-out details that no amount of editing can rescue.
Download the following apps for free:
Snapseed – iOS, Android
VSCO – iOS, Android
Snap next-level photos at MARQUEE Nightclub
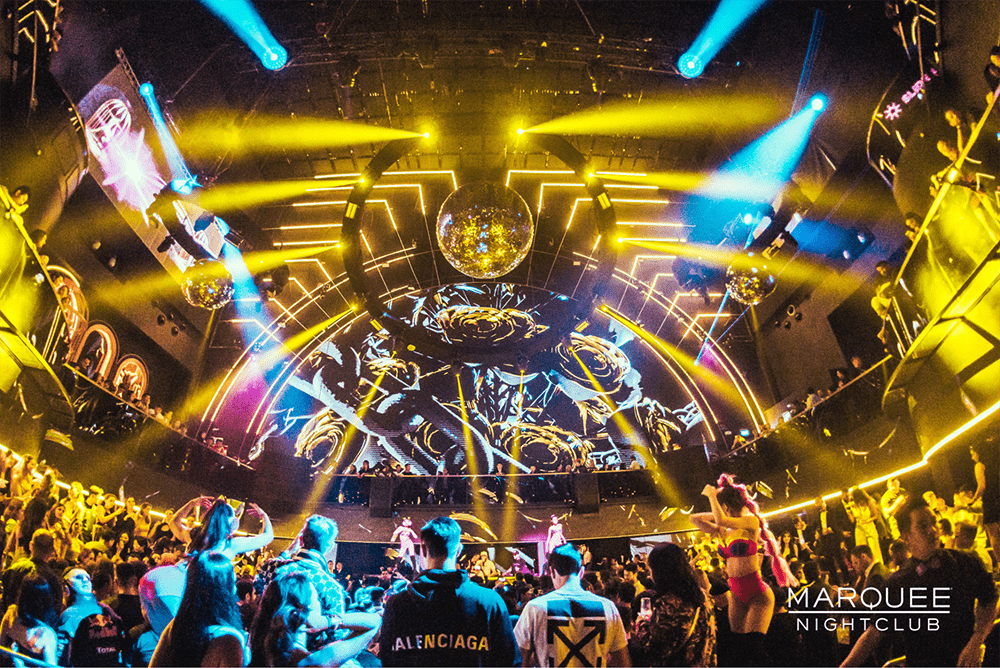
Image credit: MARQUEE Nightclub
All our shots were taken at MARQUEE Nightclub, which boasts of stunning backdrops pretty much everywhere you look. In terms of size and novelty, no other nightlife establishment on our Little Red Dot even comes close.
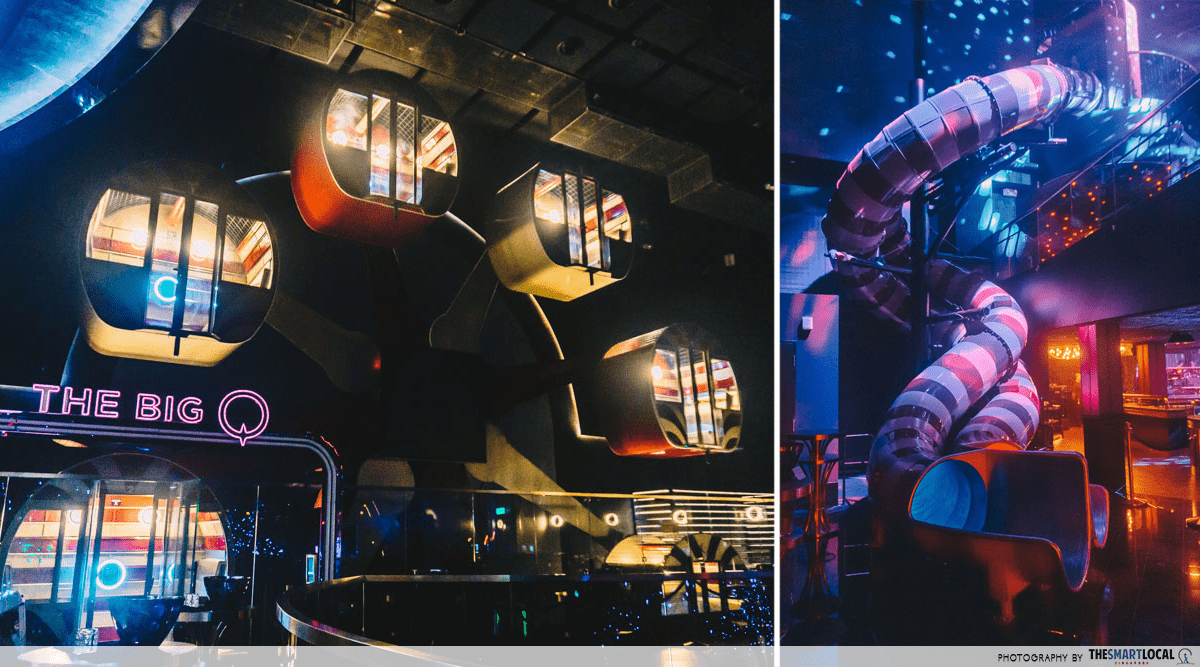
The sprawling 3-storey space is not just the biggest club in Singapore, but the only one with unconventional facilities such as a fully-operational indoor ferris wheel and a pair of mega long twisty slides.
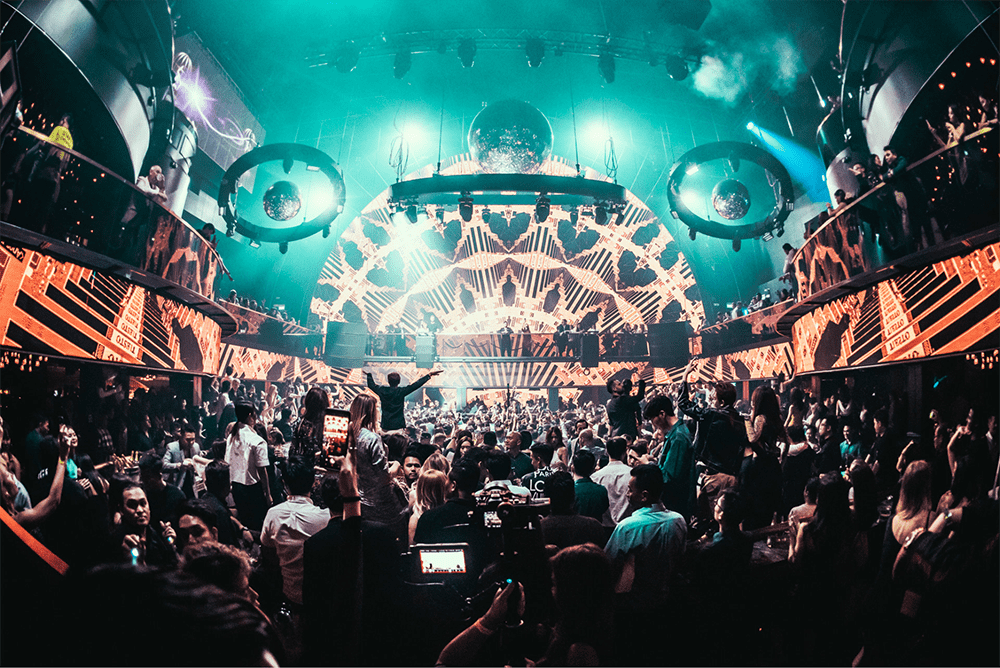
Image credit: MARQUEE Nightclub
Take to the dancefloor as an international lineup of renowned DJs and music acts along with local resident DJs pump up the party. The mood is elevated by a huge, state of the art LED screen blasting vibrant imagery all night long.
Coupled with the gorgeous interior decor, it’s hard not to feel like royalty as you sashay past the cushy booths and various bars each decked out in a different aesthetic.
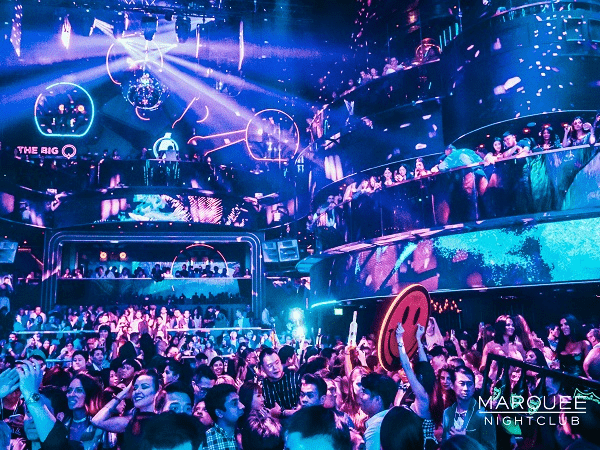
Image credit: MARQUEE Nightclub
Perhaps the most exciting factor is the sheer variety of MARQUEE Nightclub’s lighting themes and LED displays. It lends a new look and feel to your clubbing shots each time, providing plenty of reason to head back every weekend.
Find out more about MARQUEE Nightclub here
Also check out:
- Clubs and bars to visit in Singapore
- Bars with non-alcoholic drinks
- Cheapest beer towers in S’pore
- Bars in Singapore with 1-for-1 deals
- The Sundowner Singapore
This post was brought to you by MARQUEE Nightclub.
Photography by Gabriel Seow.