Nail manicure mistakes
 Nail manicure mistakes
Many of us need nail care after a long Circuit Breaker, but have second thoughts about making an appointment within the next few weeks. Not only will it be hard to vie for a coveted slot, but the sudden crowds might make your skin crawl. After all, we’re not 100% in the clear yet – so staying at home away from close contact with strangers is probably the better option.
The good news is that holding off on a visit to the nail salon doesn’t mean your nails have to go untreated. A DIY manicure, for one, lets you care for your nails safely indoors and saves you money on exorbitant salon prices. To get professional-quality nails, here are 8 DIY manicure mistakes to avoid.
Check out other self-care articles here:
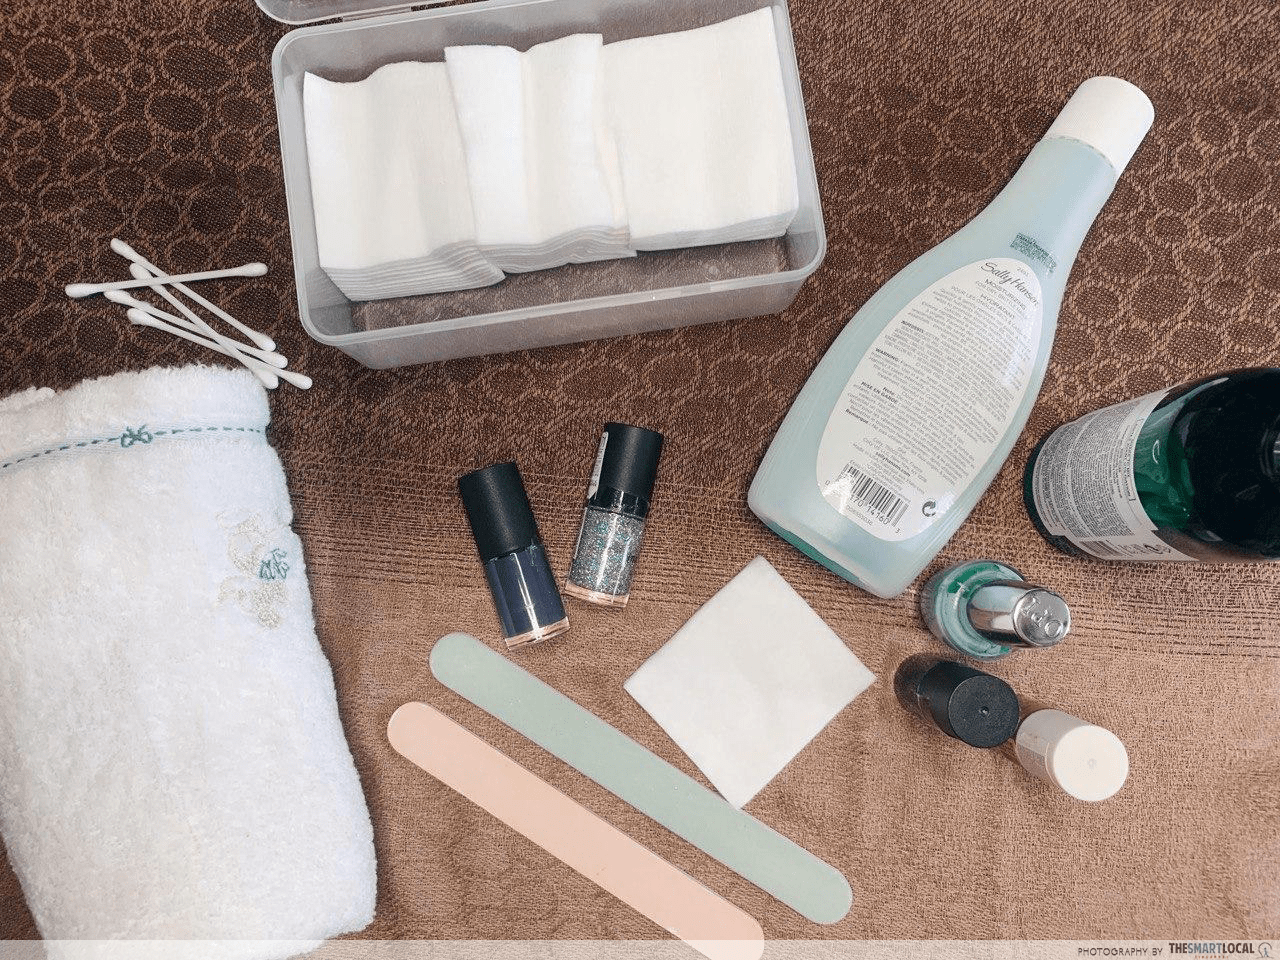
- Home spa items
- Hair washing mistakes
- How to apply skincare products correctly
- How to improve your skincare routine
1. Not doing prep work like buffing nails
After cooking a meal, you would want to serve it on a clean plate, not a dirty one with food scraps and stains. Similarly, you need to start off with a clean slate to achieve a gorgeous manicure. Not only will prep work get rid of unwanted impurities, it’ll also make sure the painted surface is nice and smooth.
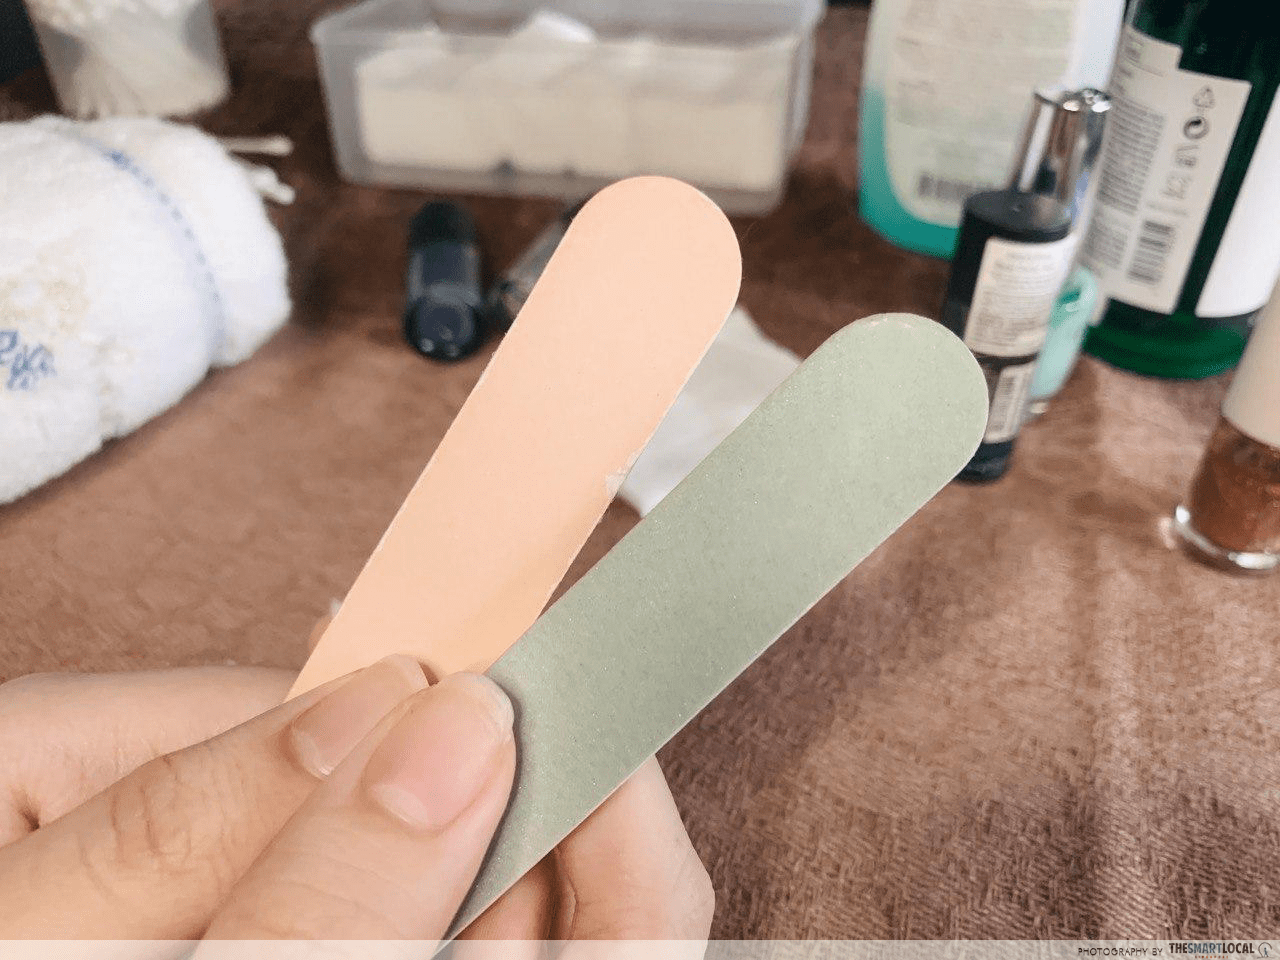
Before painting, start prepping by first trimming and buffing your nails. Simply glide a nail buffer back and forth each nail a couple of times until you get a smooth surface. There might still be some impurities after buffing, so grab your nail brush and scrub gently in soapy water. If you don’t have a nail brush lying around, a cotton pad doused with facial toner will do.
2. Shaking your nail polish bottle vigorously
If your nail polish has been left untouched for a while, chances are that the formula has separated into several layers. It may look slightly gross, but rest assured that it’s still usable as long as you give it a good mix.
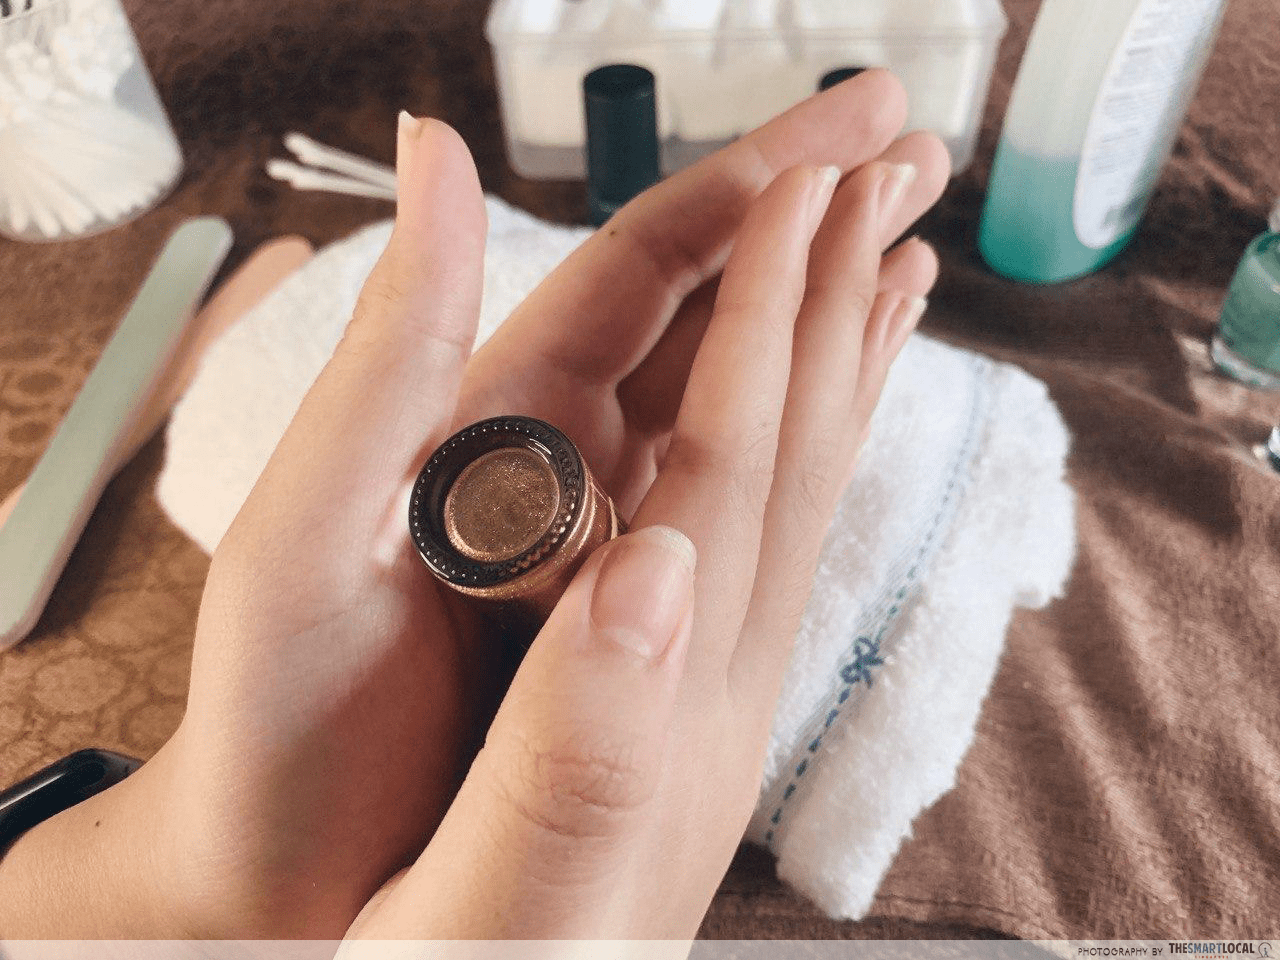
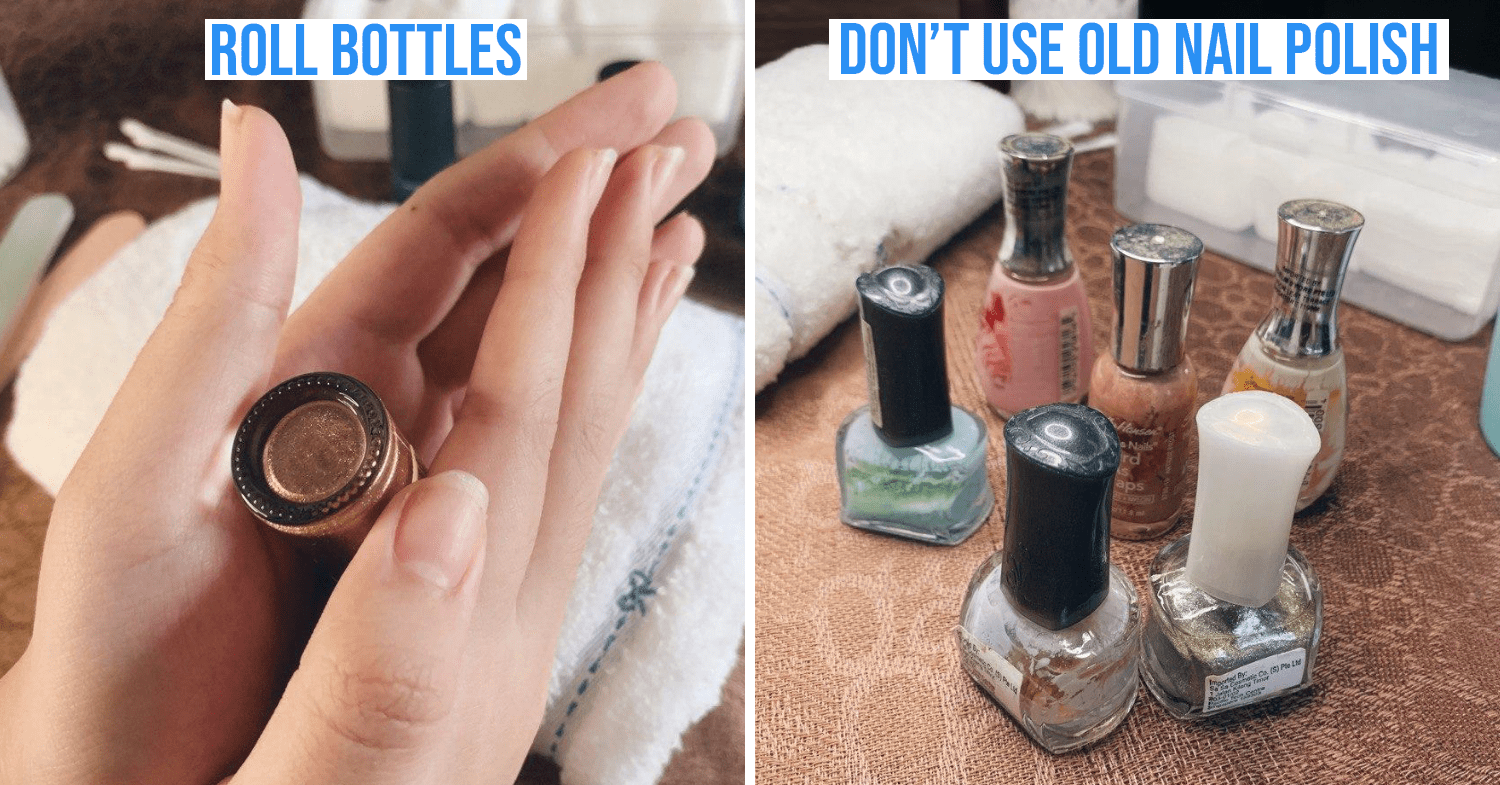
And by a good mix, we mean a good roll. Rolling instead of shaking prevents air bubbles from forming inside the bottle. You can now paint your nails with a peace of mind, knowing that no pesky bubbles will suddenly burst on your nail and ruin the fresh coat.
To do this, simply turn the bottle upside-down and roll it between your palms for a few seconds. The rolling motion gives it a good stir, while the heat from your hands help to get the formula flowing.
3. Painting in one stroke
Doing the actual painting is the most nerve-wracking part, so we understand why you might want to get it over and done with in 1 stroke. However, unless you have really tiny nails, that technique won’t give you an even layer.
Instead, pros recommend a 3-stroke method. One upward stroke in the middle of your nail, followed by one on the left curve and one on the right curve. After that, finish up with one horizontal stroke at the tip of the nail. This will fill up the edges and make sure the entire nail has even colours.
4. Not waiting in between layers
Ideally, you should apply 2 to 3 layers of nail polish for full coverage, but make sure you wait for the previous layer to dry before applying the next one. If not, you risk getting weird streaks or discolouration on your hard-earned manicure.
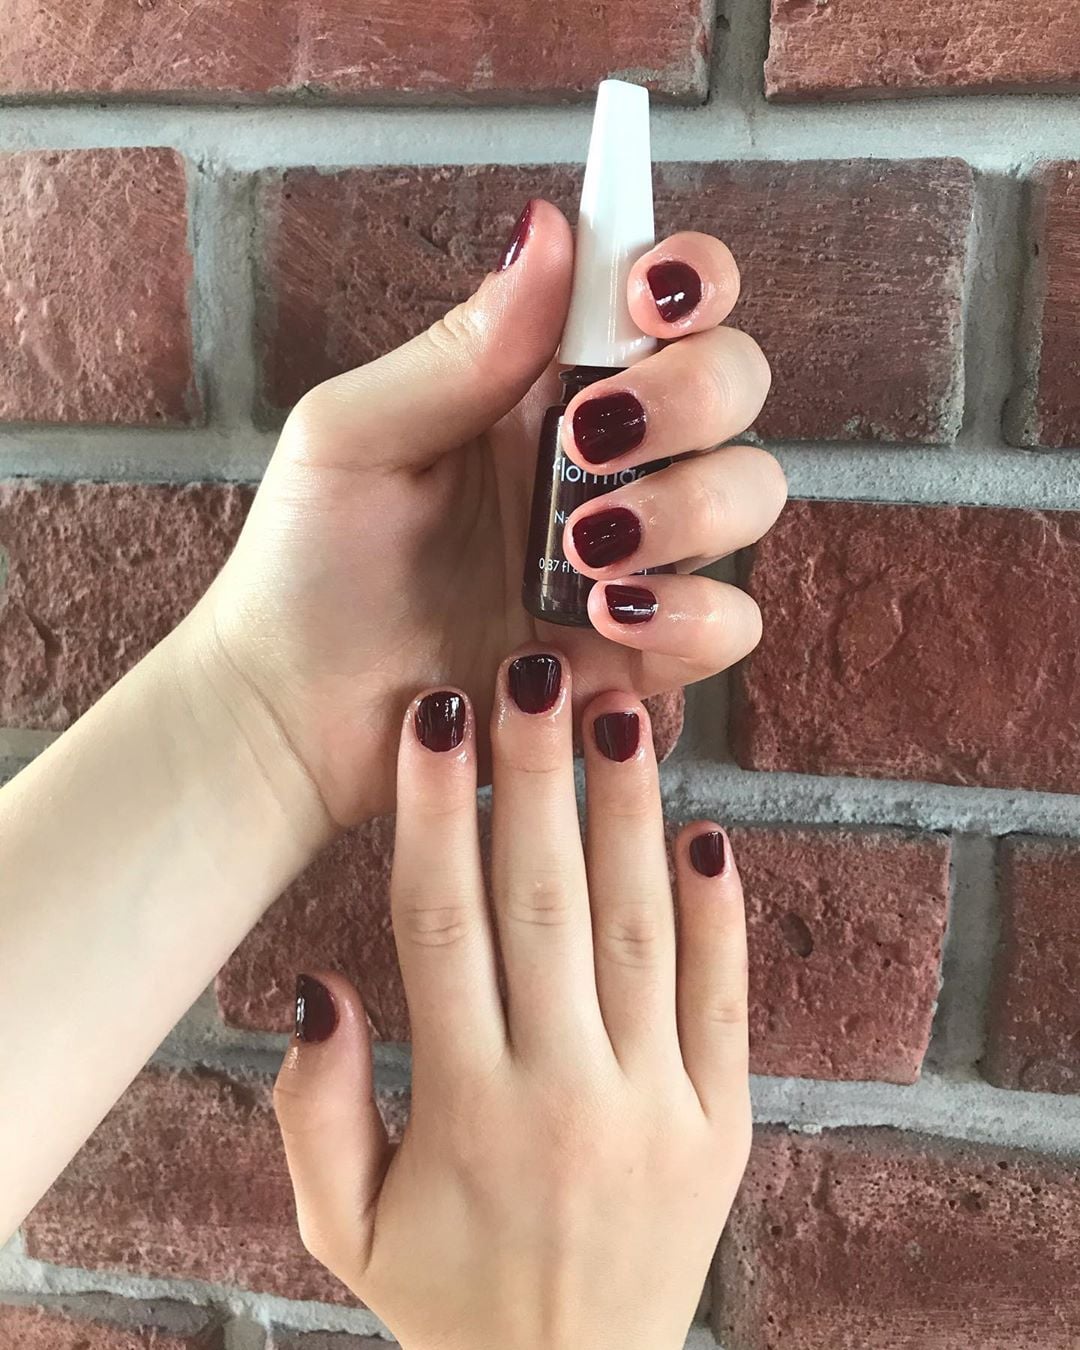 Image credit: @nevadanailart
Stick with thin coats so you won’t spend half a day just waiting for them to dry
Thinner layers dry faster, so resist the urge to add more nail polish than needed! Make sure you wipe your brush against the inside of the bottle rim before each swipe, instead of dumping a whole dollop on your nail. A good gauge is to wait about 2 minutes per layer – if it’s still far from dry, you’ll know the layer’s too thick.
5. Using cotton buds to fix mistakes

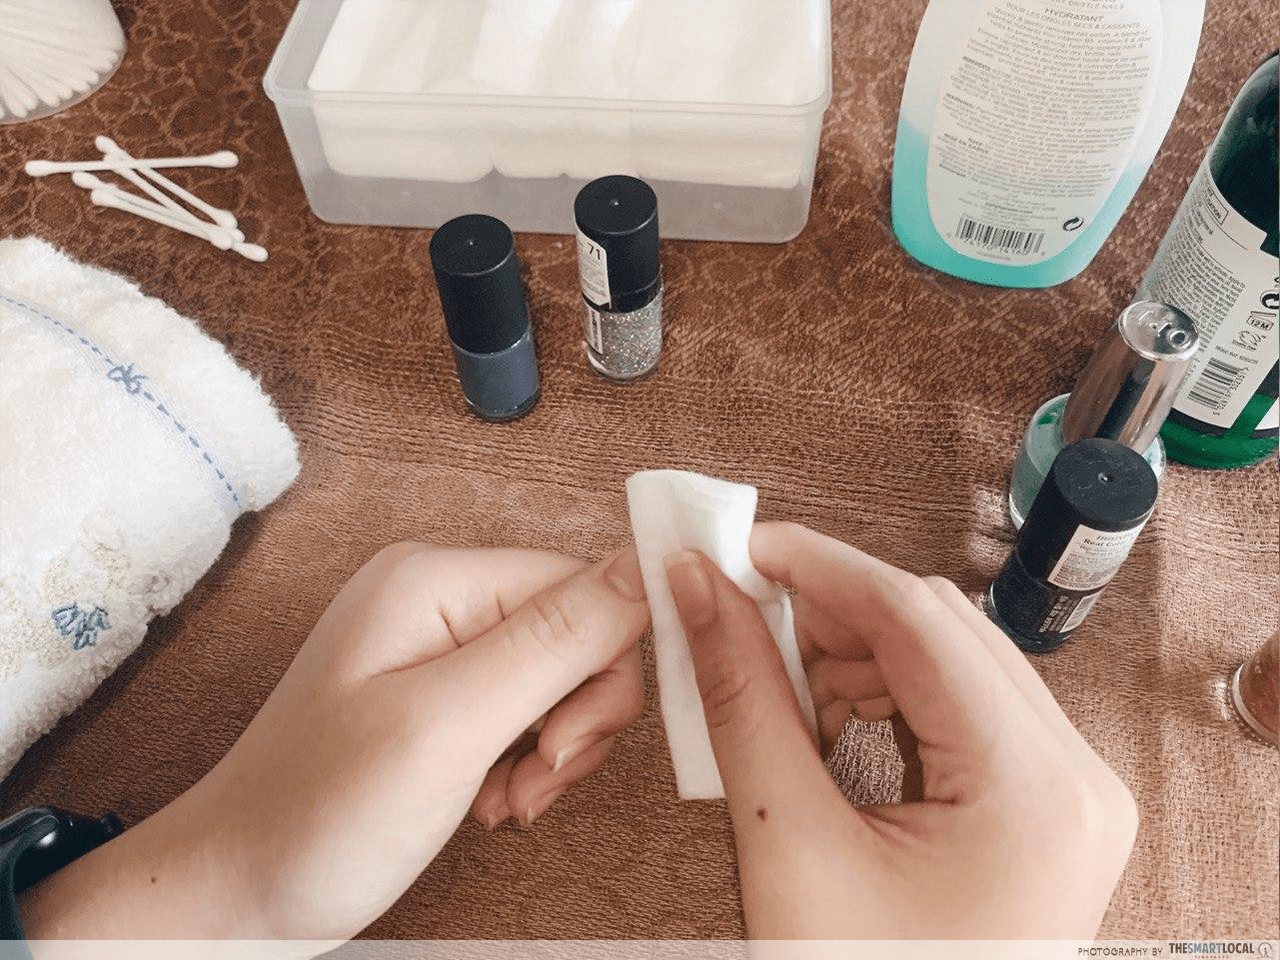
Whether you’re a beginner or a pro, messing up is inevitable at some point. To clean up, reach for the nail polish remover – but leave the cotton buds behind. While they may seem like a precise tool because of the size, they can actually cause a huge mess. The curved tips can end up removing more than you intend to, and the fibres can easily get stuck in the nail polish.
Instead of cotton buds, opt for a precision makeup brush instead. An angled eyebrow brush or eyeliner brush dipped in nail polish remover will do the trick. It’ll help you achieve a much cleaner manicure, saving your hard work even if your hand accidentally slips.
6. Not using a top and base coat
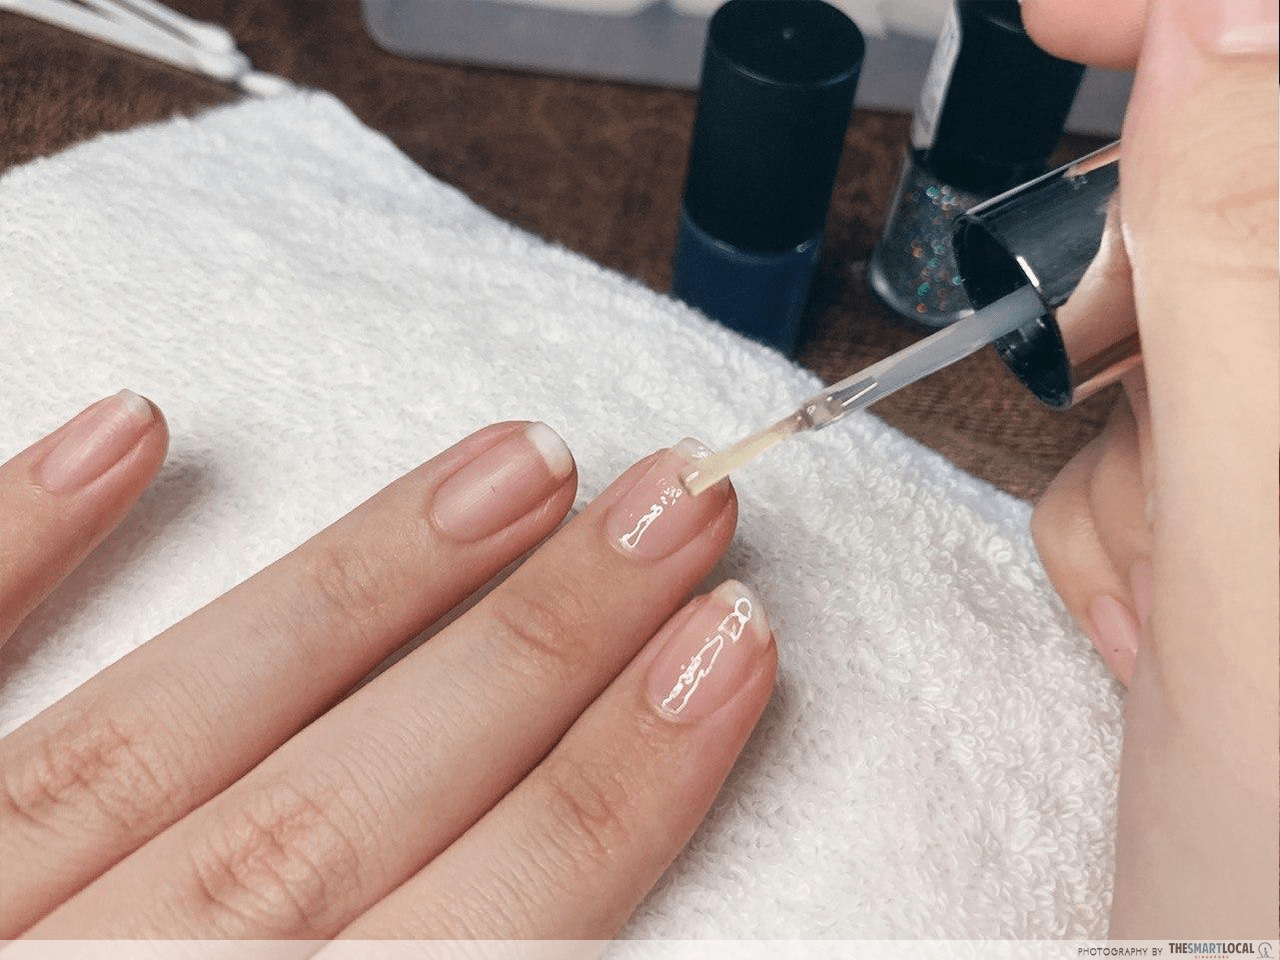
These coats might be clear and weightless, but don’t underestimate their importance. Before you apply colour, start with a base coat. This is a thin, clear layer that will protect your nails from getting stained by the coloured polish. It also helps keep an even texture free of ridges that’ll you thank yourself for later.
After you’re done painting, apply a top coat to lock all that gorgeous colour in and prevent it from getting chipped. It also glams up the manicure with either a matte or shiny finish, depending on the formula you opt for.
If you’re reluctant to spend on two separate bottles, consider getting 2-in-1 formulas that act as both a base coat and a top coat.
7. Washing hands with hot water within 2 hours of manicure
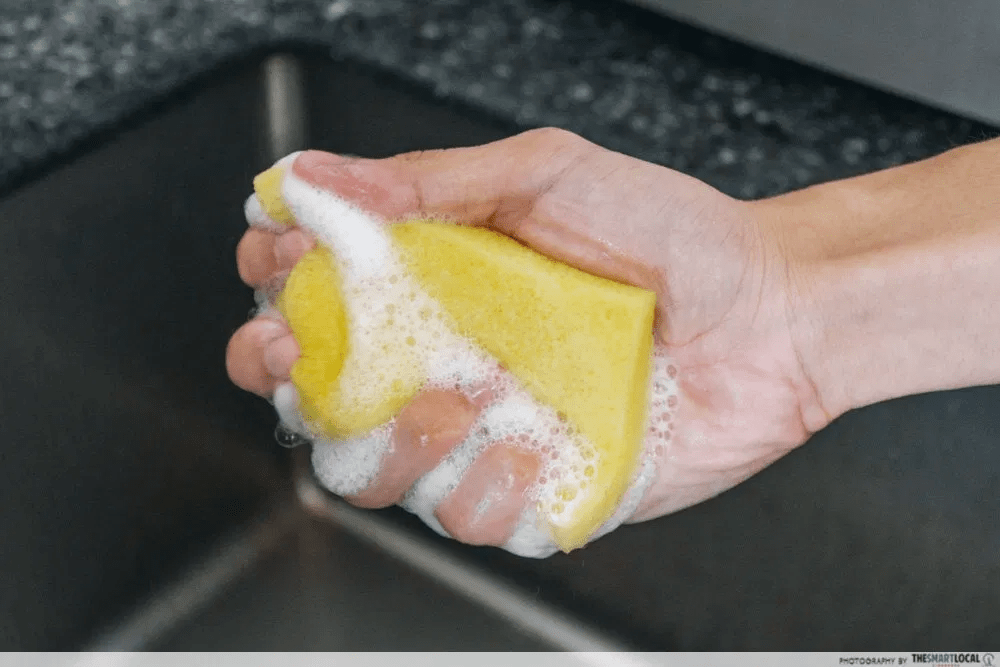 No washing anything until your manicure is fully dry
Sorry, that hot shower will have to wait. In fact, so will cooking and washing the dishes, as hot or running water is enemy #1 to your manicure. The hot water softens the nail polish, while the force from running water makes your manicure prone to dents. It’s a recipe for smudged and chipped nails before they’ve even had a chance to dry!
Instead of heading straight for the shower after a DIY manicure, a protip is to soak your hands in an ice bath instead. The cold water will solidify the nail polish and help it to dry faster.
8. Using gunky old nail polish
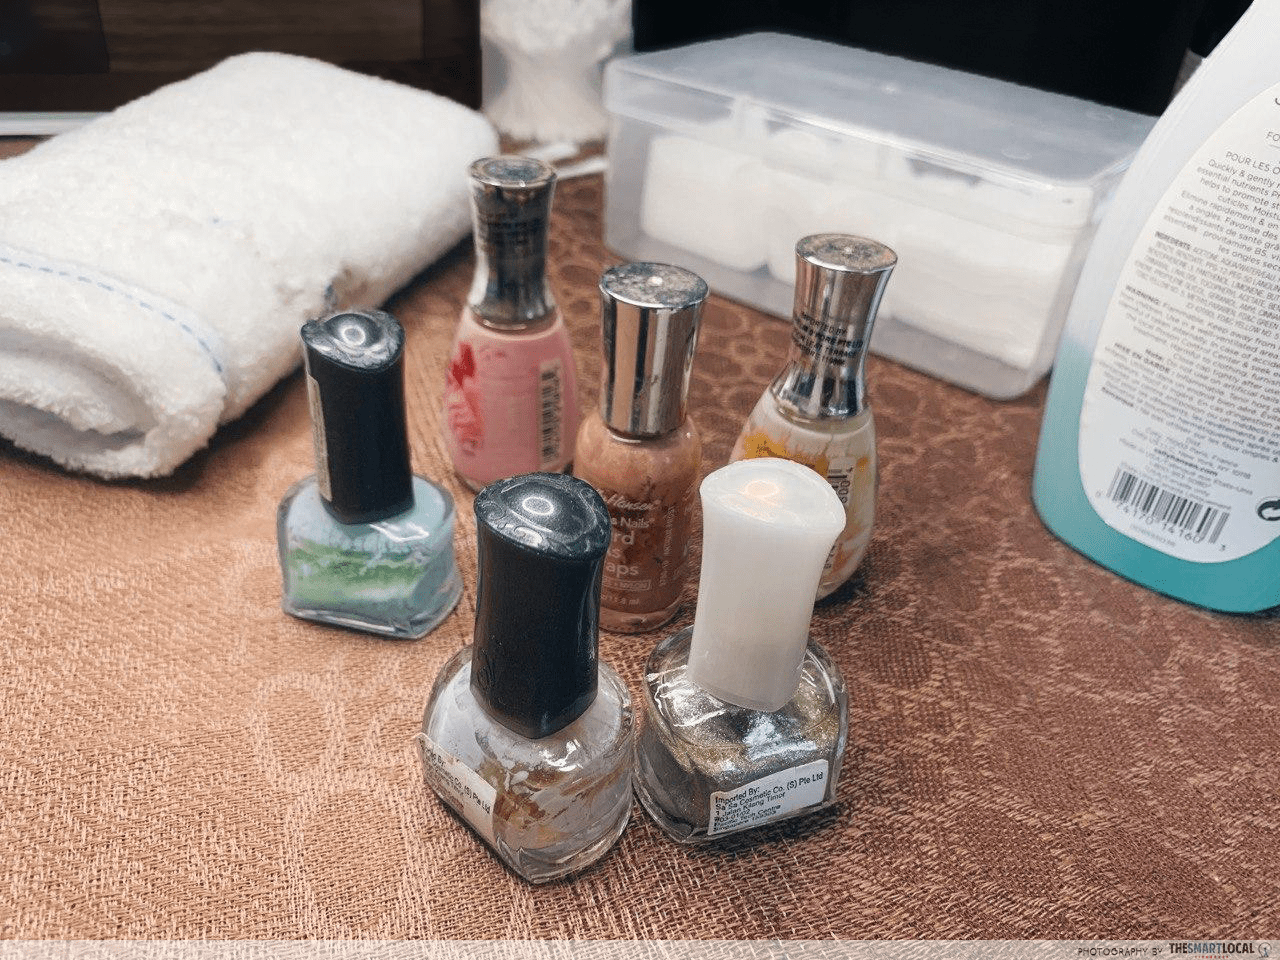
While there are plenty of chemicals and preservatives in nail polish, the formulas won’t last forever. The average lifespan of nail polish is about 2 years, so everything you’ve had longer than that belongs in the trash and not on your nails.
If you’re not convinced, take a closer look. Nail polish gone bad will have changes in colour, consistency and smell. It’ll remain clunky and goopy no matter how much you roll the bottle, and have a strong chemical smell from the acetone.
To preserve your nail polish for as long as possible, keep it in a cool and dry place out of direct sunlight! Some suggest keeping nail polish in the fridge, but make sure you have a nail polish thinner on hand if you do so. Otherwise, the cold formula will come out too thick to use and take a long while to warm up to room temperature again.
DIY nail manicure mistakes
Nail salons are finally open, but let’s be careful and not go out in droves just yet. From doing the necessary prep to cleaning up with precision brushes all on your own, you’ll find that DIY nail manicure mistakes are actually quite easy to avoid. With these practical tips, you can save money and take care of your nails safely at home – and even earn the praise of your beautician when you go back.
Read similar articles: