iPhone video tips
If a picture speaks a thousand words, moving footage is able to transport you to another time and place altogether. After all that 2020 has put us through, it’s always nice to reminisce over old videos and be whisked down memory lane.
Whether you want to amp up your videography skills to make quality vlogs that preserve precious memories or just prefer for your IG stories to not be a ratchet blurred mess, take note of these 10 iPhone video tips that’ll make a world of difference to how your footage turns out.
1. Use a stabiliser like a handheld gimbal
Shaky footage not only screams amateur, it can even give your audience a bit of a headache after prolonged viewing. As much as you can try to walk slowly and gently, it’s unrealistic to trust your hands to be steady for long durations.
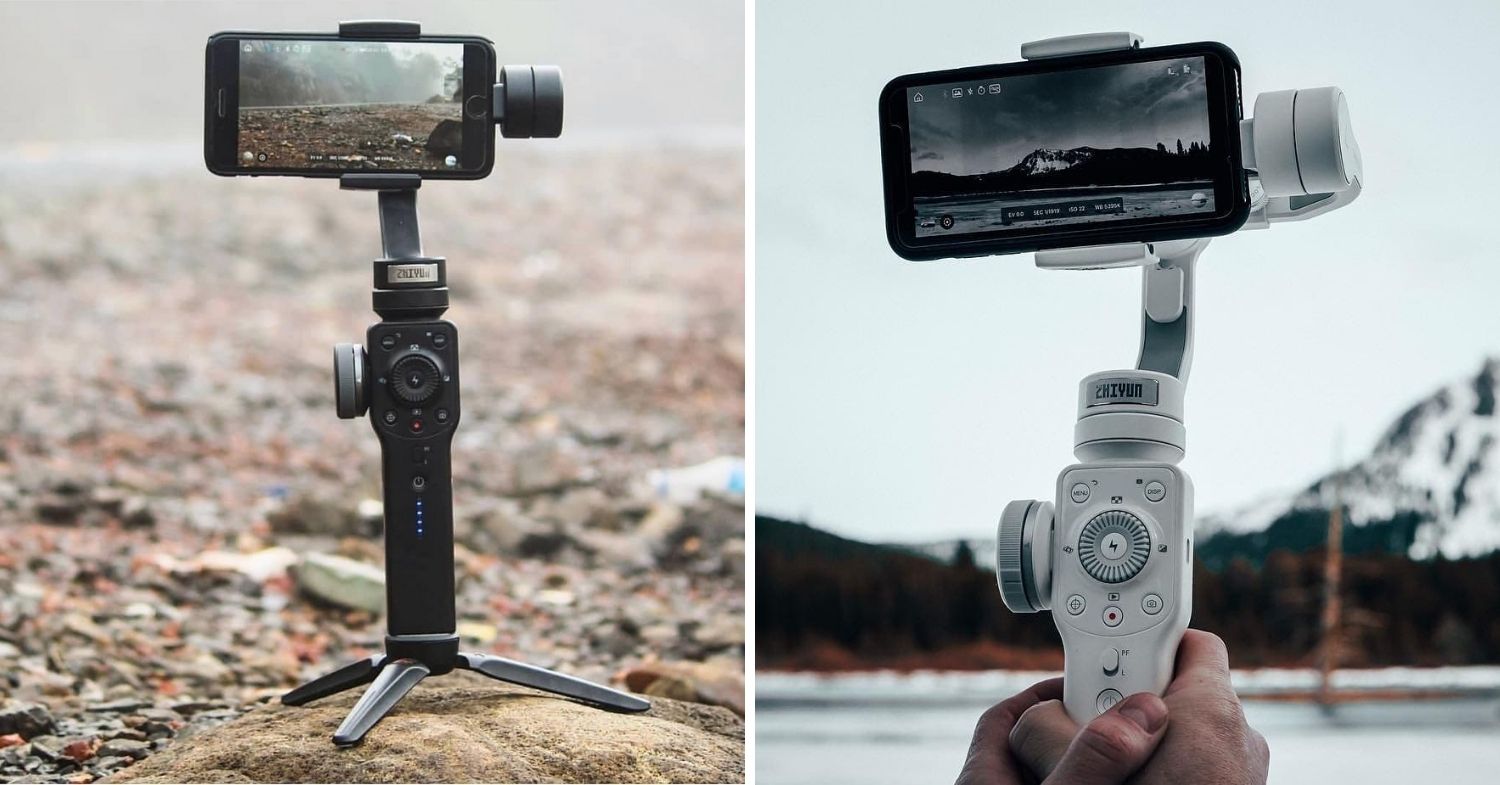 Some gimbals can double up as a tripod
Image credit: @zhiyun_gimbal (left, right)
That’s why handheld gimbals are a good investment – they automatically detect jolts of movement and neutralise them so you don’t have to walk precariously as if you’re holding a bowl of soup that’s filled to the brim.
You can get a basic one like K21 handheld gimbal stabiliser for around ten bucks, or invest in industry-grade models with multiple modes like DJI OM 4 which has special Pano and Sports functions.
2. Use apps like Filmic pro for more controls of video settings
Here’s a secret for those who have ever watched a full blown movie like Tangerine that claims to be “Shot with iPhone”: most of the time, they’re not just filmed with the default phone camera and uploaded straight from the gallery.
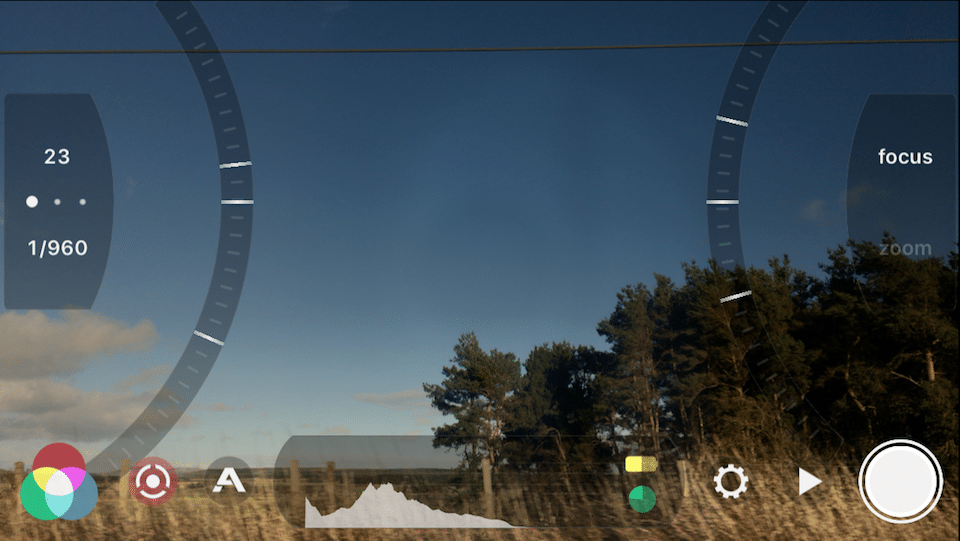 When manual settings are enabled on Filmic Pro, you can use the arc sliders to adjust ISO, shutter speed, focus and zoom.
Image credit: Learn about film
While we may not have access to their industry grade equipment, cinematography apps like FiLMiC Pro ($19.99) can level-up your video to a more polished standard. The app gives you manual controls like exposure, ISO, shutter speed, which are usually only available on a digital camera. There are also eight aspect ratios and different quality options to choose from.
For those who aren’t familiar with technical terms, the app also has an Auto Mode to instantly optimise your video. If you’re used to editing and colour grading your own videos, this app allows you to shoot in a flat colour profile, which makes the post production process a whole lot easier.
3. Play around with creative transitions like whip pan and rotation
 Pan the video as fast as you can so the video blurs into streaks before the next scene
Image adapted from: RyanNangle
If you’re combining two or more clips, creative transitions can spice up your videos by giving them a cinematic touch. Beyond the basic fade in and fade out or dissolve effects that you’d get on editing apps and computer software, your iPhone is lightweight enough for you to play with a variety of filming transitions such as a whip pan to add a blurring motion between videos.
You can also try the rotation technique by turning your phone 180 degrees at one location, and rotating it the other way round at the next. When stitched together, there’ll be a pleasing visual effect that gives a wow factor despite being super simple to accomplish.
6. Create hyperlapses by panning phone slowly in timelapse mode
iPhone users are familiar with the time lapse mode within the camera function – simply leave your phone at a fixed position for an extended period of time and you’ll get to capture the changes of a scene throughout the day.
 Image credit: Ian Ling
But a lesser-known hack is that you can use the time lapse mode to make a hyperlapse – a moving-position timelapse that looks more exciting and cinematic. What you’ll need to do is:
- Choose a focal point, like a building.
- Move slowly towards or away from it, while keeping it at the center of your shot.
And voilà – a vivid hyperlapse is great for travel vlogs as you can document the motions and changes surrounding the places you’ve visited, from a setting sun to locals roaming around. Using a stabiliser, as suggested earlier, will make your hyperlapse much smoother since you’ll be moving and inevitably shifting your shutter’s height.
7. Pair with external mics for crisp audio quality
Watch a horror movie without sound, and it might turn out to be a comedy. That’s why they say that audio makes half of the video, unless you’re shooting a silent movie. To avoid forcing your viewers to max their volume and still struggle to hear what’s going on, pair your iPhone with an external mic to achieve crisp sound quality.
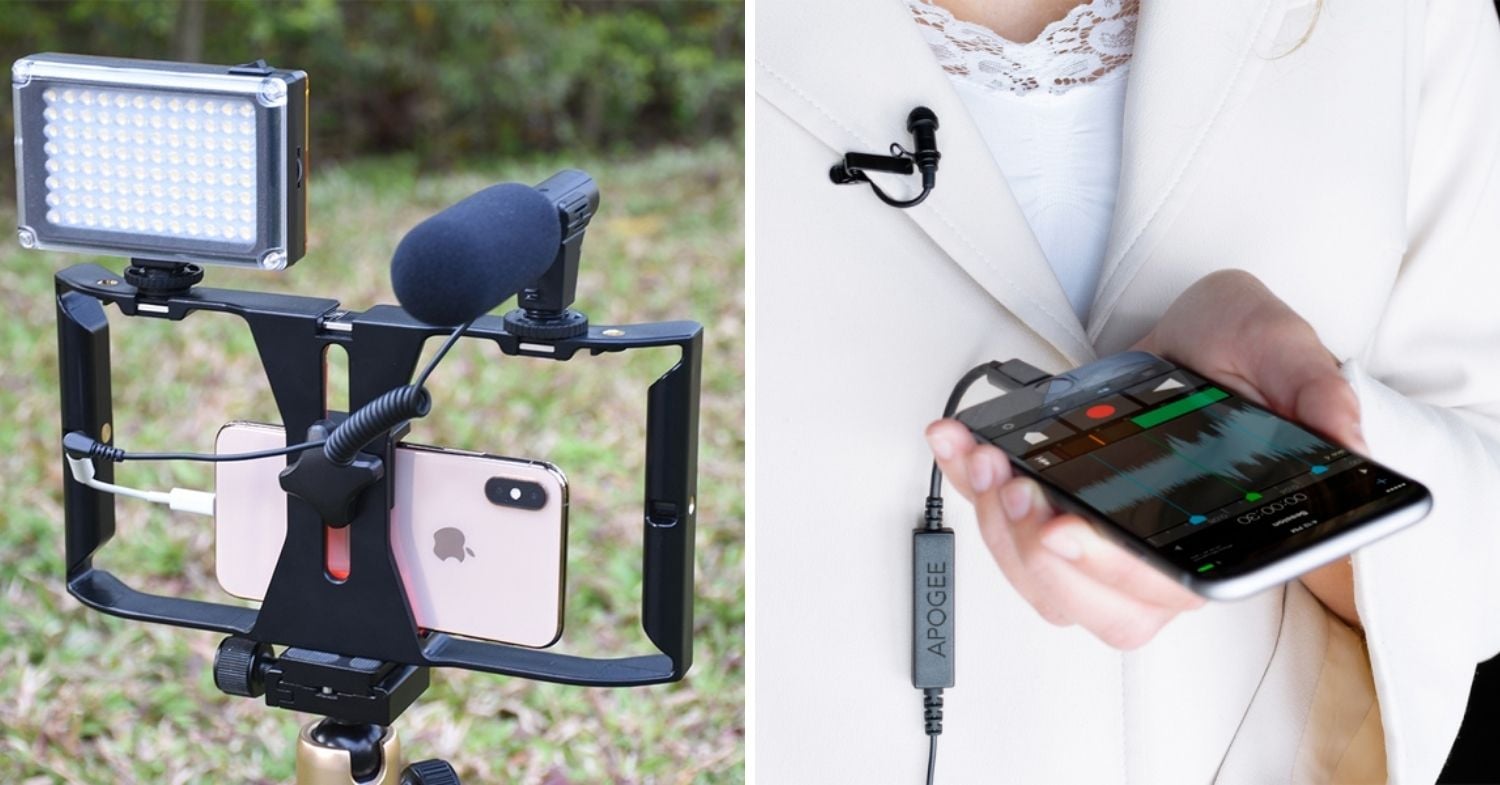 Directional mic (left), lavalier mic (right).
Image credit (L-R): Wish, Apogee Electronics
Connect a directional mic to your iPhone to ensure that only sound coming from a specific area will be picked up, minimising background noise. If there’s a lot of moving and talking involved, a lavalier mic, which is a clip-on attachment, will work better as it is attached to the subject and allows hands-free recording.
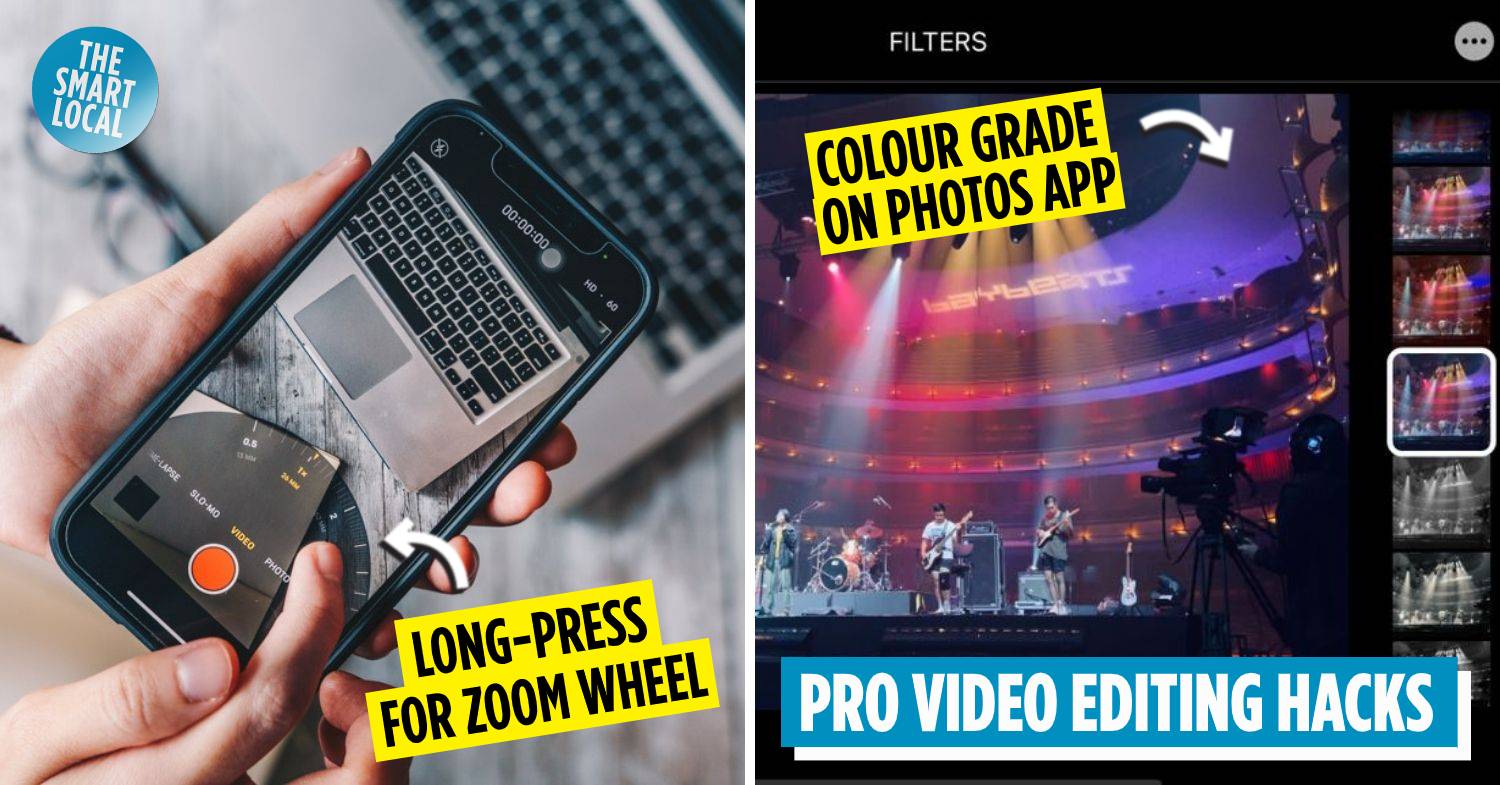
8. Long-press the zoom button for a smooth & precise zoom wheel
As much as you should venture closer to your subject instead of using the zoom function to avoid low-res footage, there are situations that leave us with no choice – such as being blocked by a fence or separated by a river.
Instead of simply pinching the screen to zoom in and out of a video, make the zoom less abrupt and jerky by long-pressing the zoom toggle to bring out a zoom wheel. This allows you to smoothly and precisely zoom closer to the subject in your preferred speed. Perfect for faraway subjects like fireworks, or a pretty full moon.
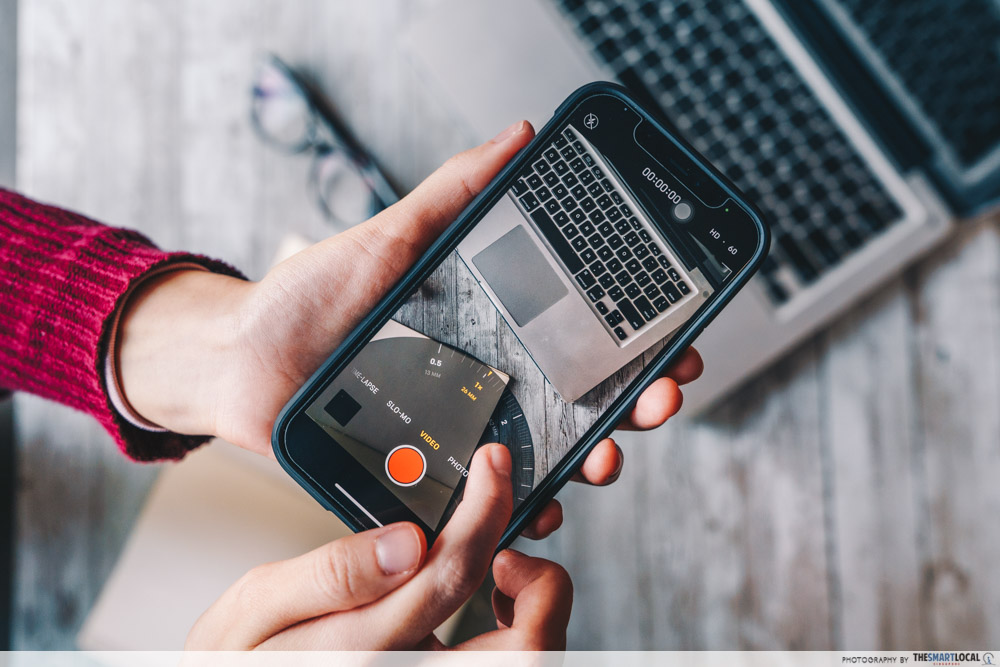
9. Change your phone’s frame rate (FPS) to match your subject
For the uninitiated, frame rate per second (FPS) refers to the speed at which each frame is shown in a video. A higher FPS leads to more detailed and polished HD footage, while a lower FPS is more life-like and close to how we actually see the world.
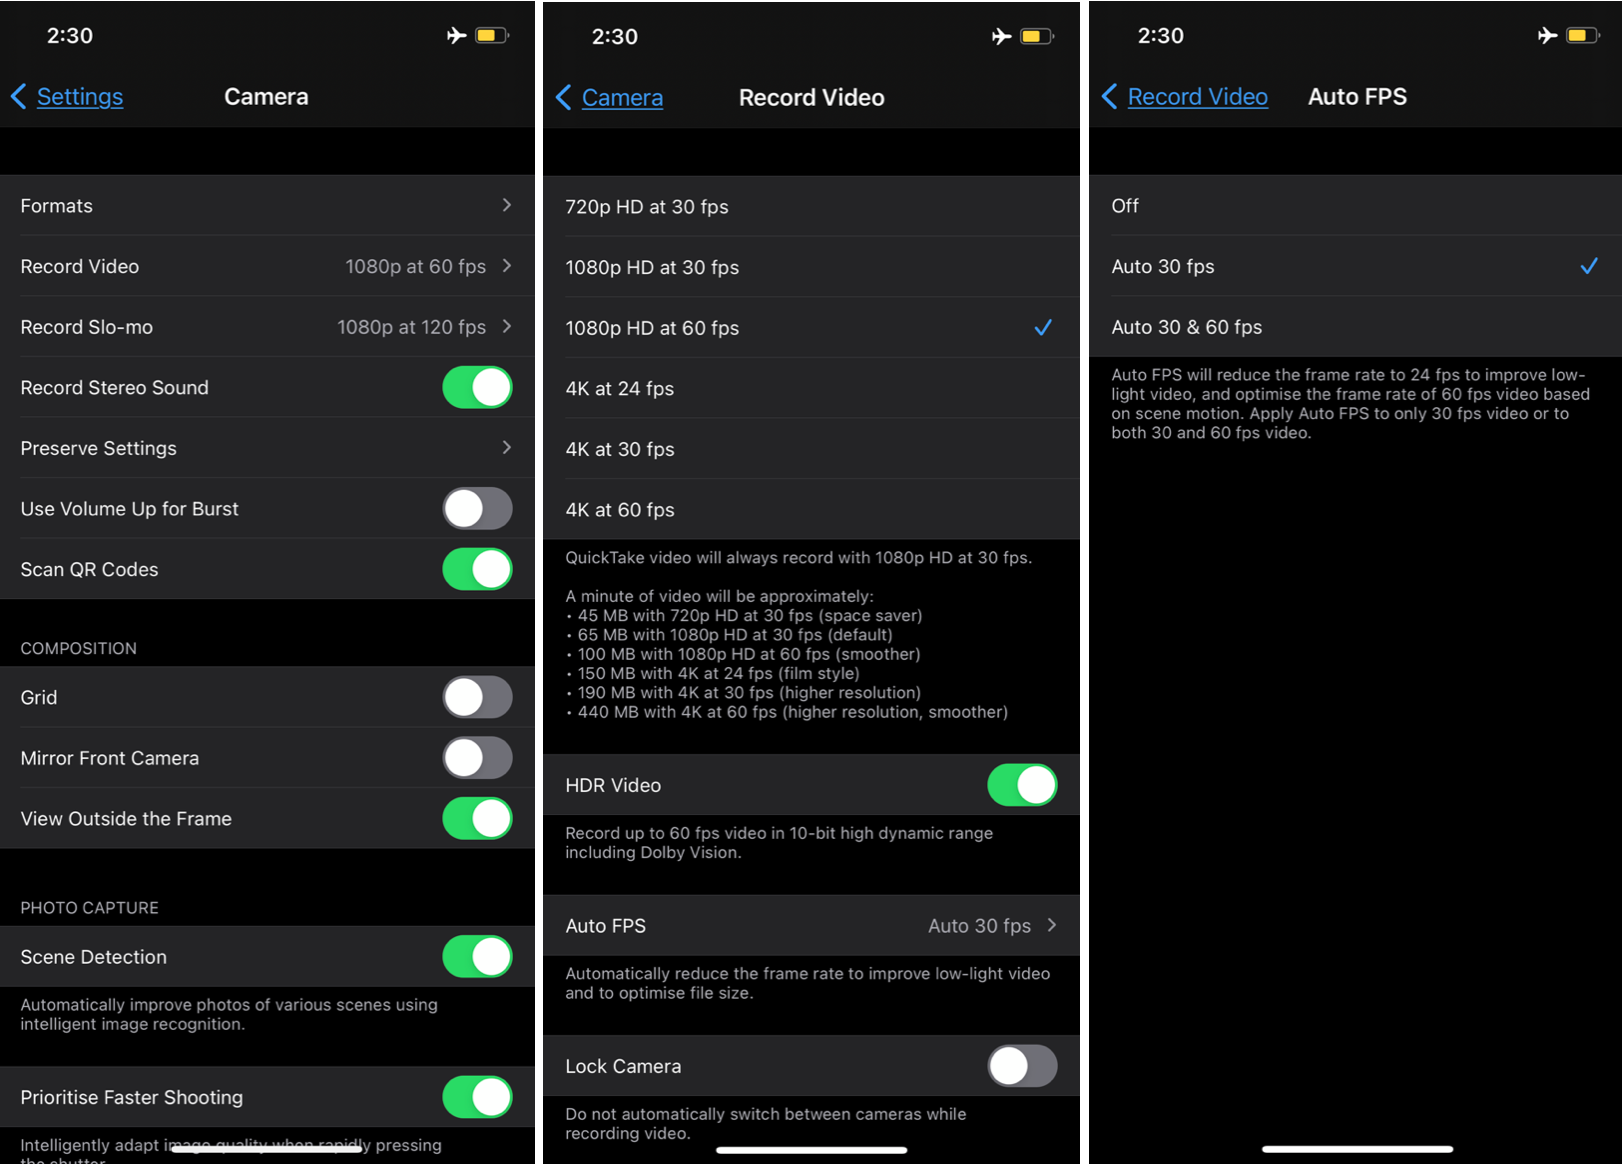 iPhone 12 users can set auto FPS which adjusts FPS according to surrounding light. Go to settings > camera > record video > auto FPS.
Those with iPhone 11 onwards can adjust the FPS in their video camera settings to match the subject and shoot type. For instance, if you are filming someone playing sports, 60fps will be ideal to capture smooth motions with high quality details.
For everyday Instagram videos or YouTube vlogs, 30fps works because it produces clean, realistic looking images without taking up too much space on your phone. 24fps, on the other hand, produces more motion blur and is something you can explore if you want to give your videos a dreamy, film-like effect.
10. Colour grade videos on apps to instantly change the mood
Just like how we edit photos to make the colours more vivid, colour grading videos makes a huge difference to the mood and overall effect.
 Image credit: Ian Ling
Previously, you’d need to export and use external software like Movavi and Adobe Premiere Clip to apply colour grading. But with iOS 13 and above, you can do so conveniently within the iPhone Photos App itself. Apart from adjusting the exposure, highlights, shadows and contrast to make the visuals more polished and professional, you can also crop and rotate your clips.
Effortlessly level up your videos with the latest iPhone 12
There are countless things to learn when it comes to perfecting videos, whether it’s external equipment or pro-level editing apps. For those who just want a hassle-free way to up the ante of everyday Instagram Stories, TikToks and vlogs, upgrading your phone camera is a surefire way to instantly get better quality footage.
The new iPhone 12 series will do just that. All iPhone 12 models come with a new Dolby Vision HDR recording function, which provides a larger variety of colours and more visible details in the shadows and highlights. If you’re getting the iPhone Pro Max, prepare for built-in cinema grade video stabilisation where you won’t even require a gimbal.
All iPhone 12 models also have an auto FPS function which detects the brightness of the surroundings and adjusts the FPS accordingly. All these recording capabilities combined means you won’t have to waste time fiddling with video editing apps to get your footage to upload-ready quality.
If you’re looking to upgrade your iPhone camera function and take better videos without having to splurge on additional devices or paying for apps, the new iPhone 12 would be a worthy investment.
 Image adapted from: Challenger
For all the more reason to snag it now, purchase from Challenger stores via DBS 24-month Instalment Payment Plan from now till 31st January 2021 and get $30 off any iPhone 12 model. *Limited to the first 1,000 redemptions.
Klutzes would be glad to know that complimentary 12-month Kiasu.me Device Shield Smartphone Insurance worth $39.90 will also be included. This provides free one-time repair for your precious new iPhone 12 if you accidentally damage the screen. All the more assurance for you to go on filming expeditions!
 Image credit: DBS
Find out more about the DBS Challenger iPhone 12 promotion
This post was brought to you by DBS.
Photography by Pepita Hope Wauran.