The proliferation of “entry-level” digital SLR cameras, even prosumers compacts or Smartphones have spawn a great new following in photography. Anyone with even a smartphone cam now have more control over their “new found skill” and complimentary user-friendly programs to experiment outside the ‘point and shoot’ mindset. Now, the shots can be viewed immediately, edits done and uploaded within seconds…Hmmm…can Google Glasses do this yet?
This trend also fostered many post-processing computer applications. But in this blog, I would like to bring readers to one particular methodology – High Dynamic Range or HDR as it’s more popularly known. As the term suggests, High Dynamic Range (HDR) extends the light and tonal range of images taken under normal conditions. With a balanced HDR image, the resulting image exhibits more vibrancy and details compared with the original shot.
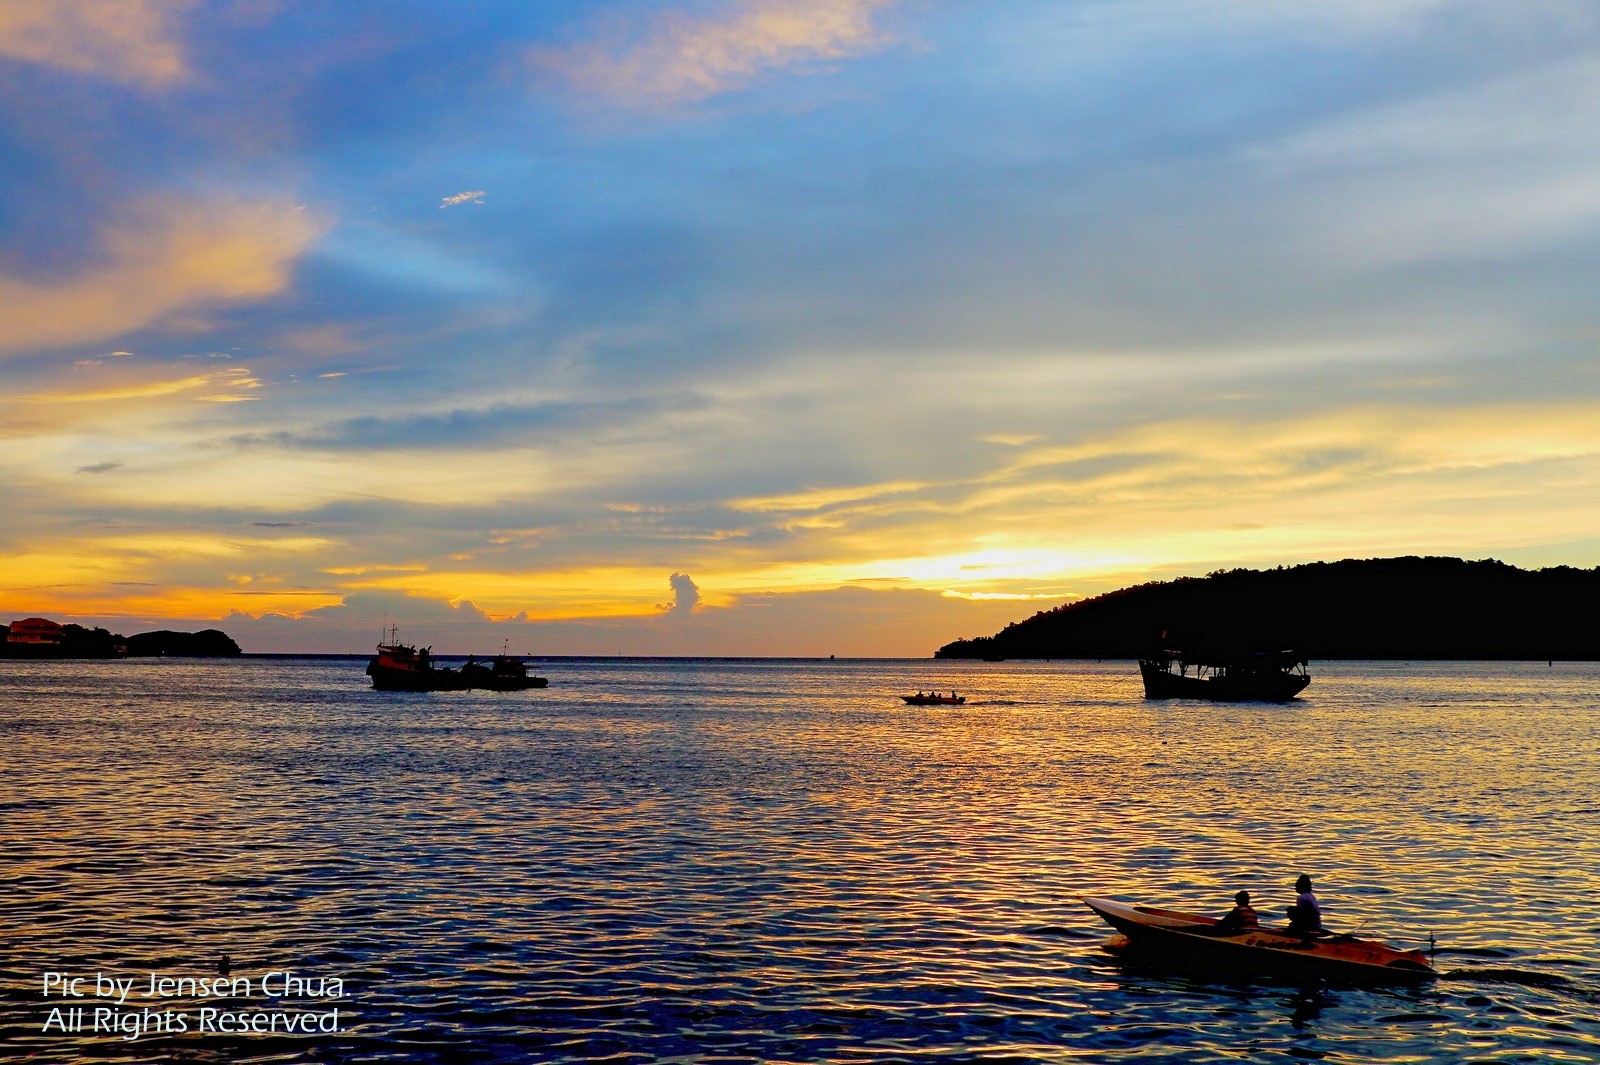
In the two images below, I attached 2 pictures I shot in Halong Bay for a better idea-

Normal pic…without HDR post-processing

Post-processed with HDR (3 frames, via Canon Digital Photo Professional – DPP). Enhanced saturation and details in shadow areas.
Depending on how you want to convey your shots…be it for enhanced details, colour saturation, or even a surreal feel…the program gives you the flexibility and rooms for creativity (but do exercise “frugality” as any over-enhancement cab render a weird looking edited HDR …
HDR program can help also in tricky lighting situation that would otherwise be impossible within the means and ability of most amateurs…honestly, the “idiot-proof” compacts, while easy to obtain pleasant pictures in average situation…may be a real challenge when it comes to tricky lighting. As the following picture I took in my hotel room at West Lake, Hanoi shows.
It looked deceptively easy…but without my camera (a Canon G12 with built-in HDR mode) and a tripod…would have been impossible. The exterior lighting, the room ambience lighting and the TV screen all have different exposure values. Exposing for the exterior light would underexpose the interior, and TV screen will registers as a black blank screen. While exposing for interior will result in an overexposed view of the West Lake (washed out).
What an in-camera HDR program does is it shoots 3 frames of the scene at quick succession, one at the ‘ideal’ exposure, one at overexposure and one at underexposure and merge all three picture for a balanced photo. For it to work well, a steady tripod is a must and subjects must not move during exposure. Otherwise, “ghosting” of human subjects will occur.

What’s needed ?
1. A camera with the capabilities to adjust exposure settings. If you have a camera with a bracketing function and multiple shots mode, You should take three shots of the same scene – one at normal exposure, one say two stops below normal, and another two stops above.
2. A steady tripod. If you are going to be taking multiple shots it will help if there is as little camera movement as possible between shots. Of course, triggering the camera shuttle with remote or 2sec timer will helped in minimizing “shuttle shock”.
3. A high contrast scene. HDR works best here. Clouds, like in thunderclouds, contrasty sunset with clouds…will be ideal 🙂
4. You will need a HDR processing software, as mentioned . For Canon users, it’s already in the attached Digital Photo Professional (DPP). Or to experience for free trial… you might like to download Photomatix : http://www.hdrsoft.com/download.html .

A section of Singapore downtown…3 frames combined to create the multiple lasers from MBS.
5. Patience. You will need some time to learn and experiment. It doesn’t all happen by automatically. But do copy the frame you wanted to do a HDR, with the original as a back up.
6. For those with cameras offering varied mode, select the aperture mode as this will maintain the aperture setting and vary the shutter speed to obtain different exposures without altering the depth of field (area of sharpness in front and back of subject).

HDR image of Singapore waterfront…the HDR program have the effect to sharpening the pic through the layering of multiple picture frames. But the 3 frames used MUST be sharp in the first instance. Steady tripod is mandatory.
7. If possible select Auto Exposure Bracketing from your camera menu options, and select multiple shot mode. I like to go manual…but that’s my personal style. Note: shutter speed between shots can be used as a bracket function in case no bracketing is avail– but never move the camera! Not even one bit!

HDR rendition of the Marina Bay Sands….impossible to get the all the beams in one frame…the three frames used in the HDR mode provides for “surreal” effect.
I hope this blog helps to throw some light on the HDR programme… Love it, hate it…it will lift your pictures several notches… Have a great pixel journey (^__^) [O]


