Home projector system setup
Setting up a home theatre can be daunting: multiple devices, tangled cables, and confusing speaker setups. Let’s also not forget about the thousands of dollars all that gear might cost you.
However, not all is lost. In fact, there are ways to create a cinema-calibre experience at home without going all MTV Cribs or Bling Empire. The 7 tips below will put you on the right path to DIY a home projector system with as little effort as possible.
1. Pick a designated movie room
Before you go all out and tear down the walls of your bedroom to install things like sound-absorbing panels and insulation, wait a minute. This might come as a surprise, but any room at home can be converted into a home cinema. So call off the contractors and pick a room.

The living room has a lot of potential to become the designated movie den since there’s most likely a comfy couch already in place and possibly an ottoman to throw your feet up on. Plus, you can host a massive Netflix night and invite your squad over without feeling cramped.
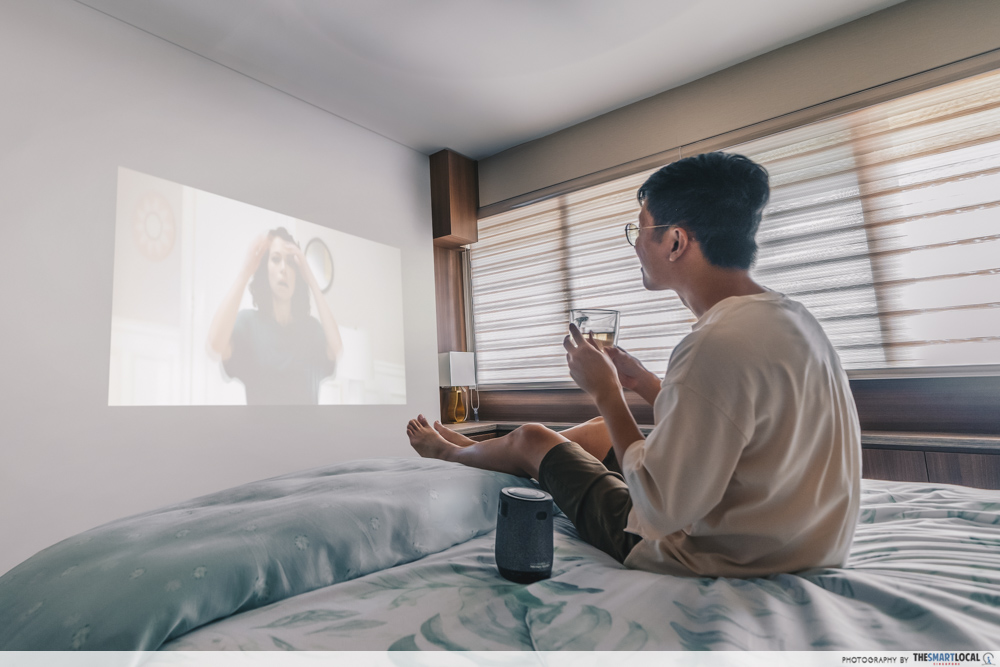
However, the downside is you might annoy your parents by blasting loud noise and taking up the entire communal space for hours. That’s why the bedroom is our next suggestion. It has a bed and cosier vibes, and you can even use the ceiling as a projector screen.
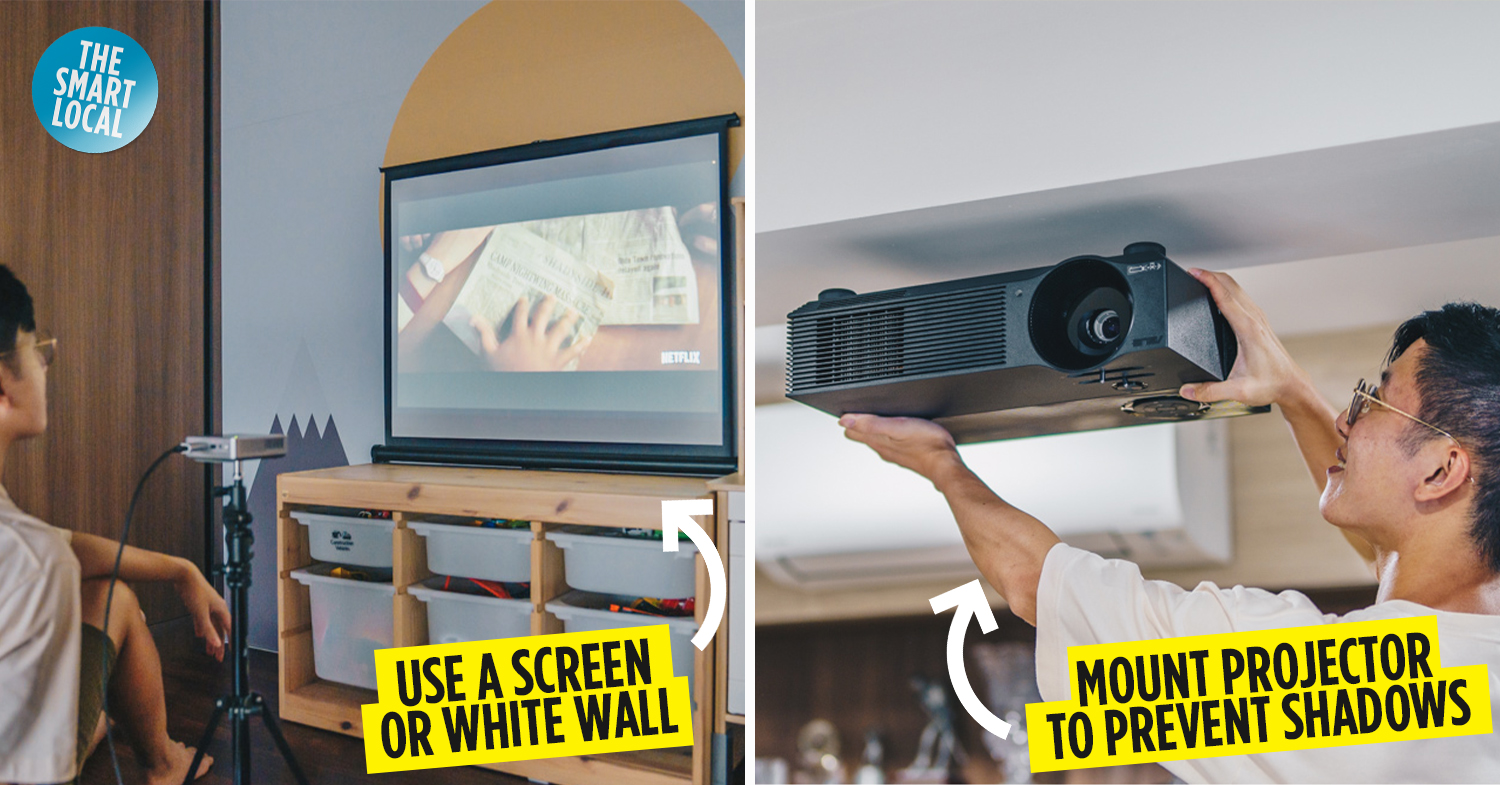
2. Place projectors in well-ventilated area
It doesn’t matter if you’re mounting your projector or placing it on a surface. Hot air can easily be trapped inside the device if the fans on the unit are blocked by even a thin layer of dust. That’s why it’s crucial to keep the space surrounding your gadget clutter-free.
To prevent overheating, make sure there are no objects sitting in the vicinity of your projector’s vents. For ceiling-mounted units, keep the area clear of lights, fans, and decorative objects.
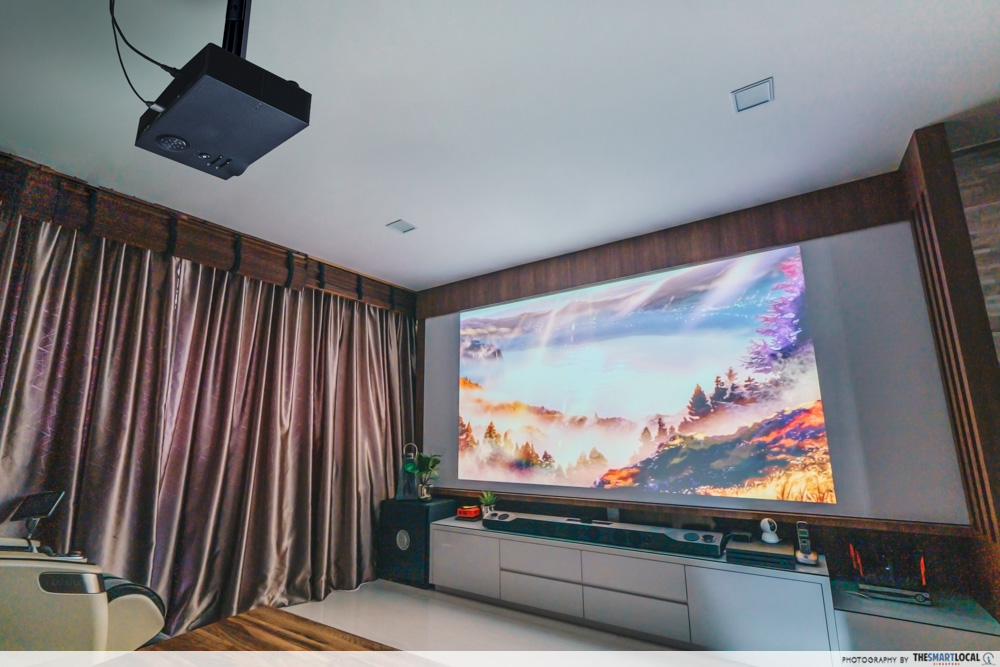
3. Mount projectors on ceiling to prevent shadows
If you have adequate ceiling space that’s free of fans and lights to hang your projector, consider us impressed.

With a ceiling mount, you’ll be able to install the projector much closer to the screen. This will ensure that you get the maximum brightness which means higher video quality.
Securing the device away from everyone’s reach also prevents people from bumping into it or blocking the front light. Just make sure that you invest in a solid mount so your projector won’t suffer a fall and shatter into pieces.
4. Position projectors in the centre of the screen
Unless there’s some higher power preventing you from centering the lens horizontally to the screen, please do so. Your eyes will thank you for not casting distorted images.
However, we understand there’s a chance you might misread the tape measure when installing the ceiling mount. Either that, or you truly have no drilling space. That’s why your safer bet would be getting a projector that comes with a lens shift function.
In a nutshell, this godsend feature can help to align the lens with the screen for optimal image quality. This way, you can have more flexibility in choosing where you want to place your projector.
5. Purchase a screen or use white wall space
This might be a total no-brainer but you’ll need a flat surface to project your never-ending Netflix queue on. That said, you have 2 options: either invest in a screen or cast directly on a white wall for the best possible picture.

With a screen, you’ll be able to project clear pictures or even move it outdoor for a backyard movie night. However, a projector screen will most likely cost a pretty penny. In the name of money saving, opt for the latter.
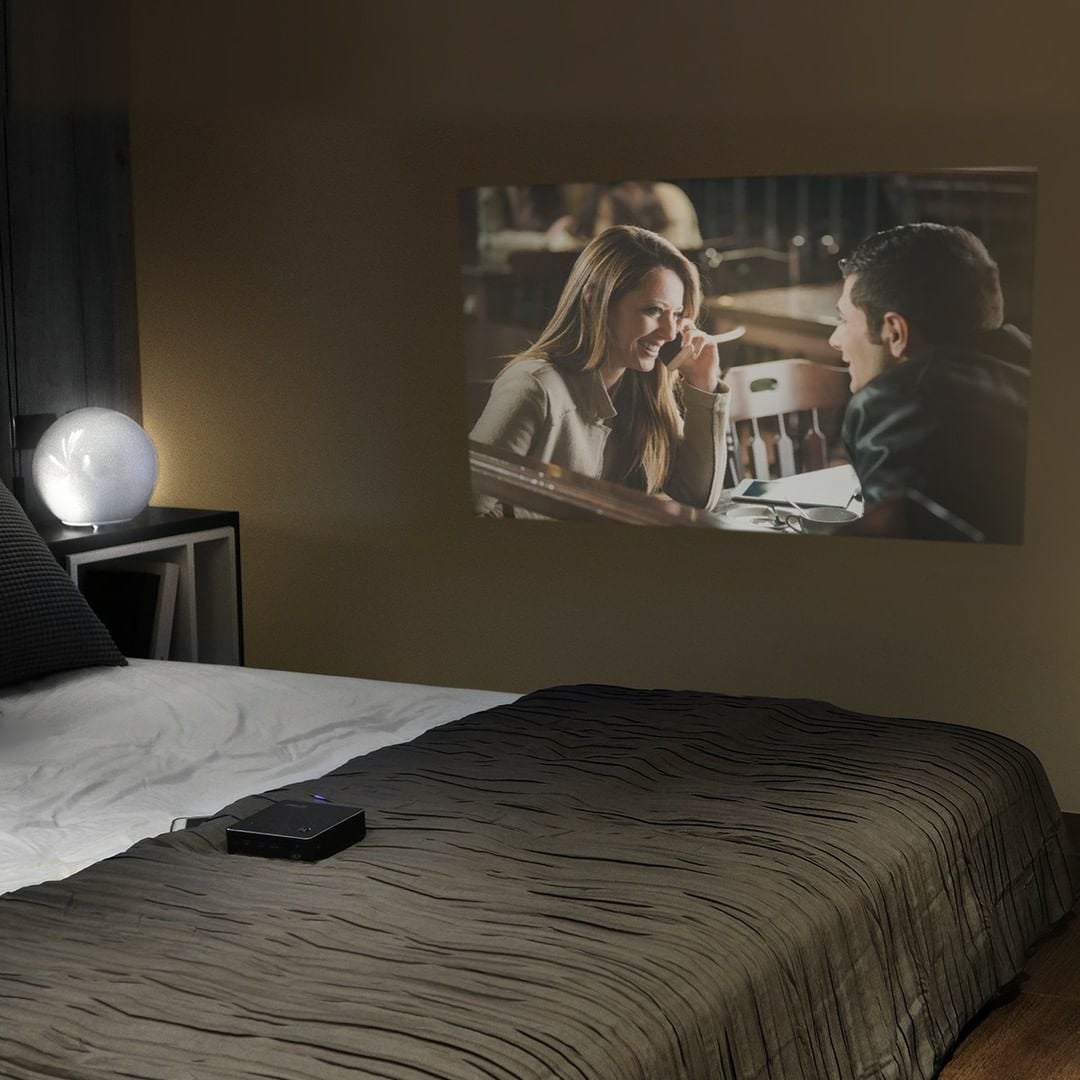 Image credit: @caetano_distribution
You’ll need to clear up some wall space and take your graduation frame down. But that’s okay because you’ll save hundreds of dollars that can be put towards another home cinema essential – like a soundbar.
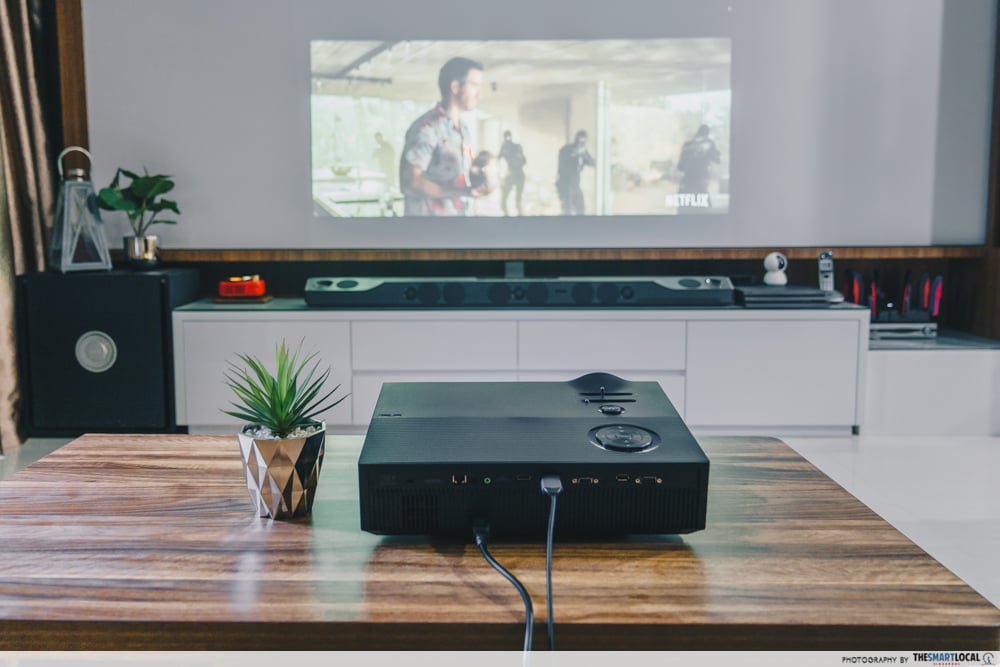
6. Invest in a soundbar or speaker system
Setting up a mini home cinema without an audio system is like going to the gym without your earphones. In other words, there’s no point.
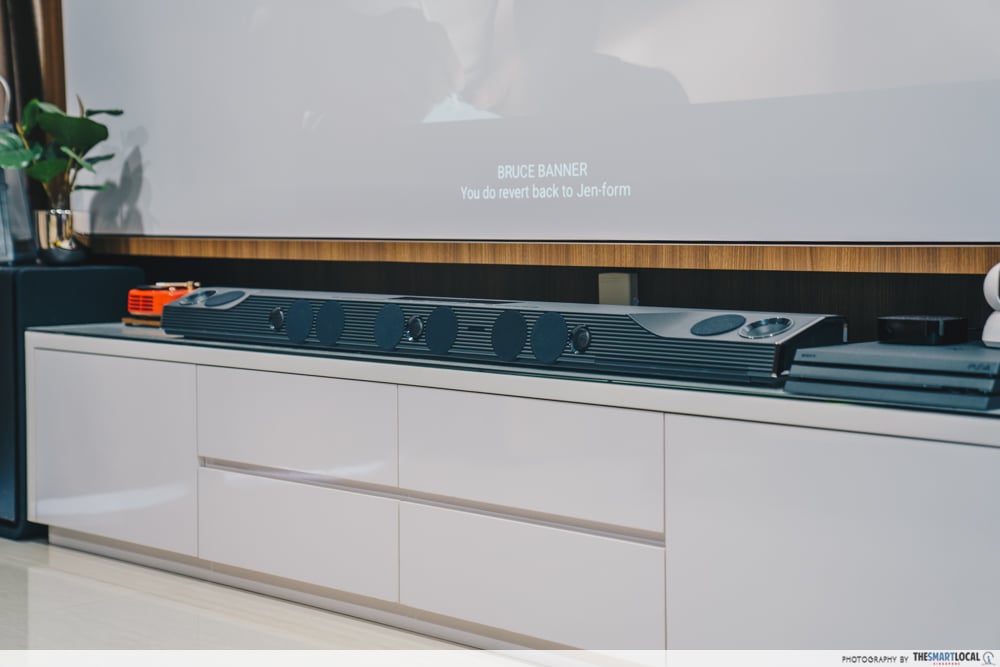
Sure, your projector probably has an in-built speaker and it technically works, but the sound might be weak. For a true theatre experience, you’ll need an external speaker setup that can deliver deep bass and clear highs, mids, and lows.
We’re not saying you should aim for the stars and drop a bomb on a cinema-grade surround sound system. A single soundbar that fits your budget will work just fine.
7. Buy blackout curtains to block out lights
Lighting can make or break your home cinema, regardless of whether you have the latest gizmos and gadgets. In order to make your DIY theatre as legit as possible, getting blackout curtains is the way to go.
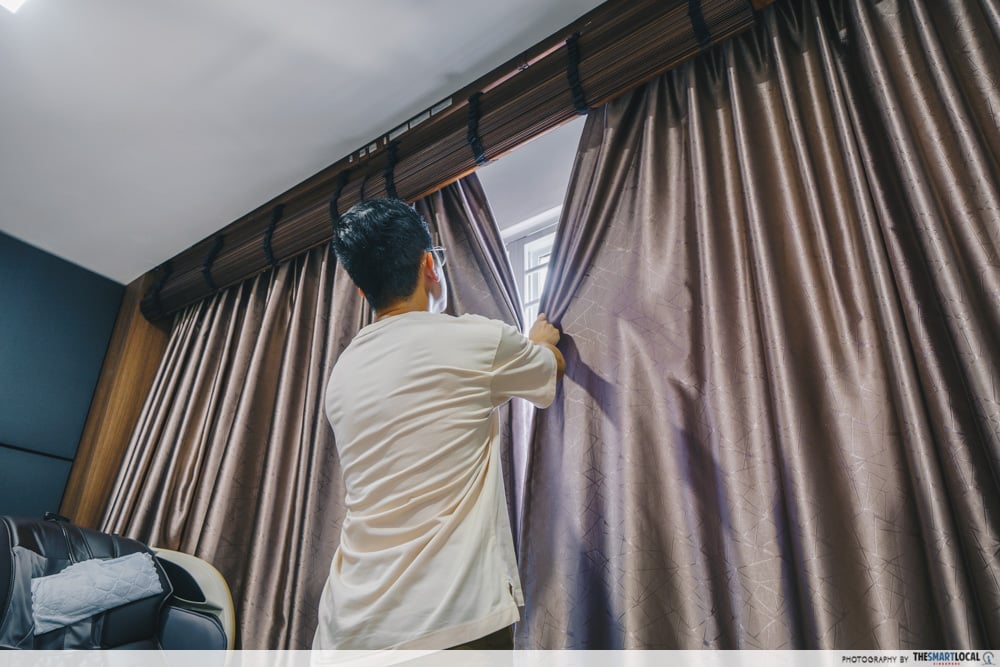
Assuming your designated movie room has white walls, the light from your screen can bounce off the ceiling and walls and make the room brighter. Throw in sunlight or street lights, and you might have trouble seeing the screen. That’s why the darker the room, the better projection you’ll have.
Set up a home projector system with ASUS
Your concept of a home theatre is often magnificent and slightly surreal, thanks to the setups you’ve seen in shows like Selling Sunset. But when it comes to actually putting a mini cinema together, you’ll realise all you need is a bit of creativity and a few reliable devices – like the ASUS projectors.
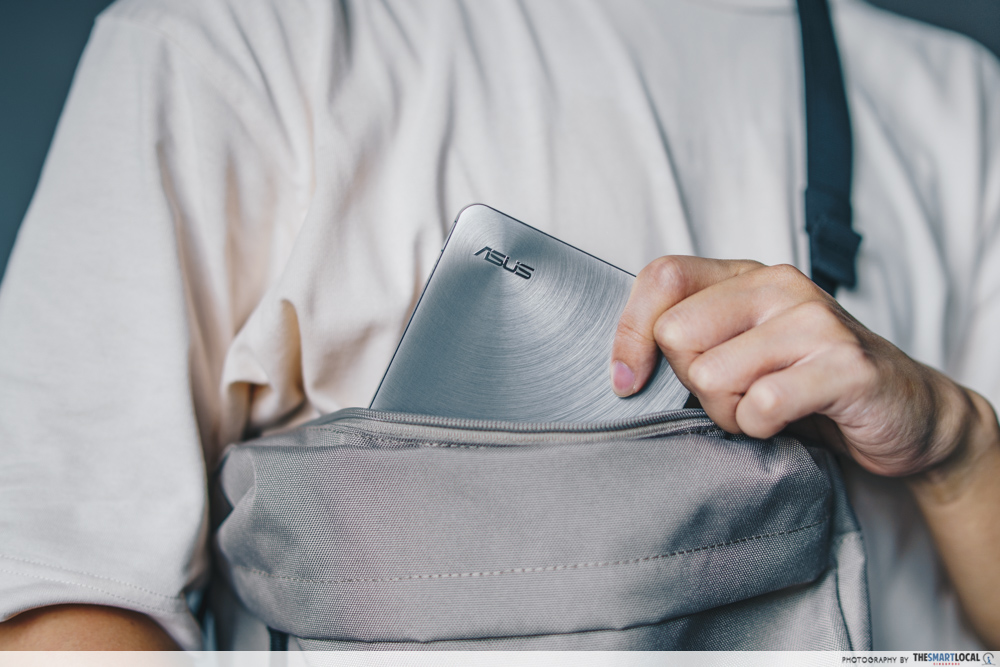 The ZenBeam S2 can fit nicely into your bag.
Those who want to stream TV shows and movies across multiple rooms and on the go can grab a portable projector and call it a day. With up to 3.5 hours of battery life, both the ZenBeam Latte L1 and ZenBeam S2 can get you through a movie easily. Plus, they can fit into your backpack so you can take them out on a picnic or camping trip.
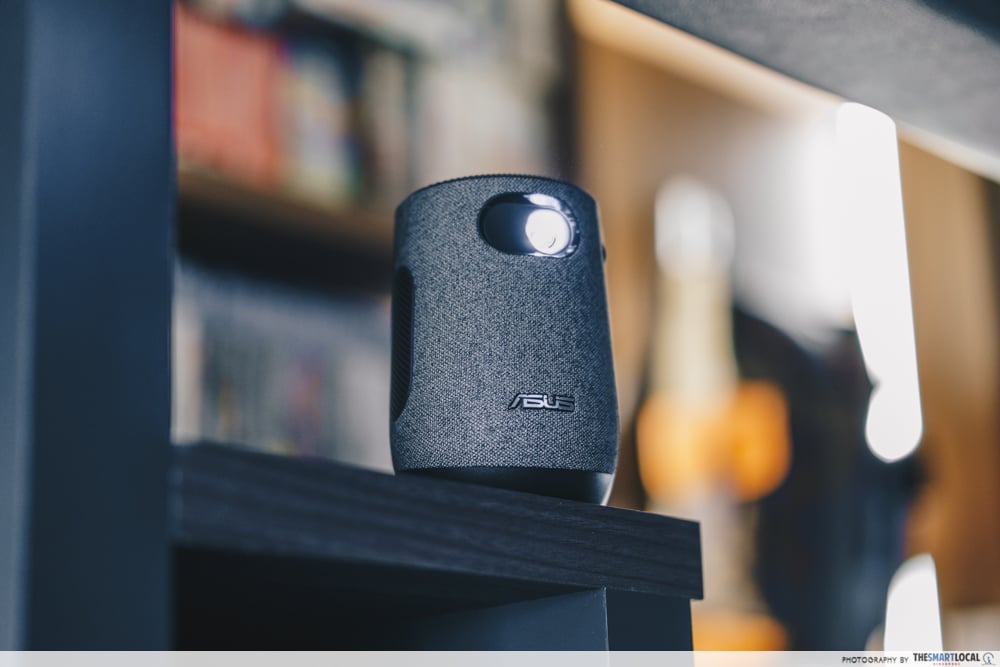 The ZenBeam Latte L1 comes in a unique coffee mug shape with a fabric cover.
Despite their humble sizes, they have decent brightness, 720p HD resolution, and wireless mirroring function to stream straight from your smartphone. The ZenBeam Latte L1 also comes with a built-in speaker by Harman Kardon so you can expect quality sound.
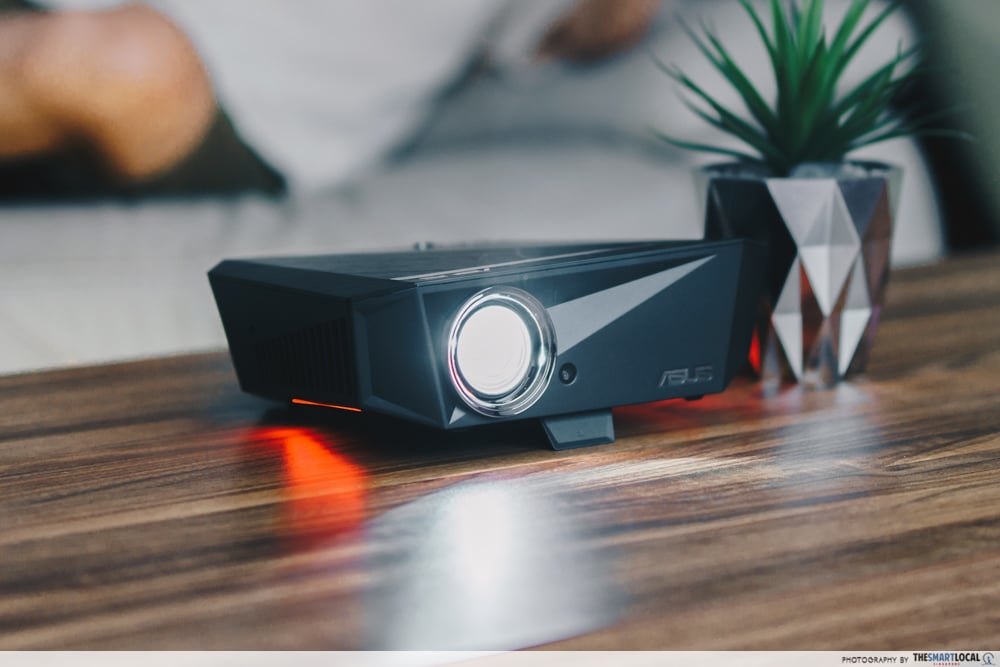 The F1 LED projector works well even if you don’t have the luxury of space.
Another option that doesn’t take up too much space in your apartment is the F1 LED projector. With an LED light source, short throw lens, and horizontal and vertical keystone adjustment, this bad boy promises crisp contrast and clarity. It’s also compatible with any streaming devices such as phones, tablets, and even PS4.
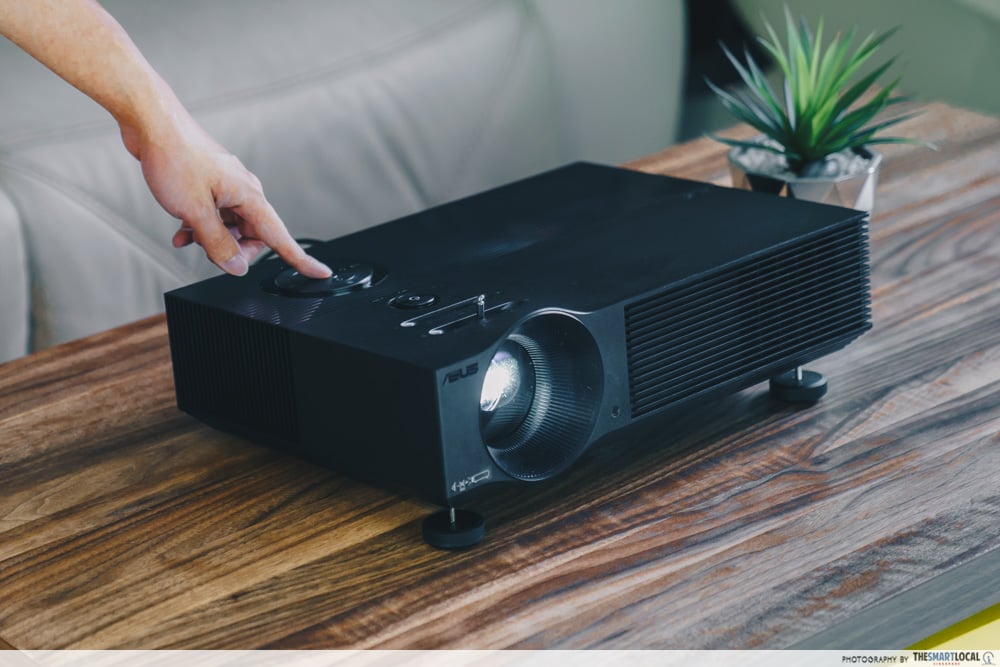
If you’re blessed with a sizable space and in the mood to splurge, consider the H1 LED projector. It has 3,000 lumens and a speedy 120Hz refresh rate which makes it the brightest and fastest out of the 4 options.
With the ability to fill a 200’’ screen and stream from both your phone and game consoles, the H1 is ideal for Netflix bingeing and Mario Kart-ing all night long. Not to mention, these projectors will come in clutch when you need to up your presentation game at the office or even at school.
We hope the above tips have been helpful in getting your home cinema up and running. Because let’s be honest, who wouldn’t want to watch 4 seasons of Stranger Things on a much bigger screen?
Take 5% off ASUS projectors with code <ASUSTSL>
This post was brought to you by ASUS.
Photography by Clement Sim.