Selling clothes online in Singapore
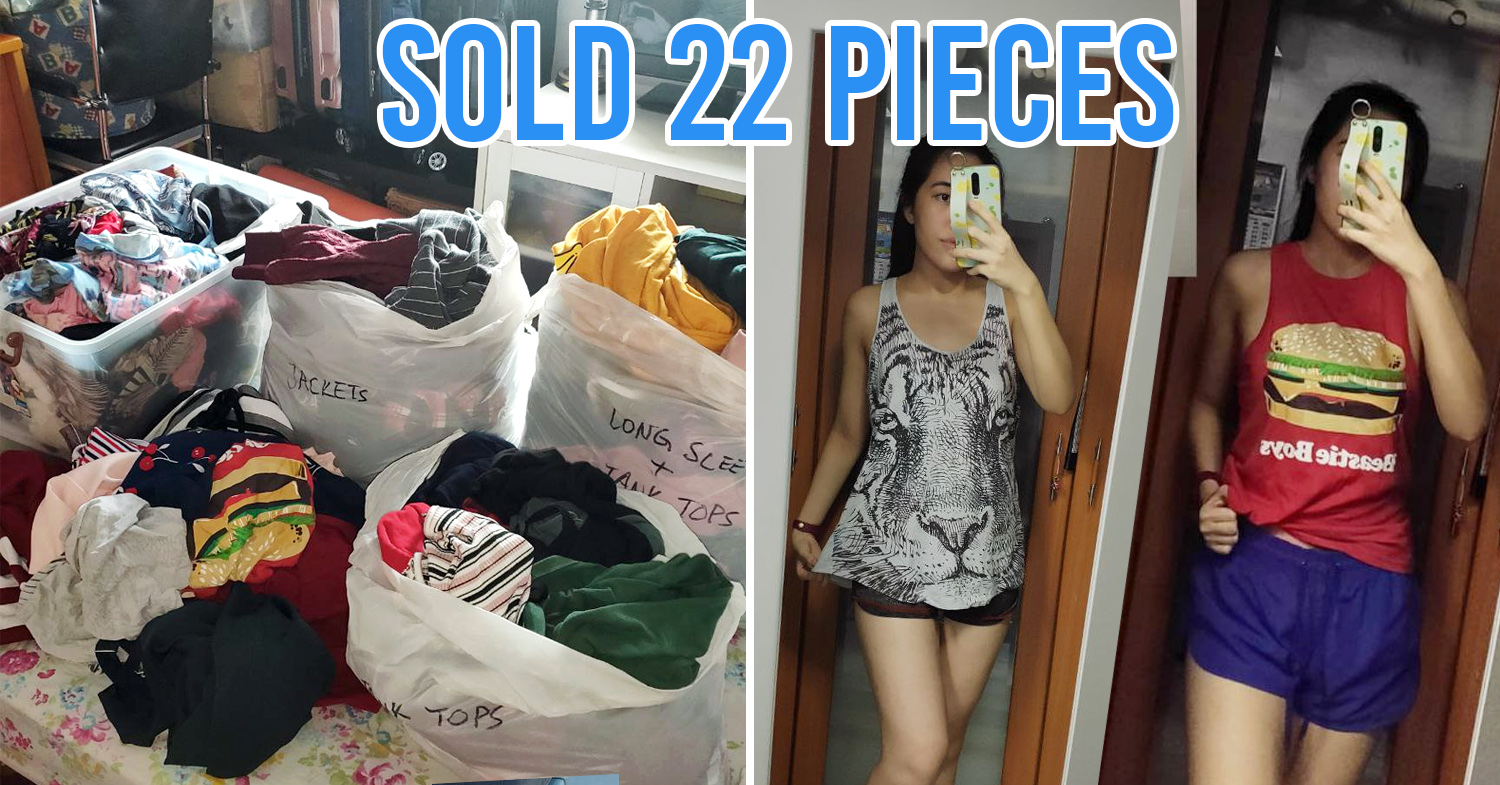
The economy is in shambles. Even though I’m #blessed enough to still have a job, all the surrounding tales of unemployment and pay cuts shook me to my core and made me realise I should earn some spare cash while my financial state is still fairly stable. Plus, all this time spent Working From Home (WFH) has forced me to deal with the atrocious state of my wardrobe. In a bid to both declutter my sanctuary and make some money, I decided to give selling my clothes online a shot.
As a frequent purveyor of Carousell as well as flea markets pre-COVID-19 days, I knew that the market rate for pre-loved apparel ranged from $5 to $20 per piece. Seeing as I had a sizable stash of close to 30 items, I set myself a lofty goal of $300. Here’s how it went:
Step 1: Sort clothes into keep, sell and donate
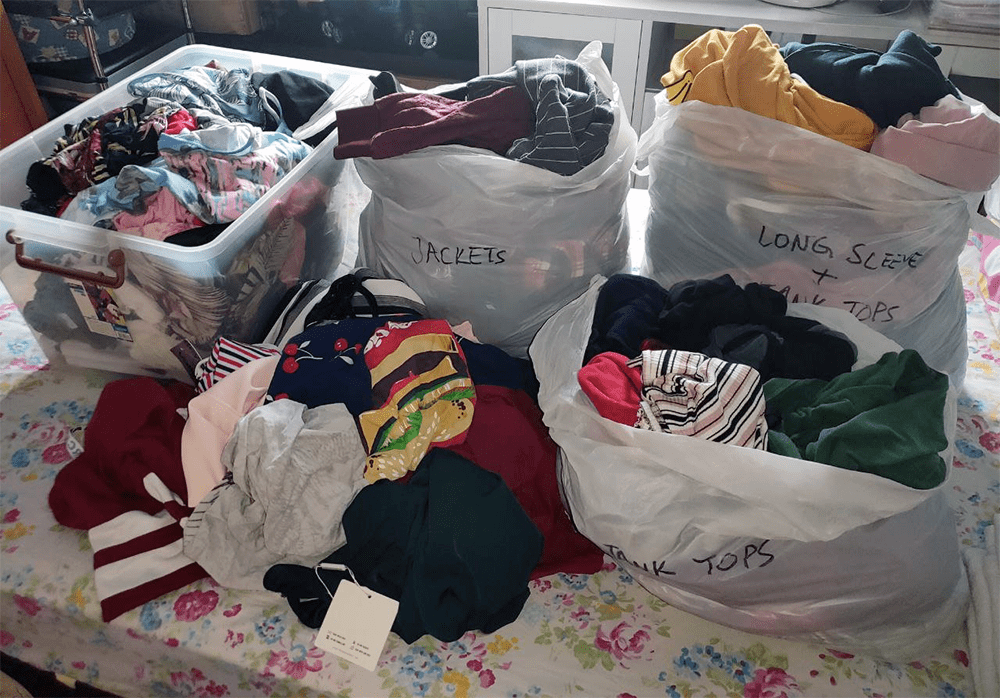
Image credit: Renae Cheng
The levels of embarrassment I’m experiencing by revealing this side of myself to the Internet is no less than horrifying, but my belongings apparel-wise warrant me a spot in Hoarders Anonymous. My wardrobe has gotten to a point where it’s so full that it’s bursting, and I’ve resorted to stashing my frequently worn clothes in recycled plastic bags and storage boxes.
Standing before the cotton and polyester avalanche before me, my first plan of attack was to sort the pieces into keep, sell, and donate piles. As a sentimental soul, it was admittedly a challenge not to mark the entire heap as “Keep”.
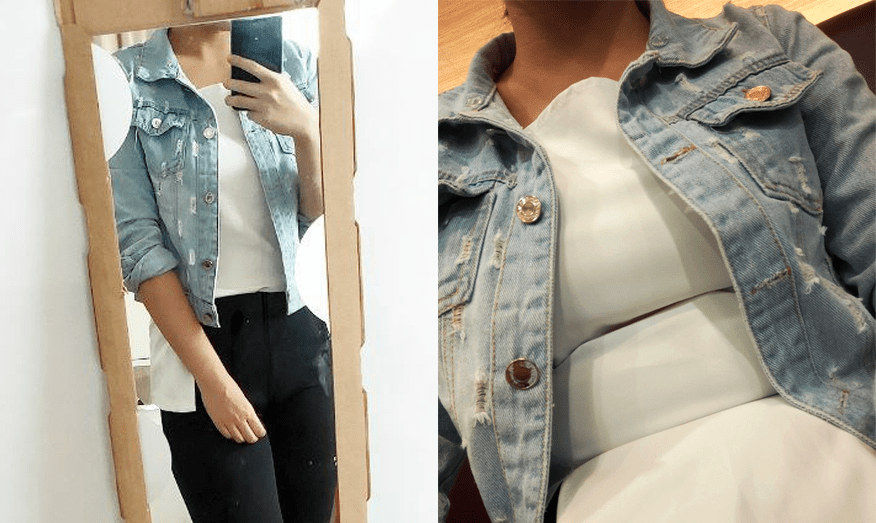
Moment of silence for this cute white top I bought on a whim. It’s free-sized but clearly bursting at the seams when I put it on.
Image adapted from: Renae Cheng
A bad habit of mine is to hold onto pieces that I’ve outgrown or purchased in the wrong size from the get-go. Due to my fluctuating weight, I always tell myself that a particular crop top or bodycon dress will someday be able to fit like a glove when I shed some flab. What I initially perceived as weight loss motivation ended up serving as a source of pressure and guilt.
If you’re having trouble letting go of even the pieces that haven’t seen daylight since “Gangnam Style” first came out, here’s a handy trick to ascertain whether you’ve worn something in the past year alone.
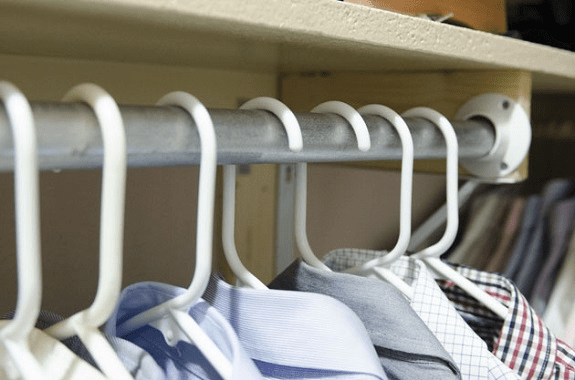
Image credit: Dappered
Each time you pull an item out to wear, reverse the direction of the hanger it’s on. Once spring cleaning comes around, you’ll be able to tell from a glance which are the duds no longer deserving of a spot in your wardrobe. Your memory and emotions might lie to you, but the hangers won’t.

Once I’d sorted everything that I still wear regularly versus pieces that might find better use with a new owner, I also set aside a pile of clothes for donation. These were the pieces that are still well within wearable condition, but highly unlikely to be sold due to it being out of fashion, too gaudy or whatnot.
As for everything that didn’t find a place within keep, sell or donate, well…I thanked them for once bringing joy to my life, and Marie Kondo-ed them into the trash.
Step 2: Take pictures and post online on Carousell or social media
There are third-party resellers in Singapore which take in your preloved apparel and display it within a physical shop. I didn’t venture down this route as I found it quite a hassle having to lug my loot back and forth to the outlet. It also costs money to rent a dedicated space, which would go to waste if my stock doesn’t even end up getting sold.
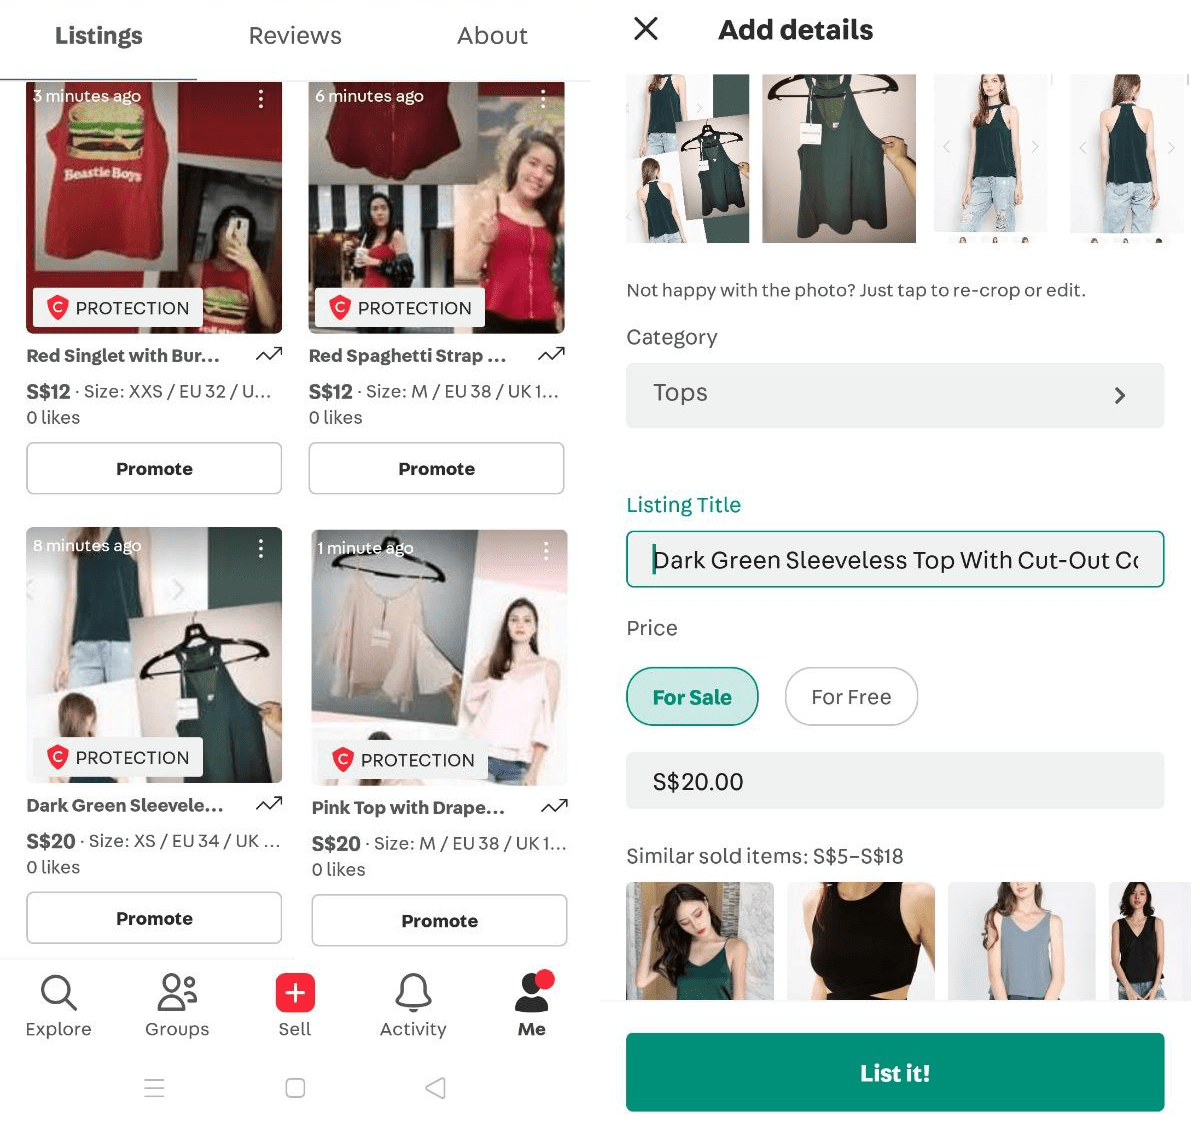
Image adapted from: Carousell
Thanks to technological advancements and the World Wide Web, I could post my entire catalogue online – at absolutely no charge. Carousell is arguably the most popular online platform to buy and sell both brand new and secondhand goods.
Before I opened up my inventory to the general public via Carousell listings, I decided to give social media a shot. Sort of a “friends, family and followers” sneak preview, if you will. The introvert in me also wanted to ease into the whole back and forth virtual liaison with people I knew, before embarking on Carousell conversations with strangers.
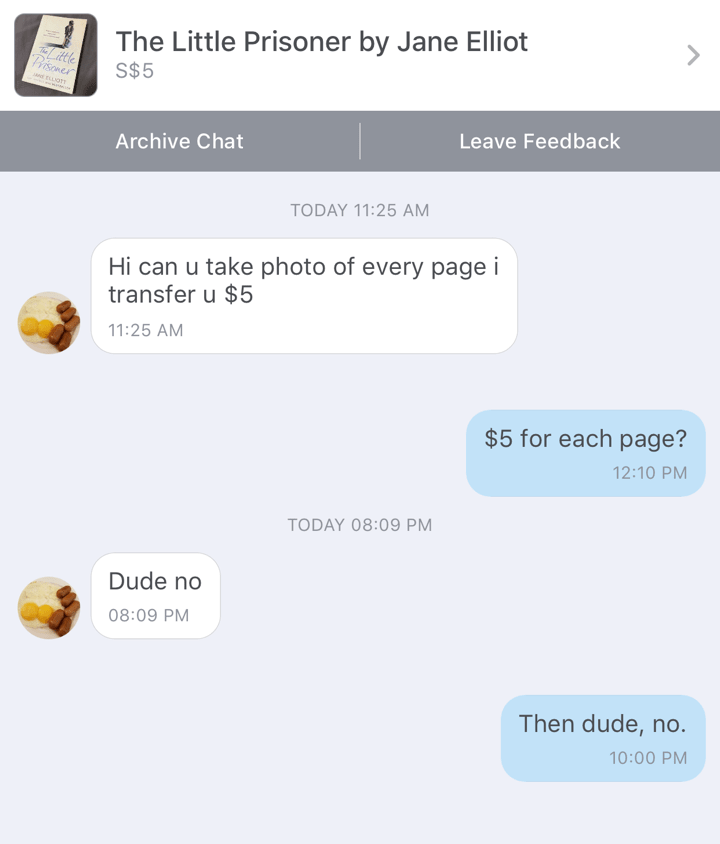
Image adapted from: Carouhell
People aren’t the friendliest when they’re hiding behind a cloak of anonymity, and I was dreading the infamous “Carouhell” messages like, “Trade?”, “Nego?” or “I can’t do $20, $2 can?” messages flooding my inbox.
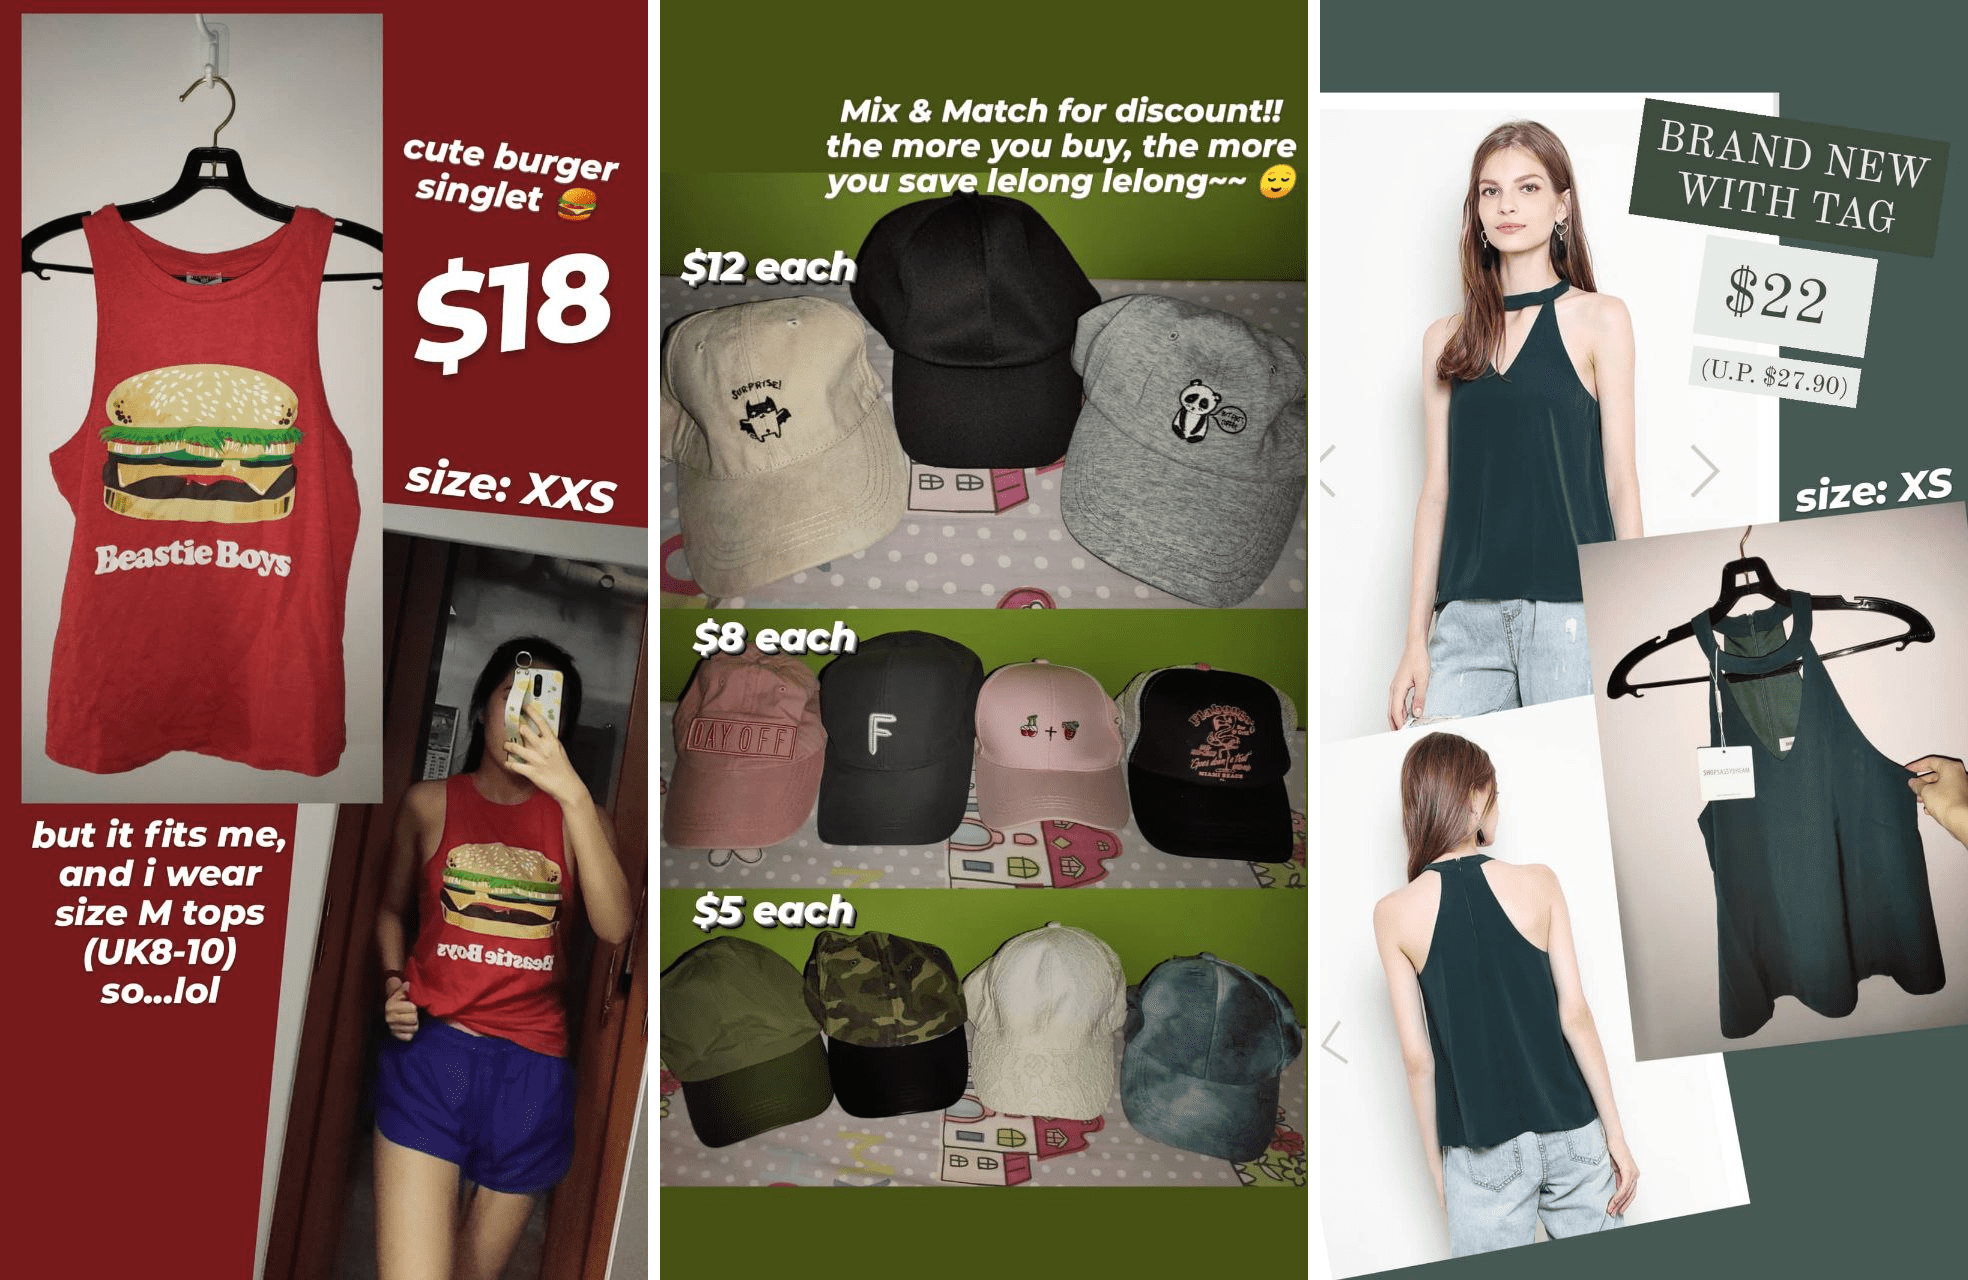
Image adapted from: Renae Cheng
I posted a series of Instagram Stories depicting what I was selling. Unlike Carousell listings where you can only upload some photos and write out a product description, I found myself having a ball of a time playing around with the aesthetics factor of each IG Story. To do the same, I’d recommend downloading any free collage app like Photo Collage Maker.
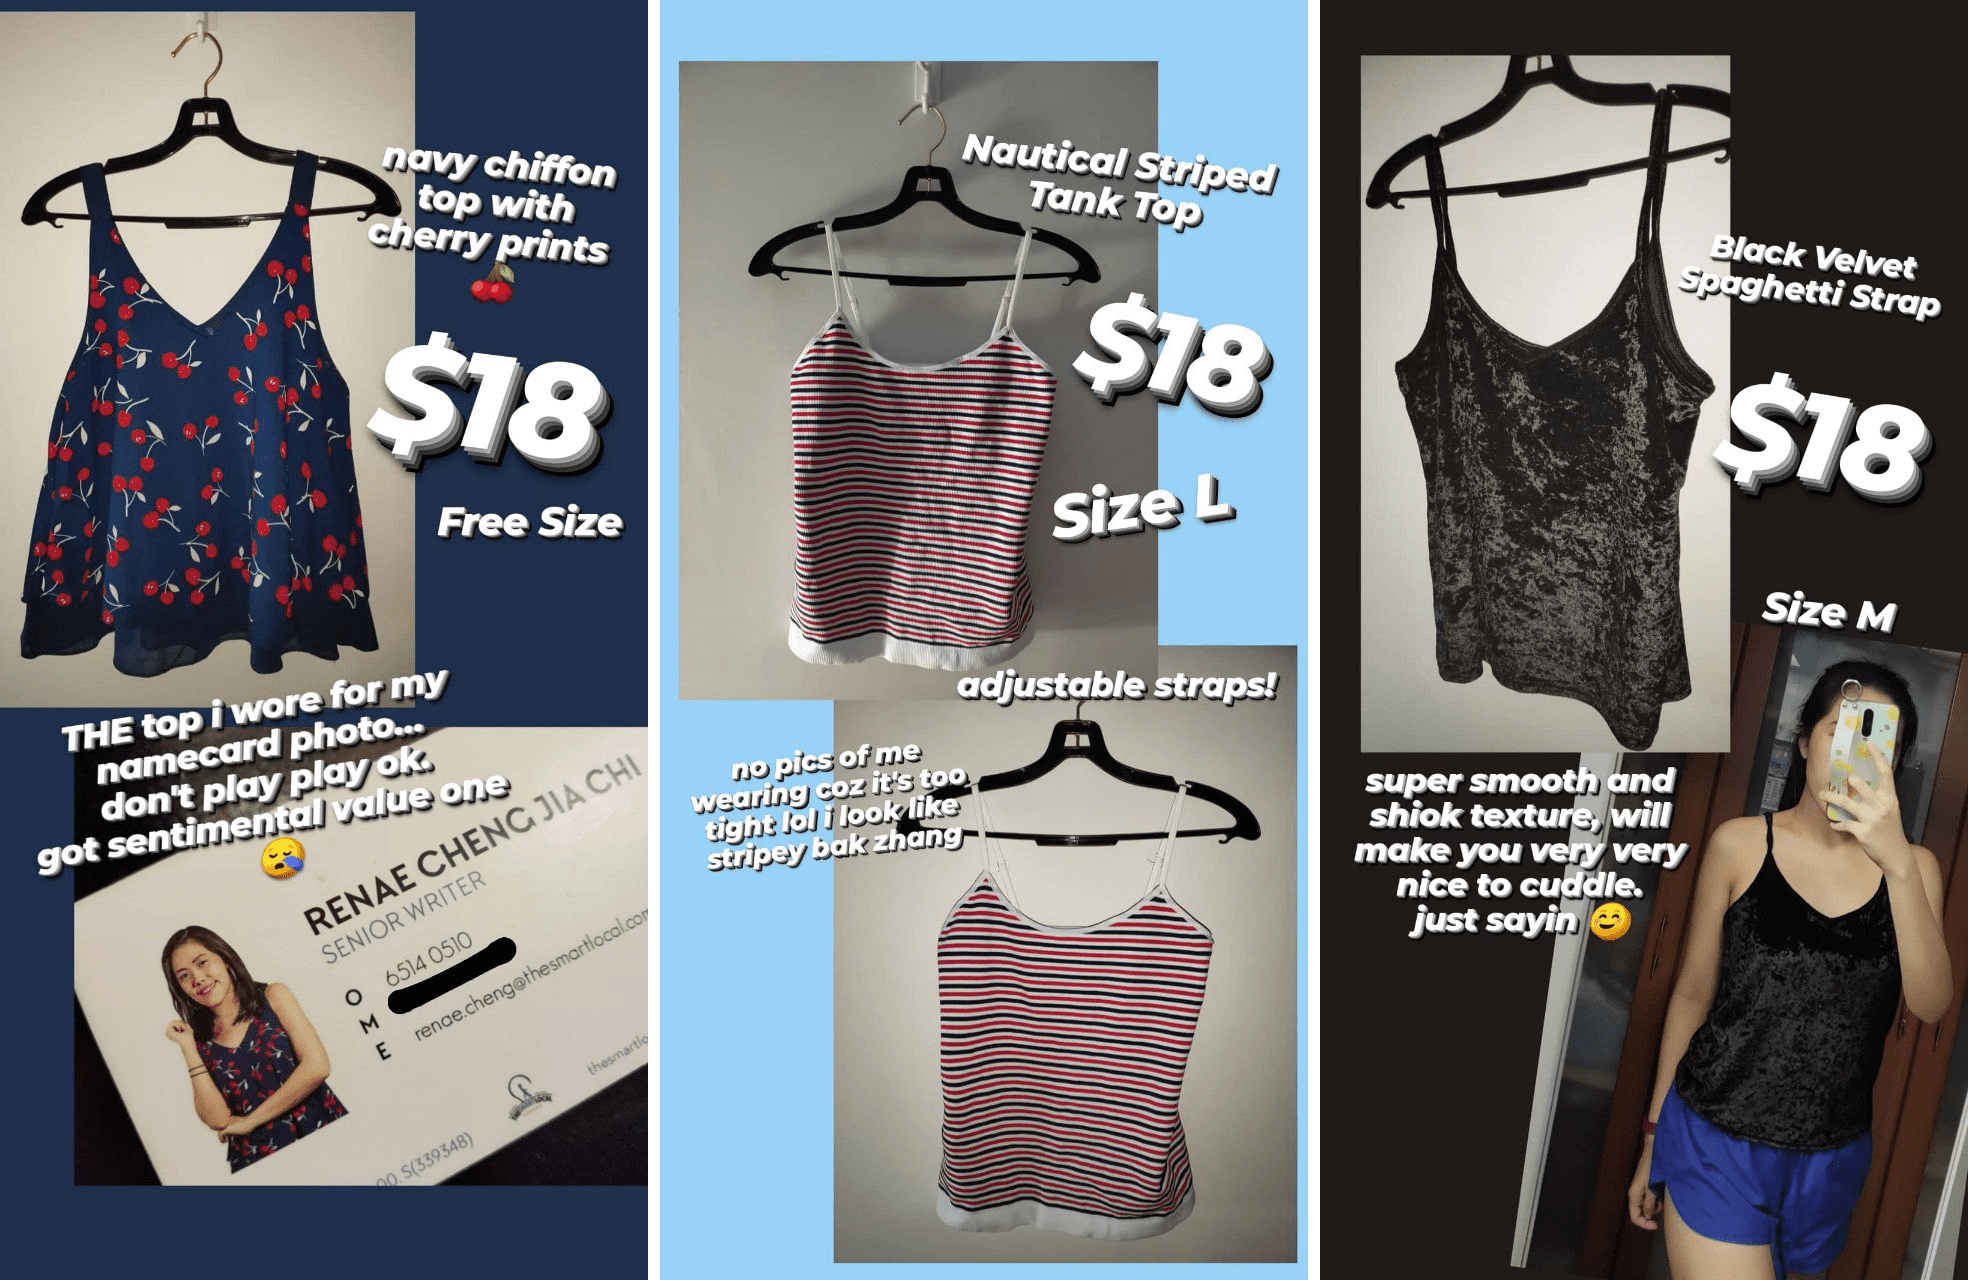
Injecting a dose of humour also makes it seem less transactional, since we’re all friends on social media anyway!
Image adapted from: Renae Cheng
Attaching photos of yourself wearing the clothes also lets potential buyers have a better visualisation of how it looks, as opposed to just draping it on a hanger. They can also compare based on whether or not you have a similar body shape and size, giving them a good gauge of whether it’ll fit them or not.

Image adapted from: Renae Cheng
I started getting Direct Messages in response to the IG Stories, and deals were made with a quick mobile transfer via PayLah and PayNow. It’s wonderful how quick and convenient things have become, since the days of having to make bank account transfers or head down to an ATM.
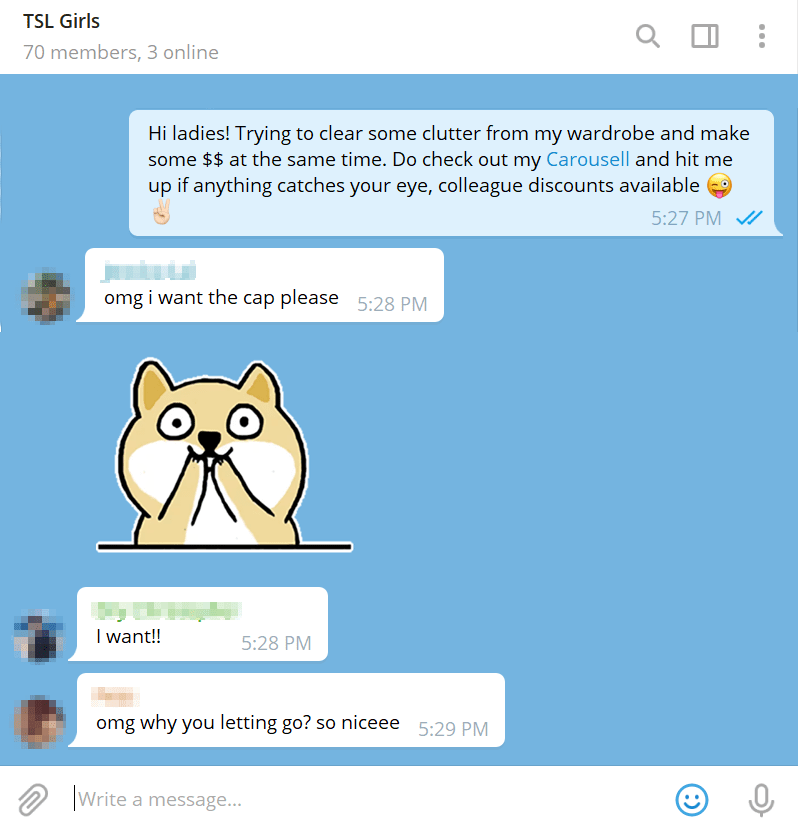
Image adapted from: Renae Cheng
The leftovers were then posted onto Carousell and, just for good measure, I decided to be thick-skinned and publicise my second-hand selling venture in my company’s all-girl group chat. A bit paiseh, of course. But I ain’t saying no to free advertising!
Tip: Join Telegram groups for selling second-hand clothing
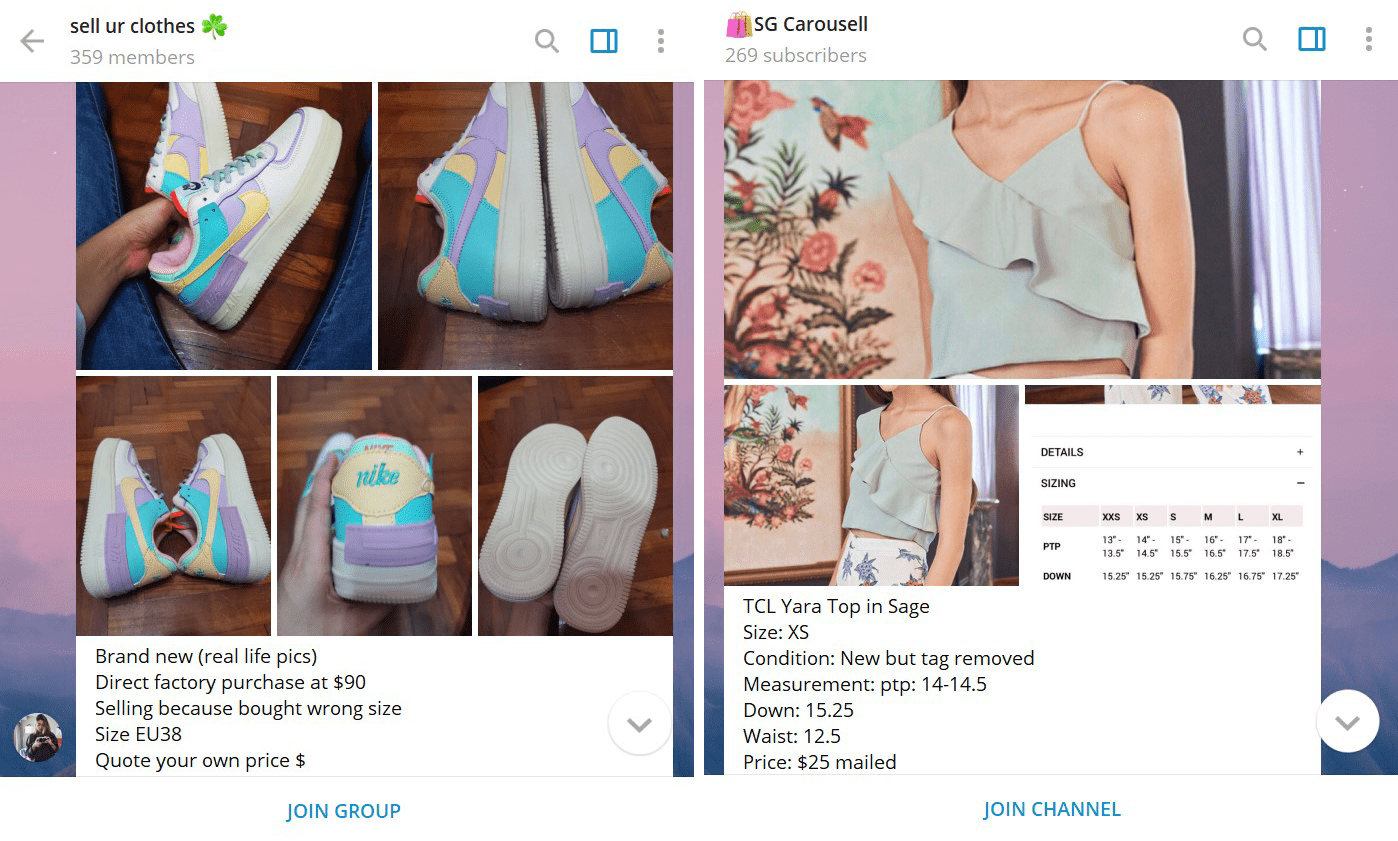
A group is where people join a public chat and are free to contribute their own posts, whereas a channel is for 1 person to disseminate his or her postings to people who subscribe.
Image adapted from (L-R): Sell Ur Clothes, SG Carousell
Telegram channels exist for practically every function, and I was stoked to find plenty of online marketplaces where I could further promote my preloved goods. It allows interested buyers to get in touch with you directly via Telegram messaging, without giving strangers access to your phone number ‘cause it’s just your Telegram username.
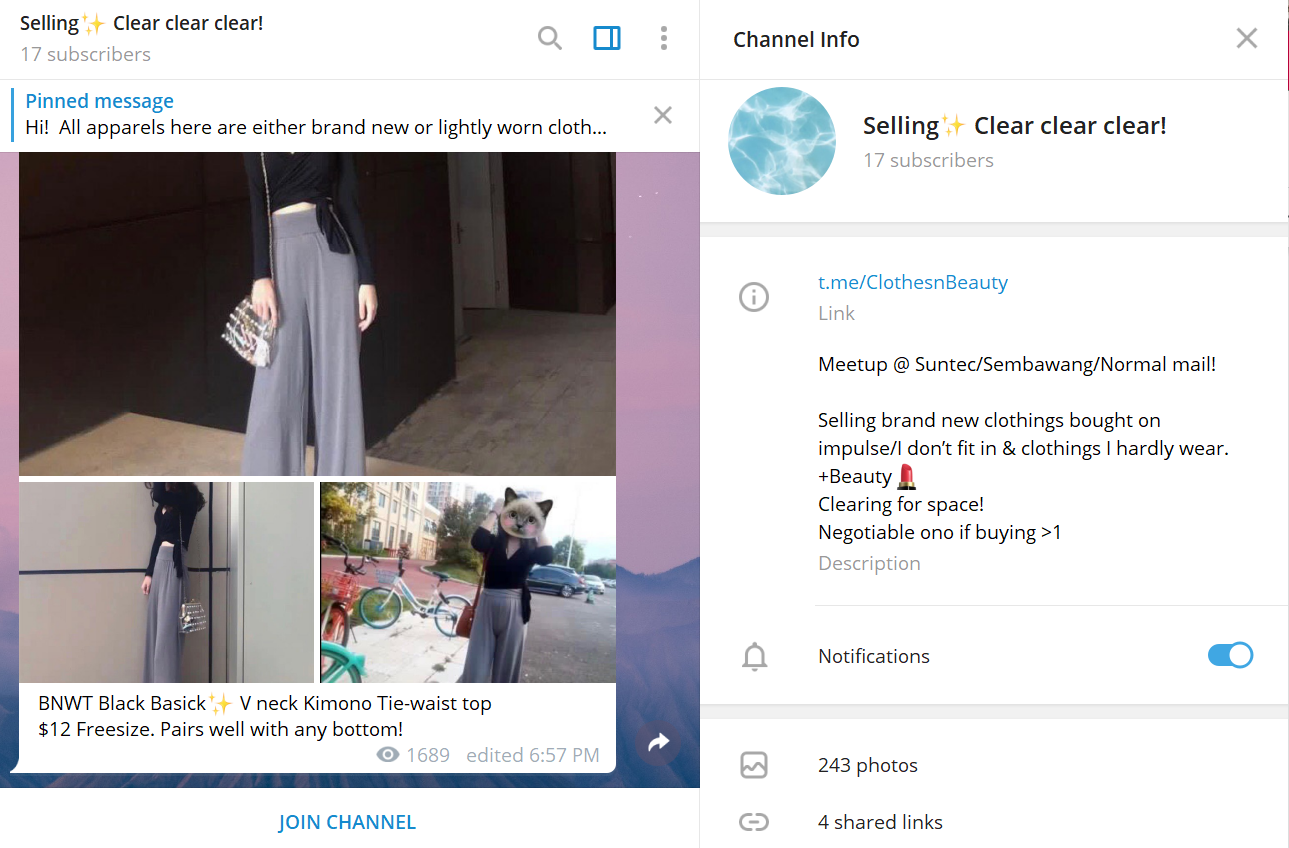
The posts on this channel receive thousands of views despite only having 17 subscribers, likely because they’re being cross-shared across Telegram groups or personal chats.
Image adapted from: Clothes n Beauty
It’s like having a flea marketplace right on your phone, but the downside is that listings can be posted so fast and furious that yours gets lost in the mix. There’s a delicate balance between finding a group with enough members such that your posts actually get seen, but prepare to have your listings drowned out in groups that are super populated.
Step 3: Arrange for reliable delivery methods to avoid lost mail
Back when I was a polytechnic student, I purchased a preloved top from Carousell and because I wanted to save money, I opted for free normal mail instead of topping up for registered mail. Alas, I waited weeks upon weeks and the package never came.

You would not believe how many times I checked the mailbox, only to leave disappointed.
Image credit: Prefab Tech
This was a nightmare for my non-confrontational self, as my only option was to take her word for it and trust that she had truly mailed it out. But my paranoia also explored the possibility that some scheming scammers might purposely not send items out for buyers who opt for non-registered parcels, and make a quick buck while blaming everything on lost mail.
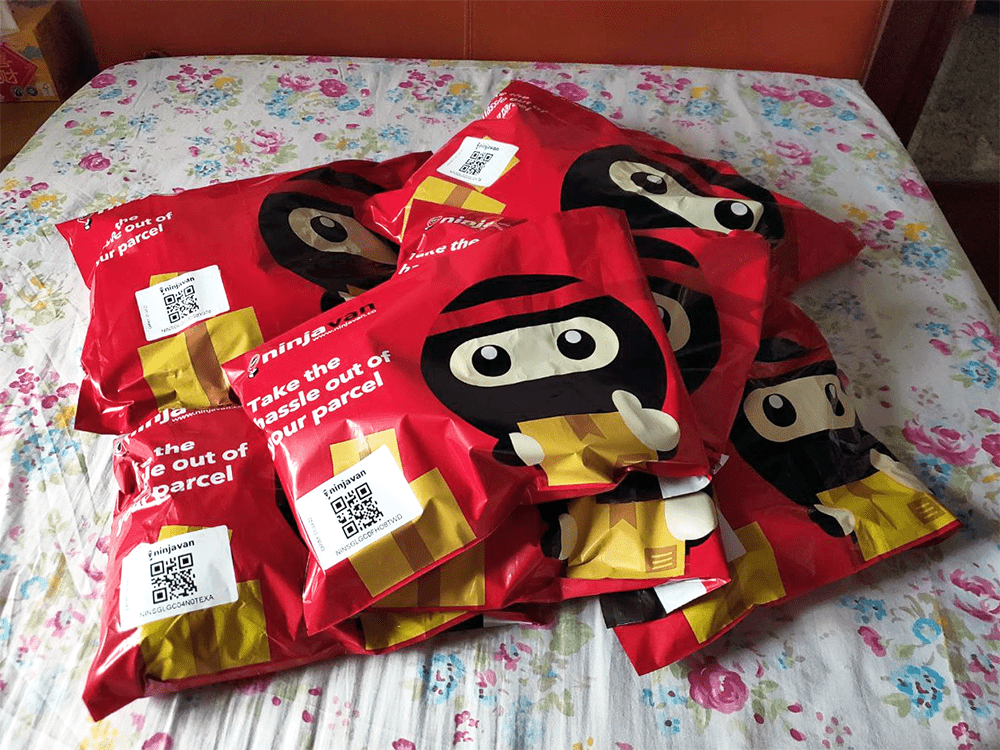
Image credit: Renae Cheng
The fact that this unpleasant encounter has stuck with me throughout the years just goes to show how much I’m scarred by items getting lost in the mail. Not wanting to take that gamble with the good folks who were kind enough to buy my second-hand clothing, I decided to stick to a reliable delivery method like Ninja Van’s Ninja Packs.
Waiting for your parcel to arrive is always an exciting yet slightly anxiety-inducing affair, so I wanted my buyers to be able to track their purchase throughout the delivery process.
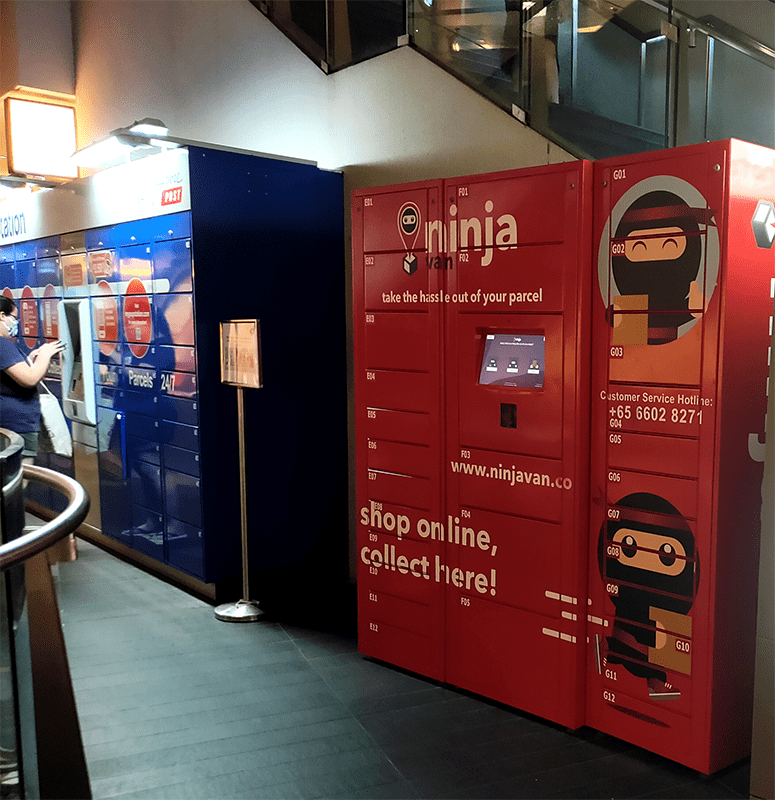
Dropping my parcels off at Star Vista, where I happened to have a dinner date. There are over 400 Ninja Van drop-off points across Singapore!
Image credit: Renae Cheng
Besides it being the safer option as far as deliveries go, going the Ninja Packs route also saved me the hassle and health risk of doing cash-on-delivery meetups. My work and social schedule don’t allow much free time for me to bounce to various MRT stations to meet up with my buyers, nor would I want to be caught in crowds all over the country amidst COVID-19.
Tip: Save time by using Ninja Dashboard to track orders
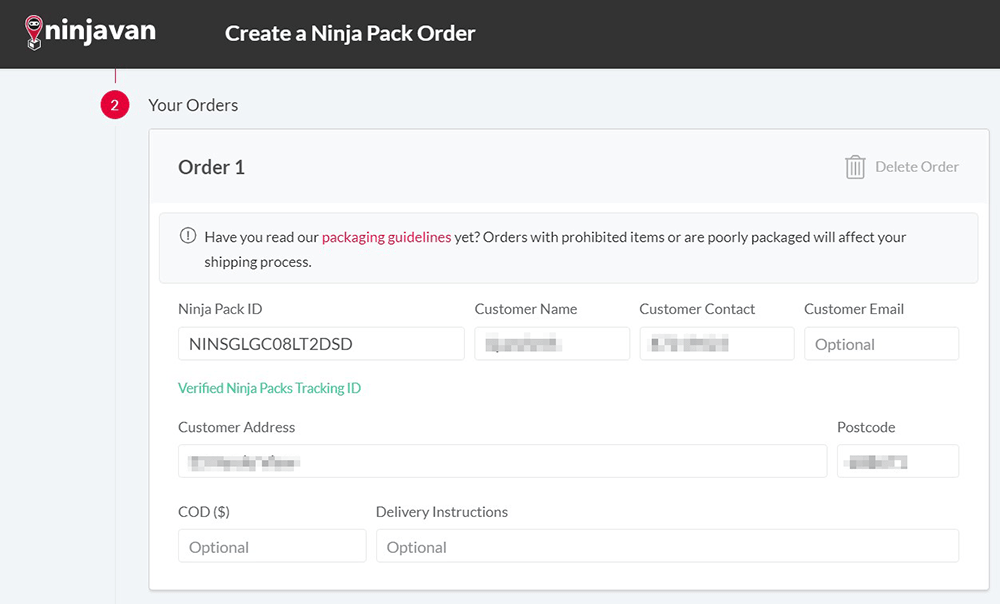
Image adapted from: Ninja Dashboard
Fun fact, the Ninja Dashboard allows you to register each Ninja Pack according to the tracking ID. After you key in the recipient’s details online, everything is logged in the system so you won’t even have to manually write addresses on the parcel. Not only does this save precious time and effort, it also eliminates the risk of lost mail due to illegible handwriting.
You’ll then be able to view all parcel history on the dashboard at a glance, making it easy to follow up on the status of multiple separate orders or retrieve info on past orders when needed.
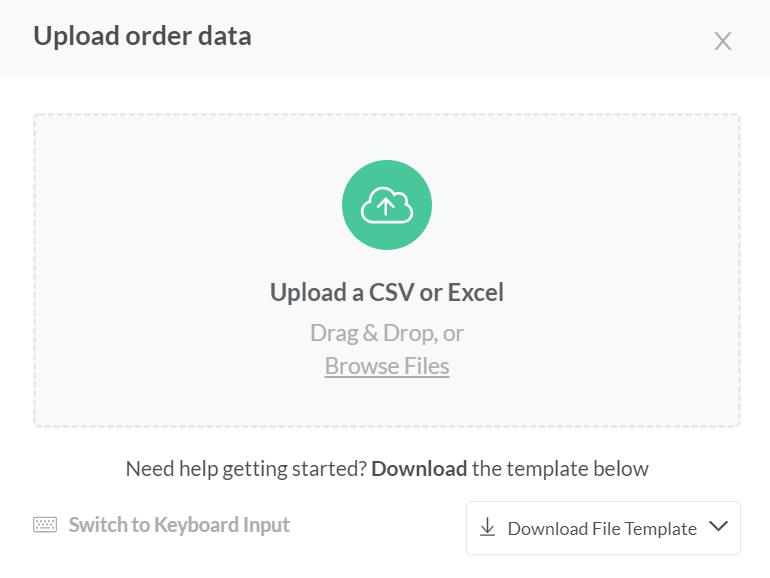
Image credit: Ninja Dashboard
There’s also a bulk upload function if you’re sending lots of orders to different customers at the same time – just input the order details into an excel sheet and upload the document onto the dashboard to create multiple orders instantly.
Step 4: Profit

The moment of truth: did I manage to hit my initial goal of $300? It is with great pride and even more relief to say that I actually cleared 22 pieces to date, priced between $5-$18 and earning me a grand total of, drumroll please…$196.
Not bad at all, considering how all the clothing would’ve just been piled up and collecting dust in my wardrobe anyway. I now feel a lot lighter with the clutter cleared, but a lot heavier in the pockets. *wink*
Deliver items safely and quickly with Ninja Packs
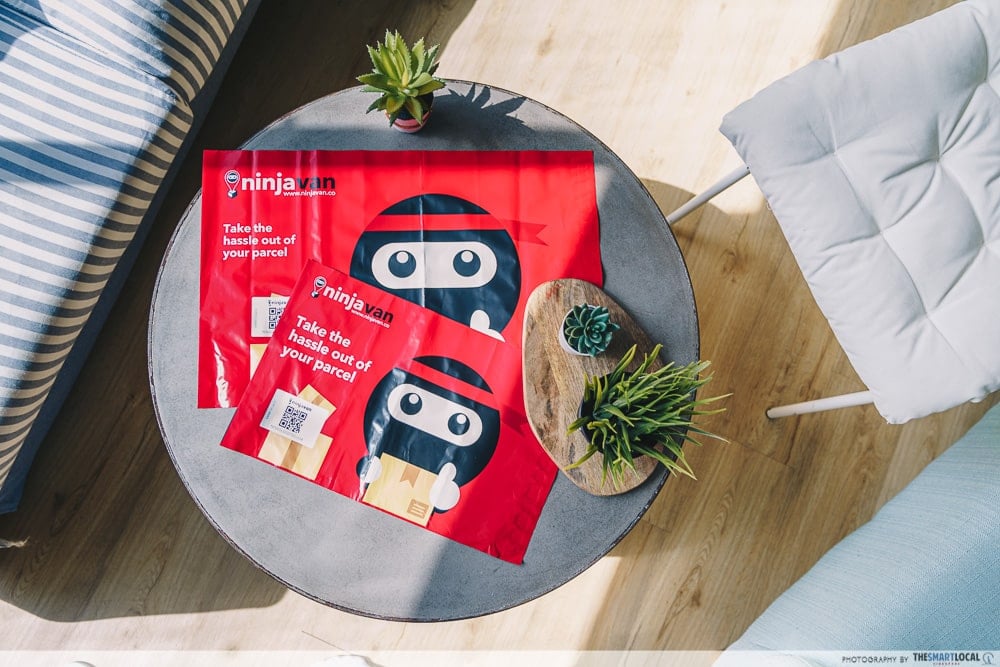
Here’s a top tip for all prospective online clothes sellers: Ninja Van offers Ninja Packs in various sizes. They’re basically postage-paid polymailers which are all-you-can-fit, and have no weight limit. I found myself being able to fold several pieces of clothing and fit it all within the package, instead of having to buy lots of separate envelopes.
The 3 different sizes available, from XS (230 x 170mm) to M (470 x 330mm), also mean you can tailor the package to what you’re shipping, be it bulkier clothes or just a tiny handful of accessories.
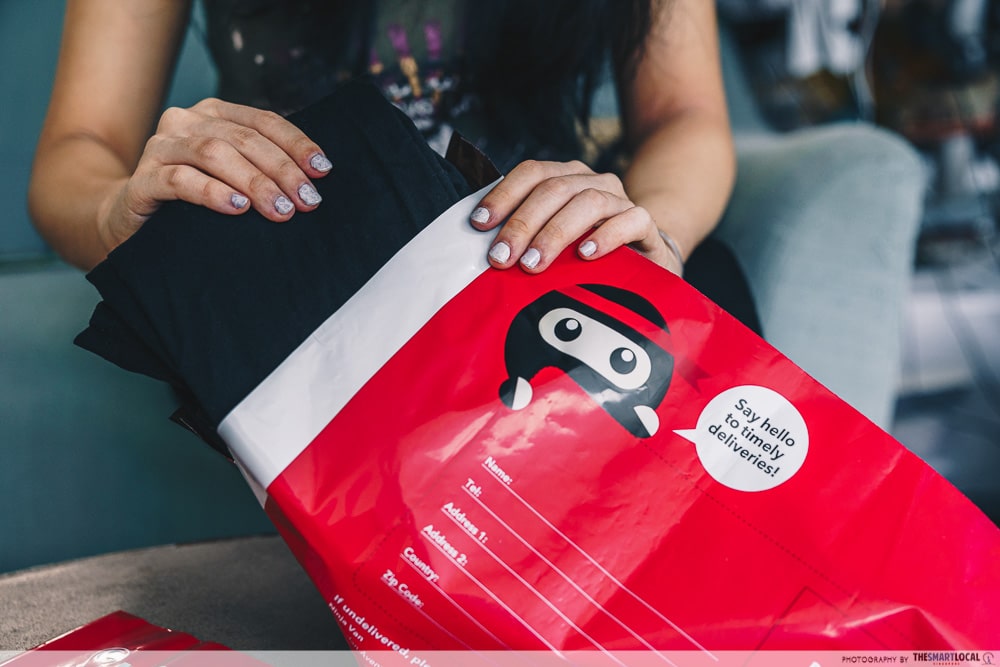
Slipping a top into an S size, non-padded Ninja Pack.
For my chiffon-style shirts that can be folded into a thin layer, the S size (350 x 250mm) worked a treat. Meanwhile, I used M for larger orders and found that it was able to hold 3-4 shirts of average thickness, no problem.
For more fragile items, Padded Ninja Packs with built-in bubble wrap will help to ensure even the most delicate deliveries go unscathed. This comes in handy as I contemplate my next move in decluttering: selling my jewellery and accessories that have gone untouched for years on end.
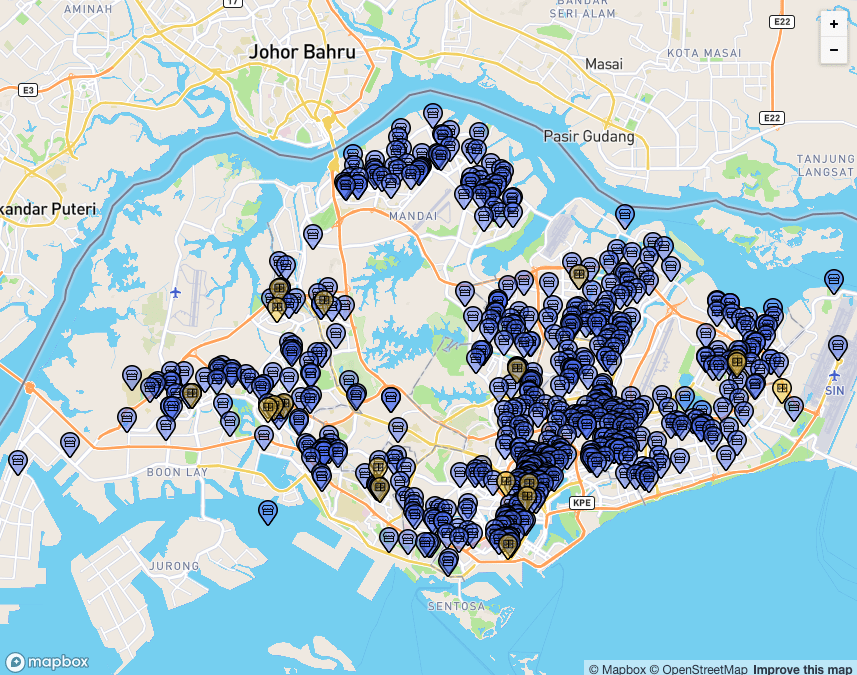
Image adapted from: Ninja Van
Register your parcels online in an easy-to-follow process which takes mere minutes, and there’ll be real-time tracking on both the buyer and seller’s end. Swing by at any of the 400+ Ninja Pack drop-off points islandwide, whether you’re chilling in the heartlands or on your way to an outing in town.
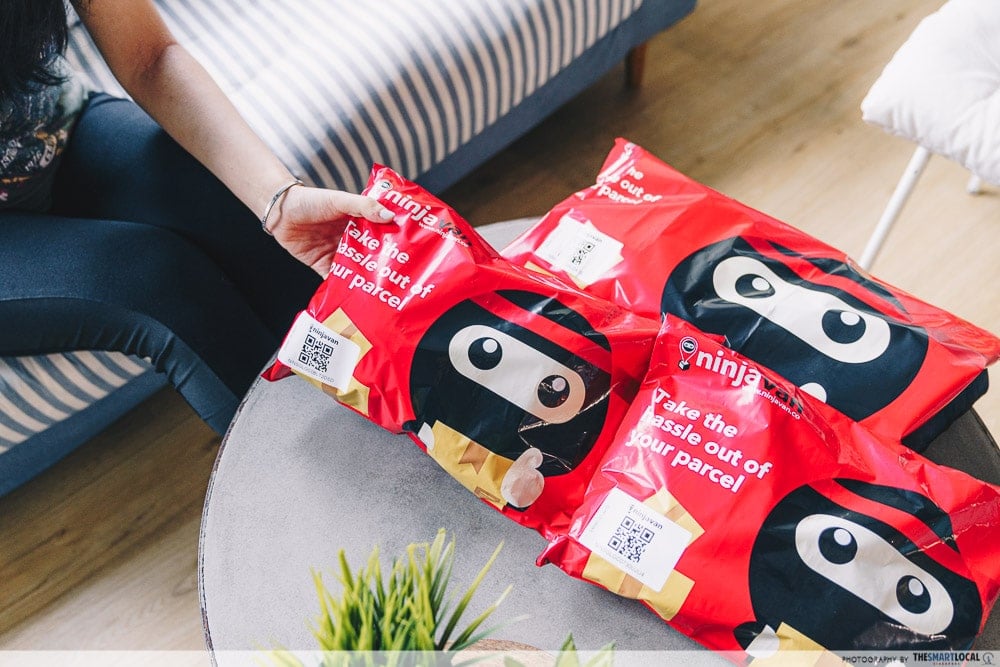
Ninja Packs take all the fuss and guesswork out of packing, mailing and tracking deliveries, allowing you more time to focus on clearing your wardrobe and snapping new pics for your online catalogue, making more sales and racking in that sweet cash.
Find out more about Ninja Packs by Ninja Van here
This post was brought to you by Ninja Van.
Photography by Edmund Wong.
